
EcoHitch Stealth Trailer Hitch Receiver - Custom Fit - Class III - 2"


To see if this custom-fit item will work for you please tell us what vehicle you'll use it with.



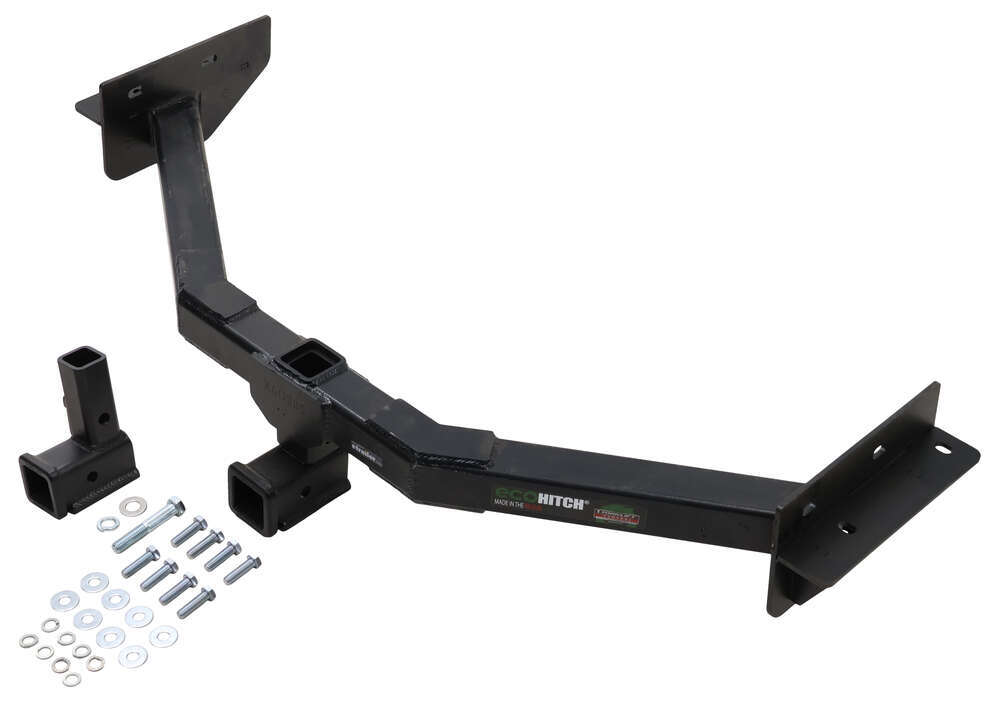
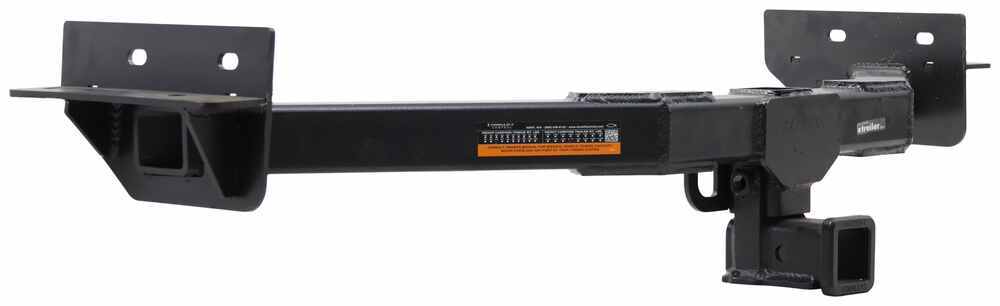
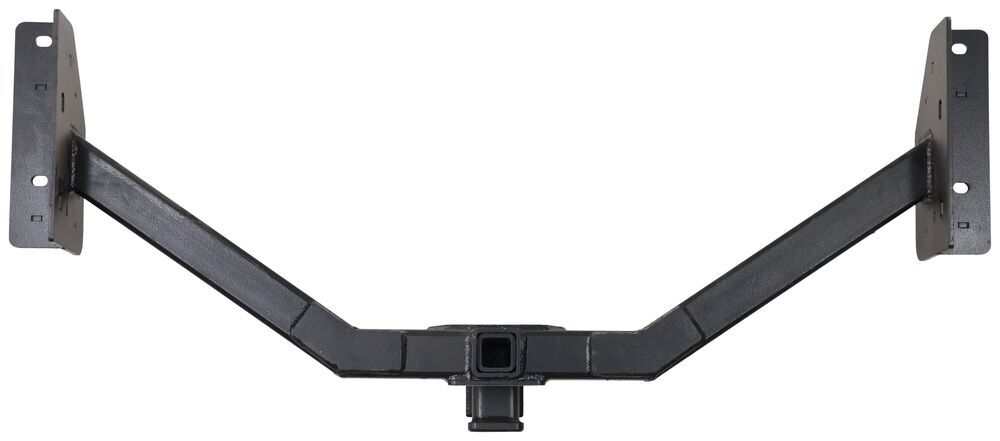
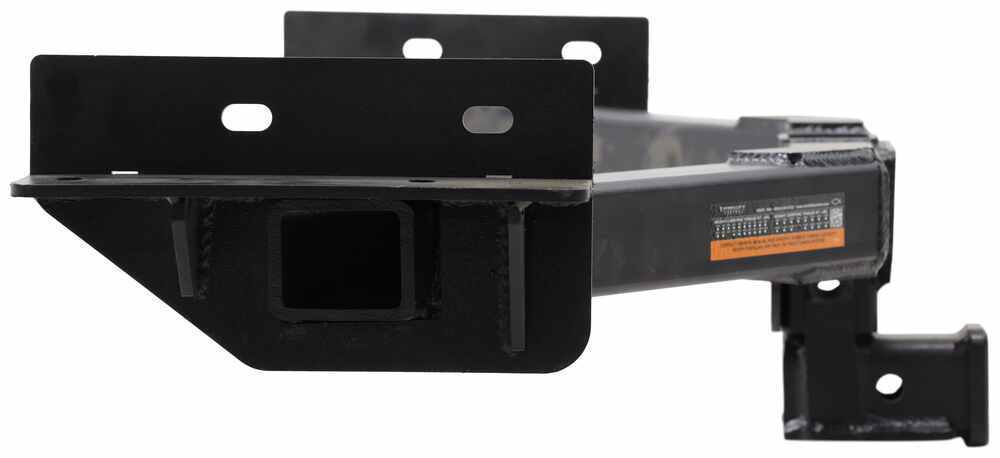
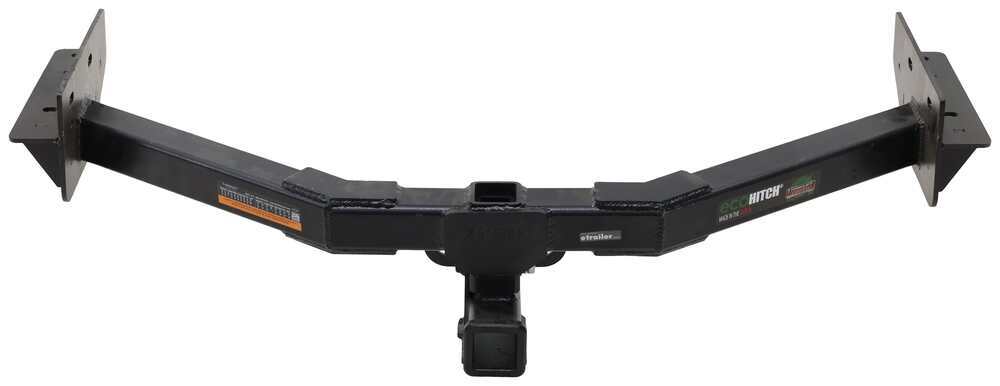
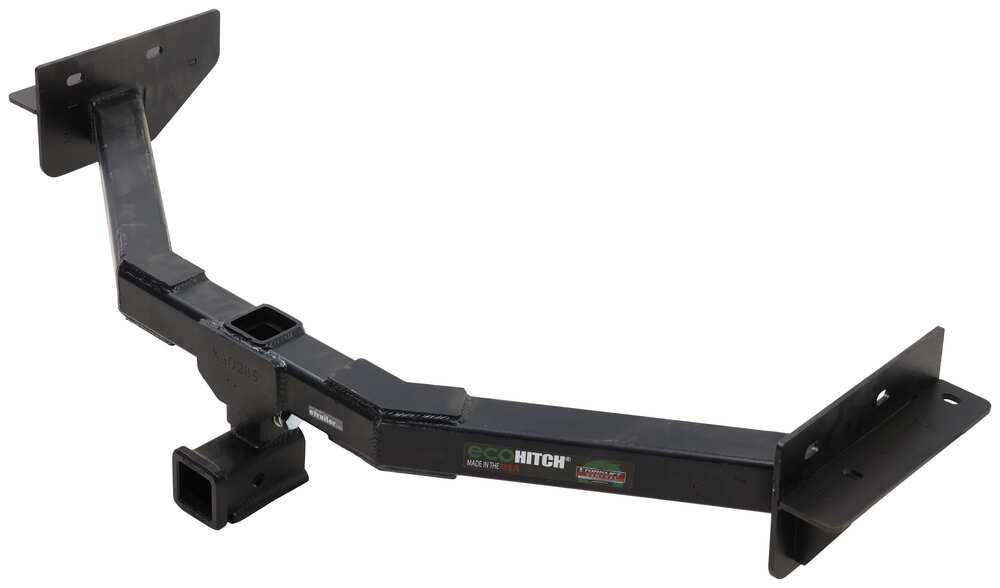
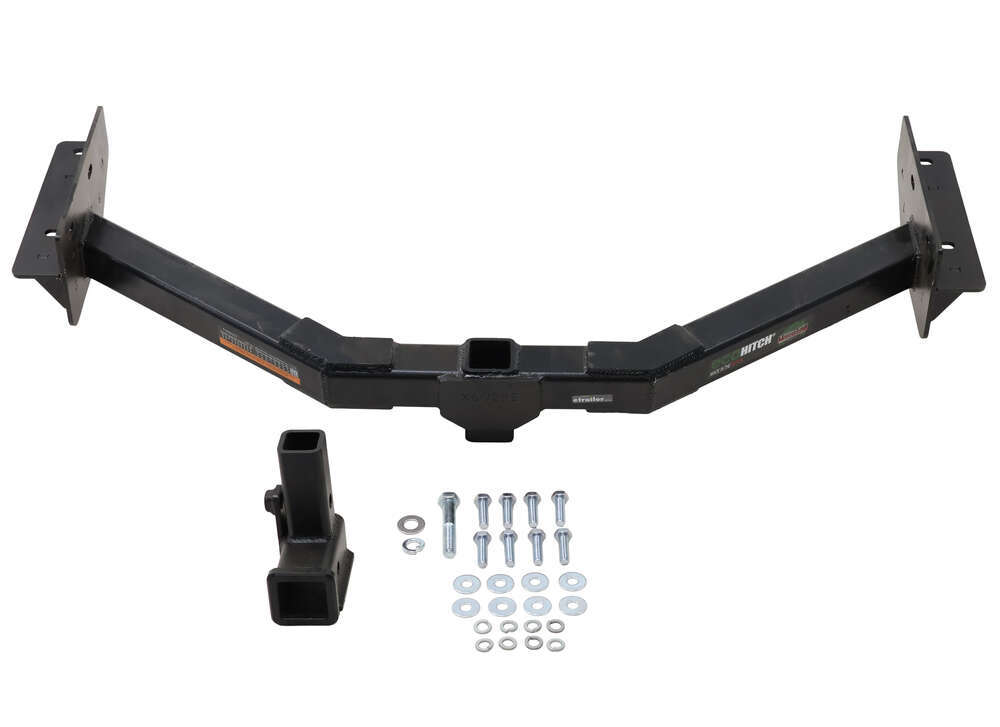
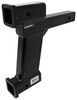
This hitch stays out of sight when you’re not towing. The cross tube sits behind the rear bumper so nothing hangs down or changes your vehicle’s look. When you need it, the 2" stainless steel receiver bolts on securely for towing or carrying a bike rack. When you’re done, just unbolt it and your vehicle goes back to a clean, factory-style appearance.
Built for everyday use, this Class III hitch handles up to 6,500 lbs of gross trailer weight and 650 lbs of tongue weight. It’s perfect for towing small campers, boats, or utility trailers—or for mounting cargo carriers and bike racks. The stainless steel receiver resists rust and corrosion so it’s ready for years of hauling in any weather.
The hitch body is made from a lightweight alloy that combines aluminum, steel, and stainless steel—all from recycled materials. This mix keeps it strong while helping reduce the carbon footprint during manufacturing. A black powder coat finish adds another layer of protection against corrosion and wear.
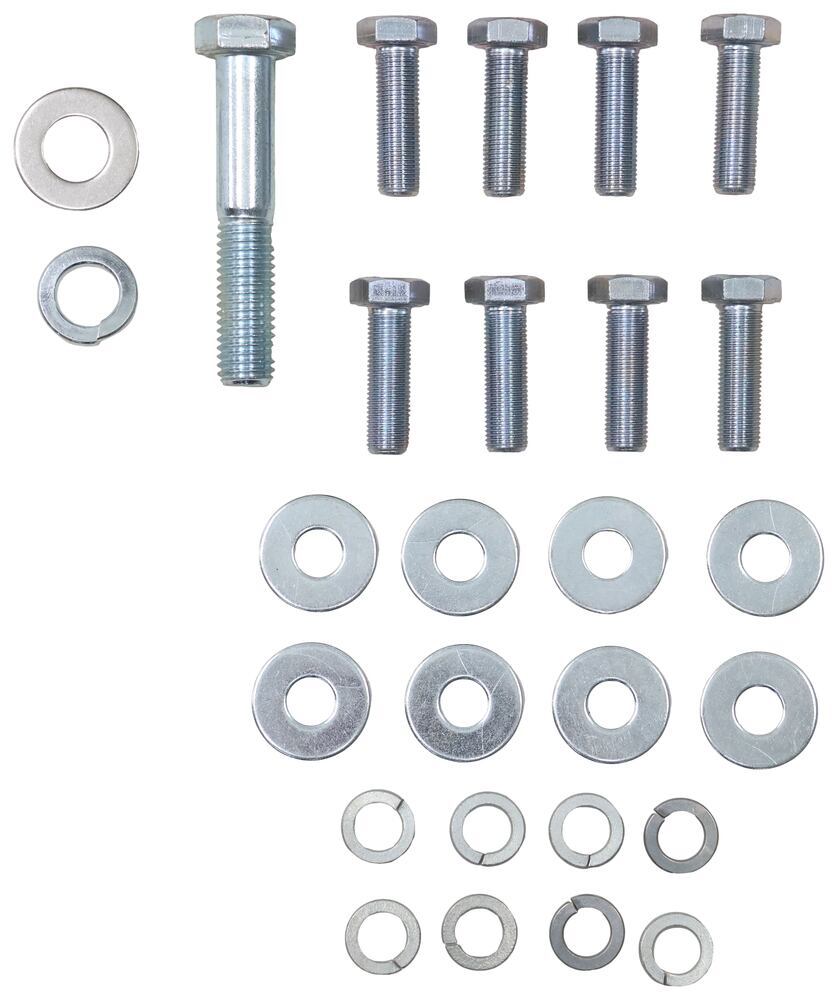
Installation is straightforward with this custom-fit, bolt-on design. The hitch mounts to the frame behind the bumper using existing attachment points—no drilling or welding required. It’s a solid setup that fits precisely and installs easily in a home driveway with standard tools.
Videos are provided as a guide only. Refer to manufacturer installation instructions and specs for complete information.
Hi, I'm Daniel with etrailer, and today we're gonna take a look at, I'm gonna show you how to install the EcoHitch Stealth Hitch on our 2023 Infiniti QX60. Adding a hitch to your Infiniti is a great idea if you're planning on doing some towing in the future, or maybe you wanna put an accessory back here like a bike rack or a cargo carrier. This EcoHitch is gonna look really good on the Infiniti. All you really see is that hitch receiver tube, and you can actually, there's a bolt that you can take out and completely take out the hitch receiver and store it away if you're not planning on using an accessory or towing for a while. Because this is a hidden-style hitch, those safety loops are tucked up pretty far up there, but they can fit an S-hook or a clevis-style safety cable. You will need a 5/8-inch pin and clip to secure your accessory in your hitch.
It won't come with your hitch, but usually it will come with your accessory. Now, you can upgrade to a locking pin so you can have that extra sense of security. You can lock whatever is in your hitch and have them come and take it. Now, I'll get you a couple measurements. So, from the ground to the top of the inside of the hitch receiver, that's gonna be about 12 inches.
So, that'll help you determine your clearance. If you have long accessories back here, you may wanna look into a rise when you're getting those bike racks. It'll also help you level out a trailer. So, if you're looking for a ball mount, you can make sure you get the right height for your specific trailer. Now, the next measurement's gonna be from the center of the hitch pin hole to the outside of the bumper, and that's gonna be about six inches.
So, that'll help you determine if you have a folding accessory like a bike rack, you can fold that up without hitting your bumper. Something I will mention is when you're taking in and out your hitch receiver, you are gonna have to loosen and torque your bolt every single time. So, that can be kind of annoying, and you can also see a little bit of that hitch sticking out when you do take this out. So, it's up to me. I would just have this in there all the time, and if you're the same way, then we do have options available on our site.
Now, if you are planning on towing, it is important to know your max weight capacities, and your total towing is gonna be 6,500 pounds, and that's your trailer plus what's packed inside of it, and then your tongue weight, that's gonna be 650 pounds, and that's the weight pushing down on the hitch receiver. You wanna make sure you're towing nice and safe, so check your owner's manual and make sure you're towing at your lowest rated component. Now, if you have any further questions about this hitch or any other hitches that are gonna work with your Infinity, please feel free to reach out and be happy to point in the right direction. As far as install goes, you are having to lower that spare and do a little bit of trimming on your rear fascia, and we did experience with this one that it was a little bit of tight fit, so we had to use some hammers to wedge it in place. If that's not something you're interested in doing yourself, you can check out our installer locator, and we can find an installer local to you to get this installed, but if you wanna do it yourself, follow along, and we'll walk you through the process. First off, we need to lower our spare down, and to do that, just open your rear hatch, and in the storage compartment on the back, I just got this cover, and you just twist that off. Reveals a bolt, and I'm gonna use a 7/8 socket, and loosen this up, and that'll start lowering our spare down. We got our vehicle lifted up in the air, and that's just so you can see this a little better. If you're doing this at home, and you maybe have a floor jack, just use that, but make sure you chalk the front tires. We can still do it that way. We need to lower our exhaust, but before we take our rubber isolators off, I'm gonna put a strap somewhere on the frame, get this tightened up, so that supports the weight of it. To get these off, I'm gonna use some soapy water, spray on there, this makes it a little bit easier, and a pry bar. There's gonna be one more closer to the rear. Instead of that top post, I did find it easier to get the bottom one off, and we need to clean out those threaded holes on the frame, and there's quite a few. I marked the ones we are gonna be using in yellow. We need to clean these out. So I just have some silicone spray, I'm spraying in there, and I'm gonna use a wire brush, to clean those threads out. And once I've done that, I can take our hardware, and make sure this is gonna go in there nice. It's like a 19 millimeter socket, just run it in and out. Make sure we're all good. Before we get the hitch into place, we do need to trim our rear fascia, and there's a diagram in your instructions. I just found the center, and I went out seven and a quarter, and it does have you cut at an angle, and the top measurement is gonna be five inches. Use an oscillator, and get this trimmed out. Do make sure you don't have any sensors back here, and you're not cutting into anything. (drill whirring) Now we can lift the hitch up. I got Jesse over there giving me a hand, and first we wanna get it back, so the exhaust is in our way, behind the fascia, and now we can get our hardware in. I got our bolt. I got a flat washer and lock washer on there, and I'm gonna lightly thread this in. We did notice that our hitch is extremely tight between where our frame's at, so it might be a good idea to get your bottom hardware in first, and this will help cinch it up into place. And what we did, we did use two pole jacks, but if you're doing this on the ground, you can just use a floor jack to help you push that up against the frame and a couple of mallets if it's giving you some trouble. With all of our hardware loosely in place, I'm gonna tighten and torque everything down. I'll start with the ones going up into the frame. (drill whirring) (drill whirring) On the side with our exhaust, it is a bit hard to get to these, so I'm using a right-angle impact drive to get these tightened. I'm going to torque these to the specs in the instructions, and if you don't have a torque wrench at home, you can usually rent one from a local auto parts store. We can take our hitch receiver opening, get that slid up. We'll take our larger bolt with a lock washer and flat washer, put that through. And there is a nut that's welded on, so I'm gonna thread that into that. And use a 15/16 socket to tighten it up. (drill whirring) And we can torque this down to spec as well. Once we got everything torqued down, we can put our exhaust hangers back in place. We'll lower this down and put our spare back. Once you've done that, you can start using your EcoHitch on your 2023 Infiniti QX60.
Customer Satisfaction Score:
86% were satisfied with this product
14% of customers were not satisfied
Ratings & Reviews

Expensive, but that’s what you’re paying for if you want “stealth.”
Good product.
Info for this part was:
At etrailer we provide the best information available about the products we sell. We take the quality of our information seriously so that you can get the right part the first time. Let us know if anything is missing or if you have any questions.
























Thank you! Your comment has been submitted successfully. You should be able to view your question/comment here within a few days.
Error submitting comment. Please try again momentarily.