


To see if this custom-fit item will work for you please tell us what vehicle you'll use it with.


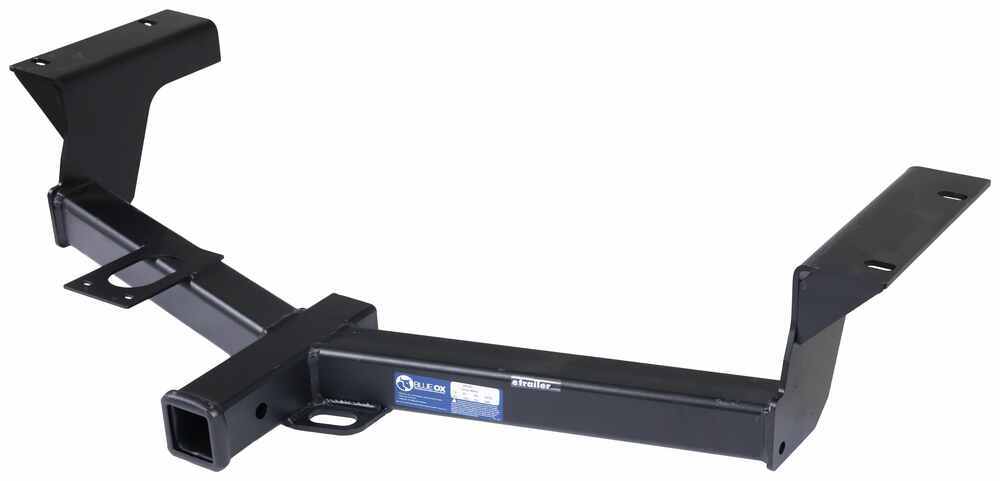
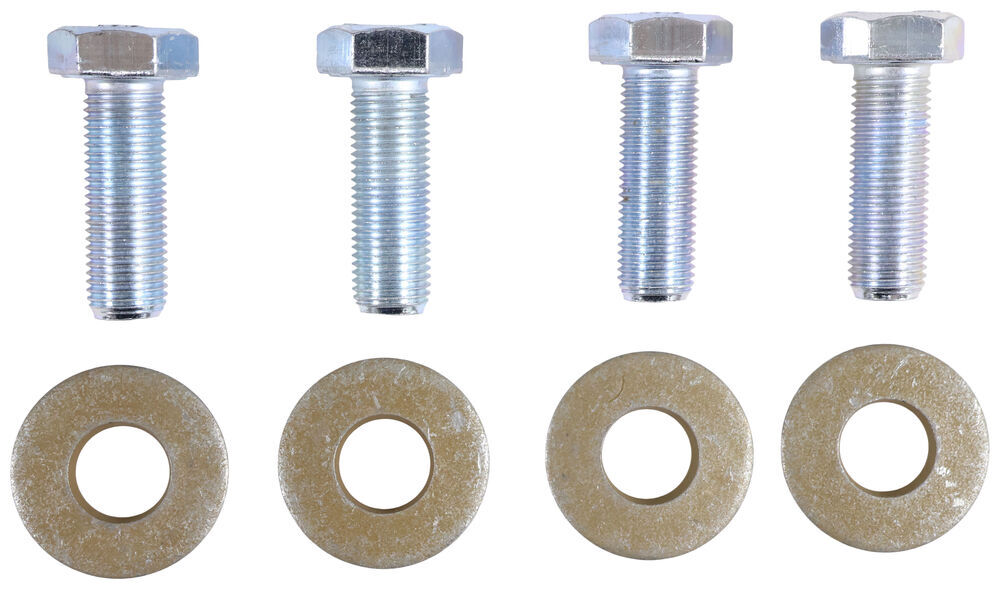
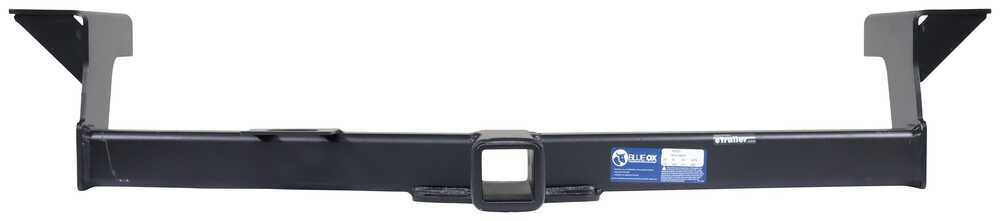
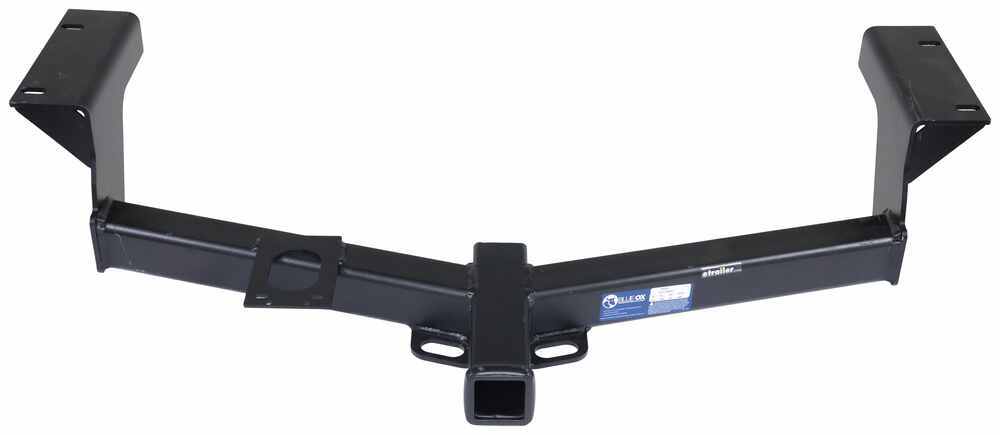
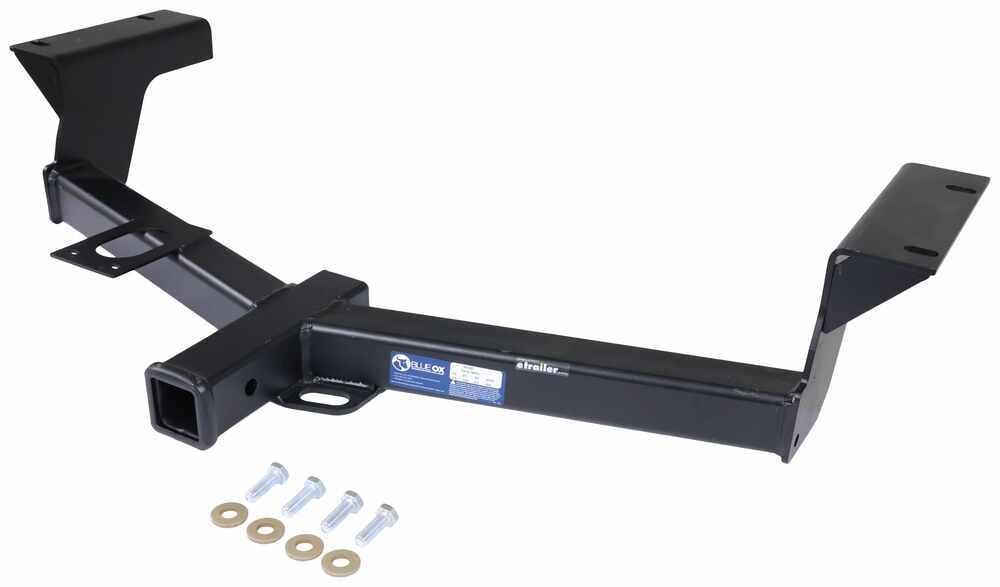
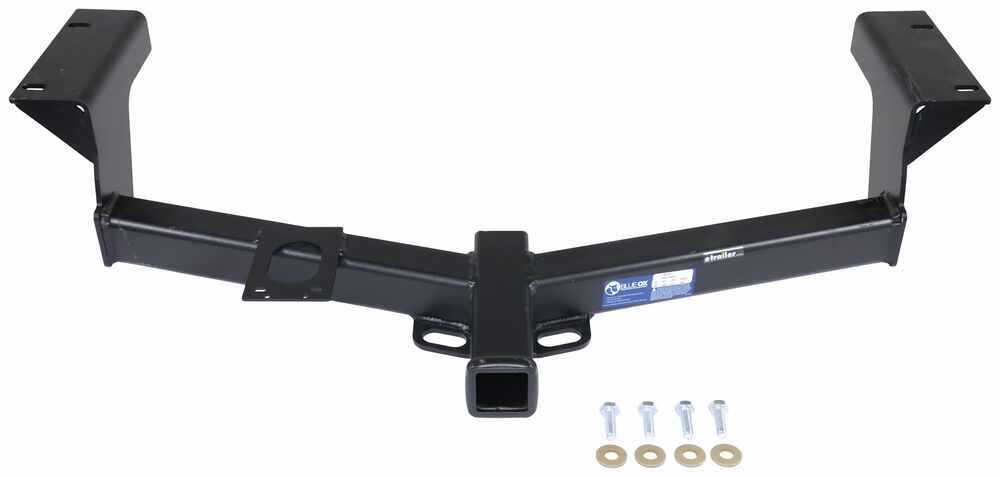
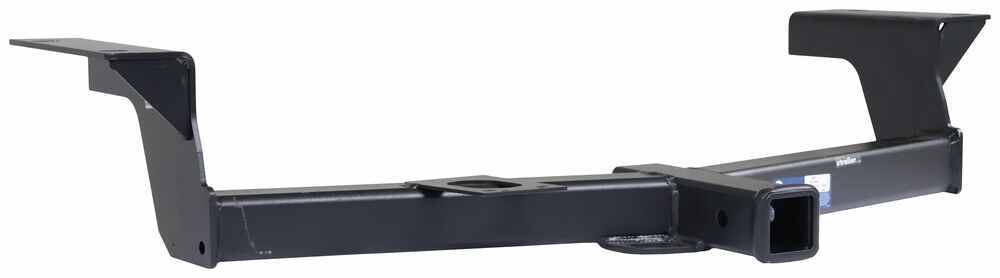



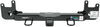
This Blue Ox Trailer Hitch Receiver gives your vehicle real utility with a Class III rating and a 2" x 2" receiver opening. It’s rated for up to 4,500 lbs gross trailer weight and 675 lbs tongue weight, so you can tow small campers, boats, or utility trailers with confidence. The sturdy square-tube design built with precision, robotic welding maximizes strength and ensures a tight, reliable fit.
You don’t need a lift or special tools to get this hitch mounted. It’s a bolt-on installation that attaches directly to the frame using the included hardware kit—no welding needed. Every mounting point lines up cleanly, so you spend less time adjusting and more time getting it done.
The textured black powder coat is layered over a protective e-coat that shields against rust and corrosion. Whether you’re driving through rain or kicking up road debris, this finish helps the hitch hold its clean look and stand strong year after year.
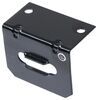
A welded-on mounting bracket gives you a neat spot for your trailer wiring. Instead of wires hanging loose or extra brackets to install, everything stays tidy and easy to reach for quick plug-ins before you hit the road.

Videos are provided as a guide only. Refer to manufacturer installation instructions and specs for complete information.
Hello neighbors, it's Brad here from etrailer. And today on our 2017 Toyota RAV4, we're going to be taking a look and installing the Blue Ox trailer hitch receiver. And this is going to be a great option if you're planning on bringing a bike rack, cargo carrier, or even towing a trailer. Any of those adventures, the first starting point is going to be a trailer hitch receiver. So let's take a look at this one. Now when installed, this is what the hitch is going to look like.
And you'll see that it is an exposed cross tube, meaning you're going to see a good majority of the hitch below the vehicle when it's installed. But overall, I don't think it takes away from the look of the vehicle. And honestly, the usability of the hitch I think is totally worth it. Especially the fact that this one is a two inch by two inch receiver tube opening. That's really the standard size when it comes to trailer hitch receivers.
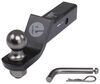
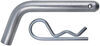
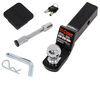
So when choosing bike racks, cargo carriers or ball mounts, you're going to have tons of options available. Now, all of those accessories will stay in place with a 5/8 pin and clip. That's not included with the hitch. Many times when you pick up accessories they'll have them included. And if you plan on leaving an accessory on long-term, I would highly recommend looking at a locking pin and clip.
It's a really good deterrent from anyone just taking out the pin and clip and that accessory with them. Now, if you do plan on towing, you have a plate style safety chain loop, makes it nice and easy for hooking up your safety cables. So standard S hook, no problem here. It is nice and open. Even a larger clevis style shouldn't be an issue for this hitch.
Now, speaking of towing, you are going to want to take a look at your vehicle's owner's manual to see what the vehicle is capable of towing and then compare it with the hitch. Just because the hitch is rated for something, doesn't necessarily mean the vehicle can, but this hitch is actually graded really well. You have a gross trailer weight rating of 4,500 pounds, which is going to be the weight of the trailer plus the accessories loaded on that trailer. Now, as far as tongue weight, this is also rated extremely high at 675 pounds. And that's going to be the downward pressure on the inside of the receiver tube opening. And that'll account for a lot of your bike racks and cargo carriers or things that are suspended. With 675 pounds I really don't have any worries that you're going to overload that at all. That's a really high tongue weight and I think that's a great thing for a hitch. If you do plan on towing with this, you are going to want to pick up wiring, probably 4-pole wiring depending on your trailer. And the cool part with this Blue Ox hitch is if you do plan on doing that, they give you a bracket here that you can bolt up to the bottom and then you can pick up a separate 4-pole or 7-pole bracket so you get a nice clean mount for that wiring. It just makes it really solid looking and also it keeps you from having to loop it onto your safety chain loops. Perfectly acceptable, but having a nice mount sure makes it a lot nicer looking. Now some accessories that you'll pick up can fold, which is a great option to shorten the length of the vehicle when it's not in use, but making sure that it's going to work with this vehicle, measuring from the center of the hitch pin hole to the furthest edge of the fascia. It's coming in at three inches. So really with that, I have no worries that you're going to have issues with those making contact with the fascia. Now keep in mind, you are going to need to fold those down to open up the rear hatch and they may block your rear view camera, but overall it's just a really nice storage solution. Another important measurement is going to be our ground clearance. So from the top of the receiver tube opening to the ground, this one's coming in right at about 13 inches. And not only is that just to let you know what accessories to pick to keep them up off the ground, but also if you are planning on getting a ball mount, you can take that measurement and if you have your trailer available, measure from the ground to the top of the coupler and then compare those two numbers and you can determine the rise or drop necessary to get it all level. In this case, I would probably guess depending on trailer that you're going to have a slight rise, but with those measurements you can find out. If you have any questions as far as what you may want for towing or a setup or enhancements, accessories, whatever it may be. If this is all new to you and you're not sure what you need, feel free to reach out to us here at etrailer. We'd be happy to guide you through that process. And as far as the installation goes, if you're going to be doing this at home, I'll be walking you through step by step on how to get this installed in your driveway or garage. This one isn't particularly hard. You're going to be removing an underbody panel, a tow hook, taking off the isolator off the exhaust. And then from there, you're really just going to be raising the hitch up and bolting it into the weld nuts. Now we did run into some corrosion. So if you live in the Midwest or a place where there's snow or really any corrosion on vehicles, it's very possible that you're going to need a tap to clear those out for the hardware to go up. But if you don't have to deal with that, it's a pretty easy installation overall. And with that being said, if you do kind of worry that yours is going to be rusted and you're worried that it's going to be a difficult installation or maybe you don't have the time, the place, the tools or even the want to do it yourself, if that's the case, you can use our installer locator to find someone close to you to get this hitch installed as well as maybe trailer wiring or any other accessory so you don't have to worry about the install and you can enjoy your hitch and your other accessories. With that being said, DIYers stick around. Let's get this hitch installed. To begin our installation, the first thing that we're going to want to do is have a nice organized spot to keep our hardware as we remove it. There's only going to be a little bit of it, but the first thing that we'll take down is going to be this panel. And we'll start by using our trim panel tool. If you don't have one of these, you can absolutely use a flathead screwdriver. It'll just go into that center slot. There's one on each side. Just pop this down. Once you get that pulled down, generally you can go behind the large plastic push pin and get the whole thing removed. A lot of times you can pull it out by hand. Now, if it separates, just make sure you have both of those pieces. So we have two of them there and then on the backside as we go back here, there is going to be a 10 millimeter nut that we're going to get removed. (wrench grinding) Now this toe hook on the driver's side, we're going to need to remove and we're not going to be replacing it. So you can do whatever you want once you take it down. It's just going to be two bolts that go up in the frame and a 17 millimeter socket will get that knocked loose. (drill grinding) Next, we're going to lower down the muffler or at least this isolator of the muffler. And you can do this a few different ways. You can use a pry bar, you can use an exhaust hanger removal tool. They recommend a 5/8 open end wrench, which I've never used before, but makes a lot of sense because you can use this as leverage against the exhaust to just kind of pop this off. Now if it's fighting you, which they can sometimes, what you can do is put a little bit of soapy water on here and that generally will lubricate it to make it a lot easier to remove. Now, interesting enough, they have an exhaust hanger bracket right here that has two bolts going into it. We're going to want to remove that. Why it's not attached to something, not really sure, maybe a trim thing, but ours, it has a little bit of rust here. So I'm going to try to get it with hand tools. If not, we might want to get some penetrating oil just to kind of knock that loose, but I'll grab my ratchet and see if I can bust those. A 12 millimeter socket is what I'm using here. I was able to get it knocked loose. It's pretty tight, but that one came or is at least starting to loosen up here. So let's try this one. Now something that I recommend doing before raising the hitch up is grab one of the bolts from the hardware included with the hitch and we're going to want to test to make sure that these thread up because here we live in the Midwest and a lot of times these holes will become rust. And so we want to make sure that these are able to thread in. Otherwise, if we're holding the hitch up trying to do that, it sure becomes difficult. And being that these are really fine threads, it's probably a pretty good chance that we'll have to clean these out. There's a few different ways you can do that. Penetrating oil is a great start. And then if you have a brush, like a tube brush that you can go in there and clean it out, that also is a great way to get it going. But using this bolt, I can't even get it to start. What that means for me is I'm going to probably get a tap and run that through with a similar thread. If you can get it started and it's fighting you, you can use this to kind of clear it out. Now if it's fighting you too much, obviously don't get too crazy with it, but sometimes all you need to do is knock a little of that corrosion loose. But this being dry, I'm going to hit it with some penetrating oil. I'll try again. If not, I will resort to a tap. And the holes that we're going to be attacking are going to be this far one here and then you'll see an access hole, and then this one here. And it's going to be the same on the other side. The other side's going to be quite a bit easier because we had that exhaust hanger or tow bracket, I guess you'd call it that had hardware in it. So you can see that threads in super easy. Now again, we see that we have a threaded spot right here, but it's going to be the one that's spread out this distance. So this one also might have to be tapped out. Really depends on condition of your vehicle and your climate where you live. Here we have a lot of snow and salt on the road, so that's probably attributing to that rust. So I'll go through, get these all cleared out, make sure that I can feed the hardware up and then from there we'll grab an extra set of hands to get our hitch raised up. I got John to help me raise the hitch up in place and each of us have a bolt and conical tooth washer ready. The teeth need to face the hitch or the metal on the hitch. And what we're going to do is raise this up, get one started on each side, and that way it'll hold the hitch up, make it a lot easier to get the other hardware in. So we'll raise this up, line the holes and get our hardware started. And then once you get one started on each side, again, the hitch will support itself. You can get the remaining hardware threaded in. We can snug it all down. We don't need to get crazy here because we'll come back with our torque wrench. It's going to be a 19 millimeter socket, so we'll just draw these up. (drill grinding) Now the torque settings are going to be found in the instruction manual, but this is going to be an important step because it'll make sure that long term we can obviously use the hitch for towing and accessories, but it's also not going to be too tight on those weld nuts to where it's going to cause any damage. So we'll go through and get these all torqued down properly. Now once you have your hardware all torqued down properly, you've officially installed your hitch. So you can get your exhaust isolator put back up and then from there, the next two steps are going to be completely optional and up to you. So what that could include is adding this bracket that's included with the hitch. You have some self-tapping screws and there's two holes on the passenger side that you can mount this up. Now this is going to be really nice if you do plan on putting wiring on your RAV4 because you can get a 4-pole or 7-pole bracket and it'll make it a nice, clean, sturdy mount instead of hooking it onto your safety chain loop. Completely up to you. If you're not using any wiring or planning on doing it, you can just hold onto this. If you ever do put it on there, this is a good addition. The other optional thing is going to be trimming the underbody panel. You don't necessarily need to put it back up. It's completely up to you, but if you do plan on putting it back, it is going to require some trimming. Ours today, we're just temporarily putting this hitch on and then putting a different one. So I didn't trim it out, but really you're just going to be cutting along the inside edge. You can use really any cutting method that you have and just kind of mock it up as you go until it properly fits. But beyond that, that's going to do it for a look and installation of the Blue Ox trailer hitch receiver on a 2017 Toyota RAV4.
Customer Satisfaction Score:
87% were satisfied with this product
13% of customers were not satisfied
Ratings & Reviews

Info for this part was:
At etrailer we provide the best information available about the products we sell. We take the quality of our information seriously so that you can get the right part the first time. Let us know if anything is missing or if you have any questions.


















Thank you! Your comment has been submitted successfully. You should be able to view your question/comment here within a few days.
Error submitting comment. Please try again momentarily.