
etrailer Invisible Base Plate Kit - Removable Arms


To see if this custom-fit item will work for you please tell us what vehicle you'll use it with.


Thank you! Your comment has been submitted successfully. You should be able to view your question/comment here within a few days.
Error submitting comment. Please try again momentarily.

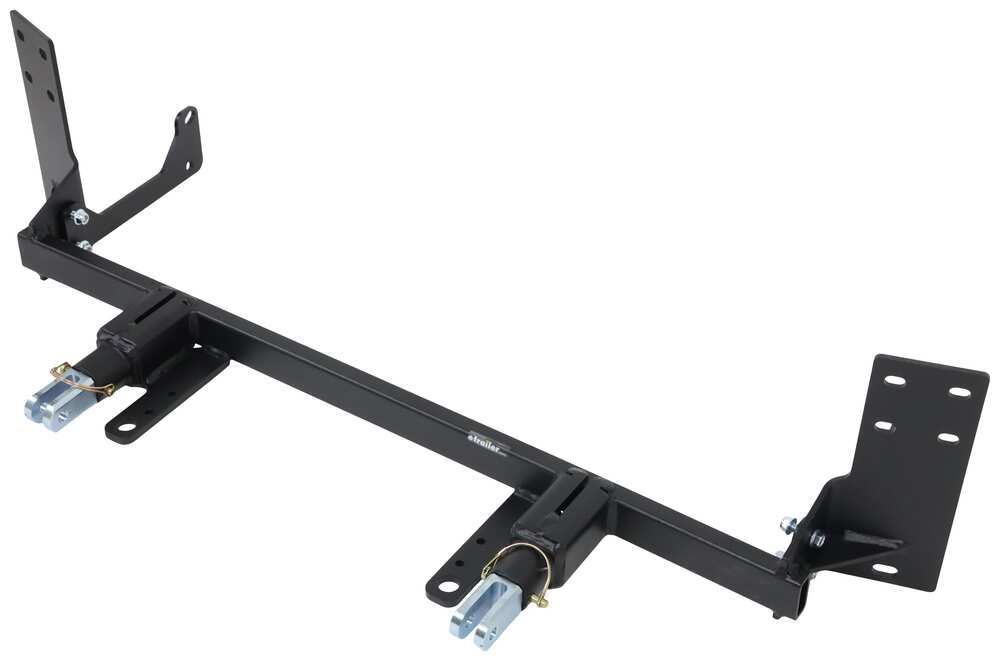
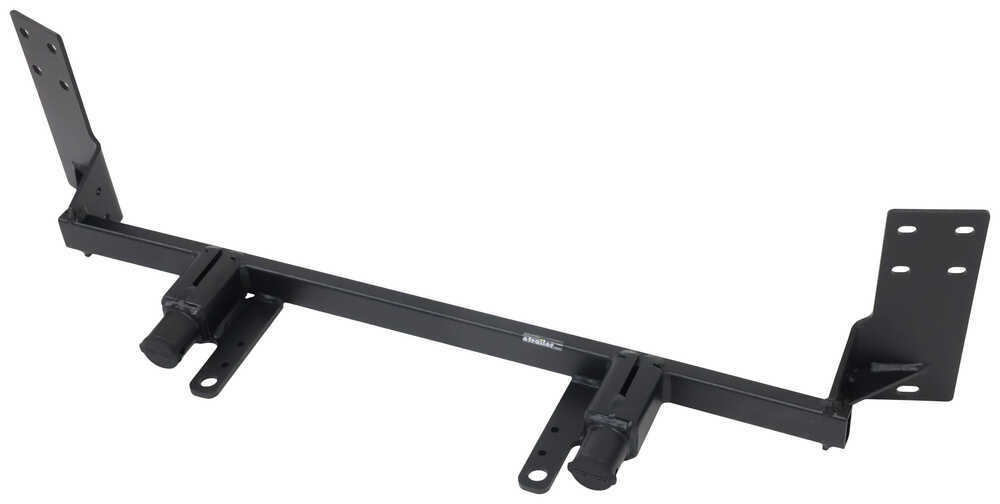
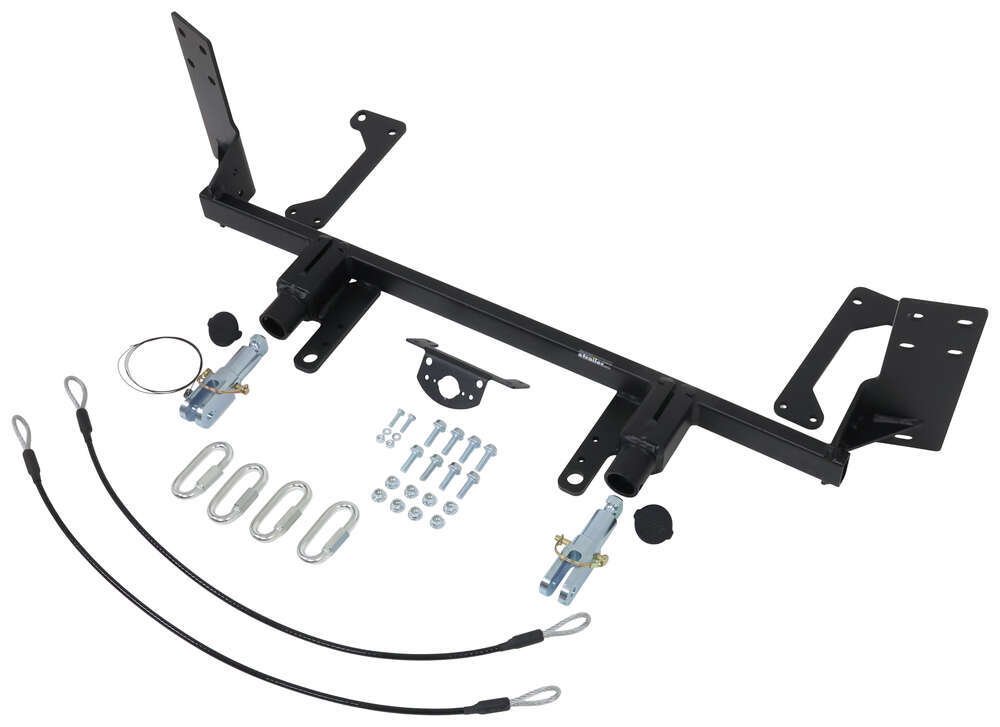
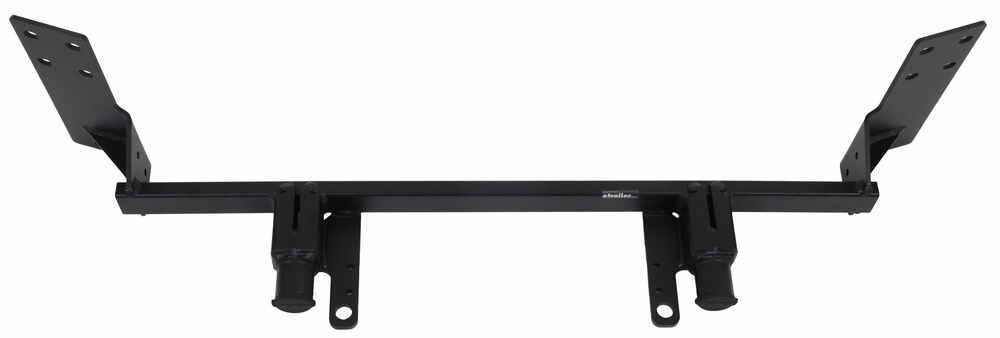
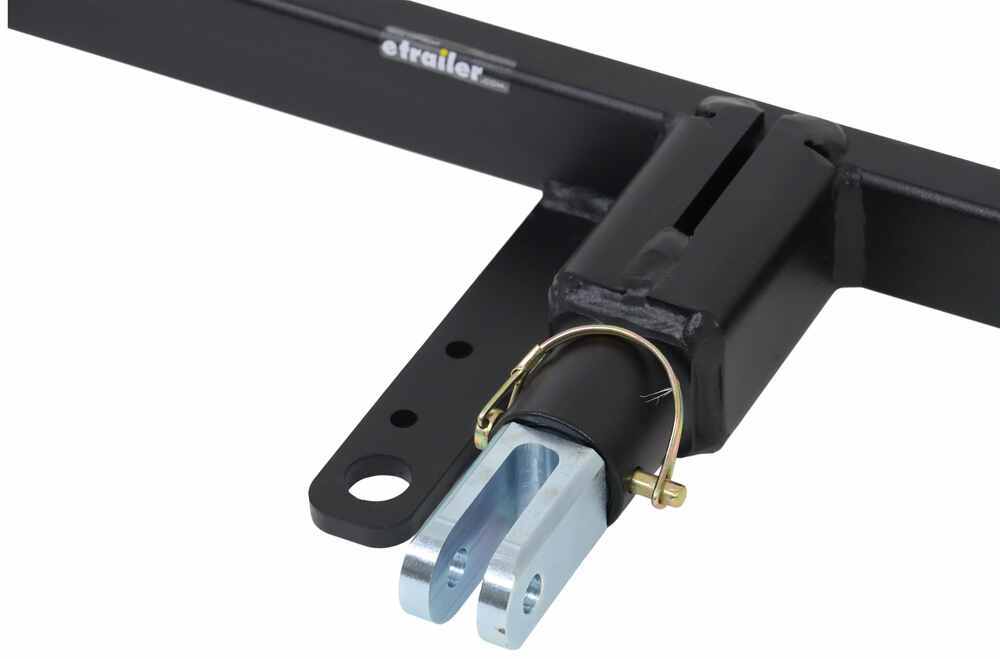
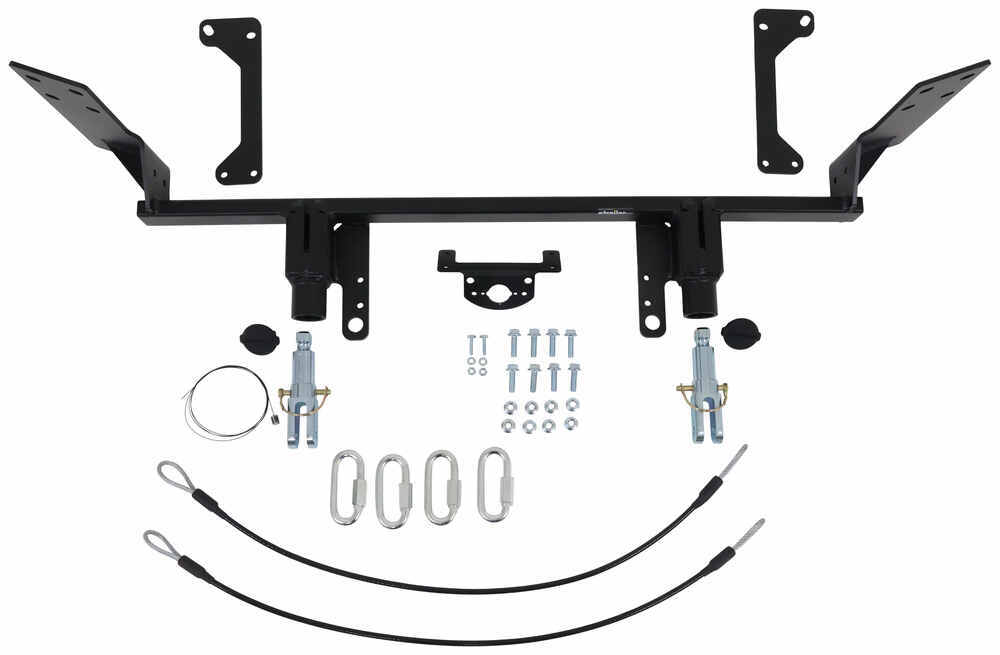
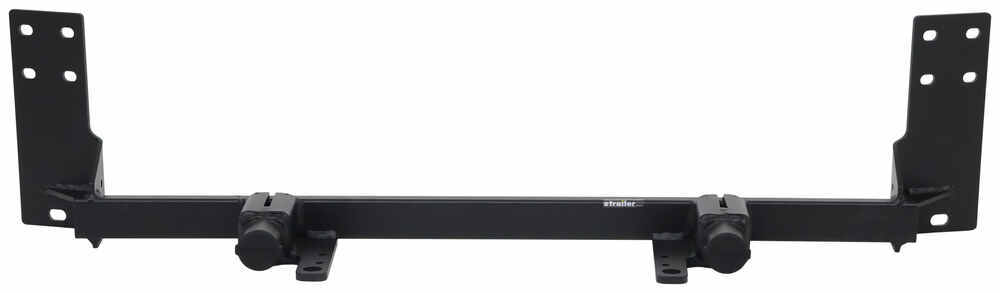
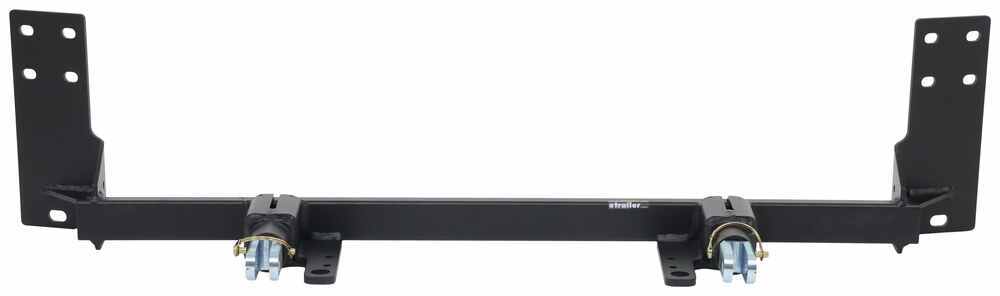
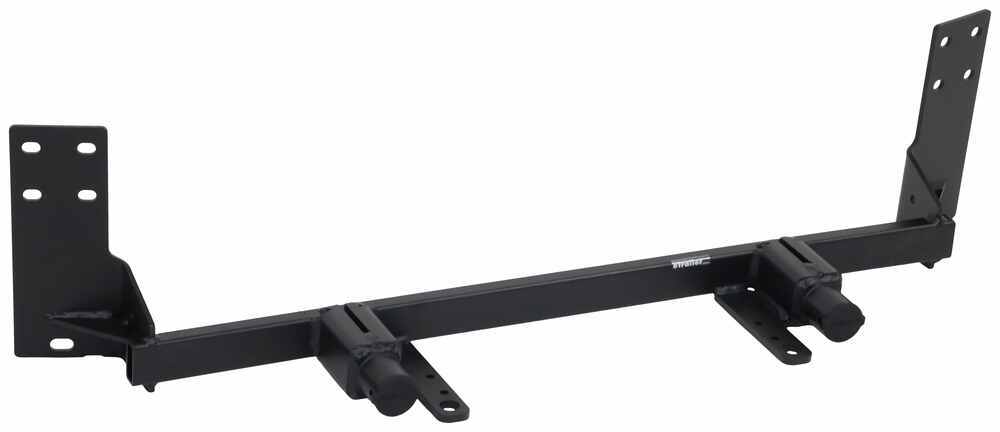
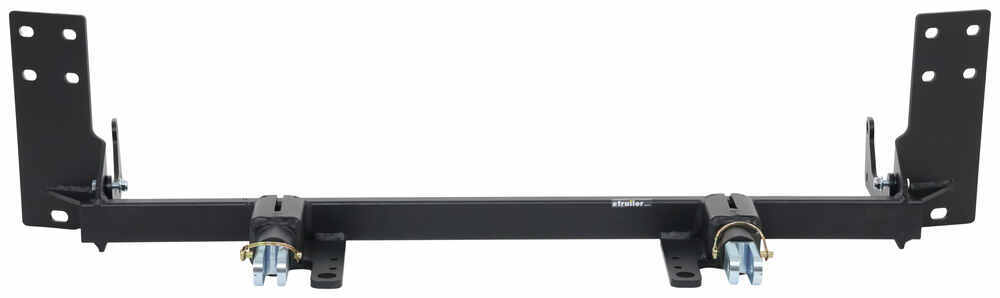
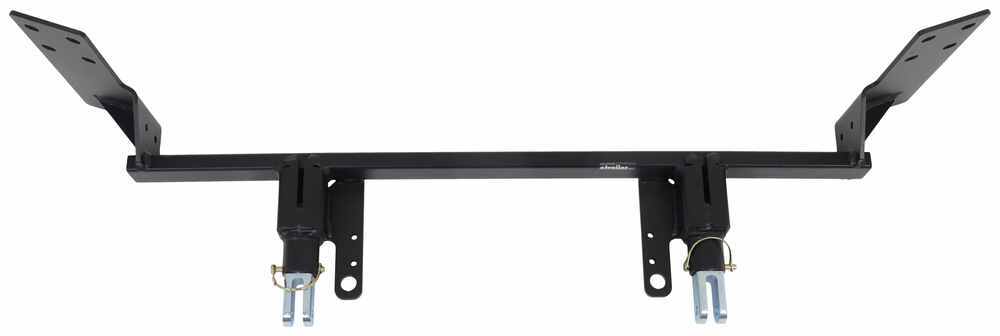
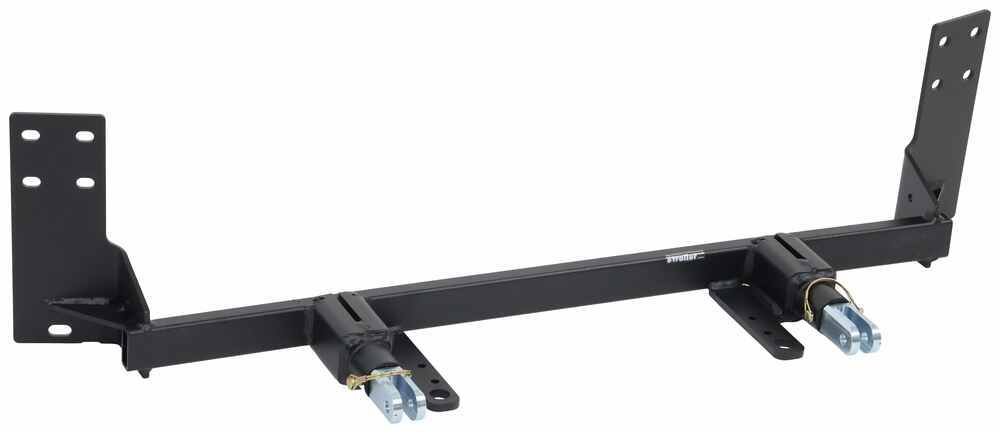
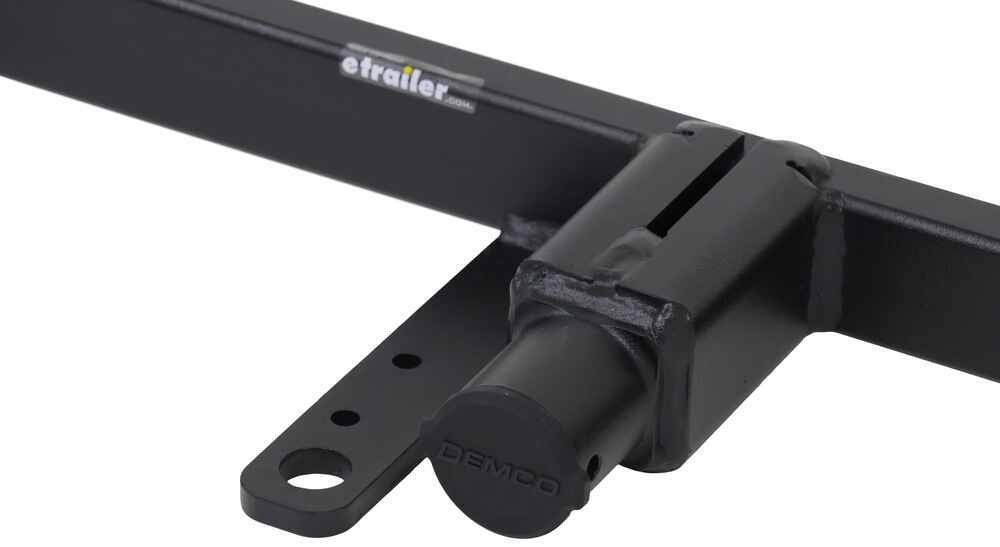
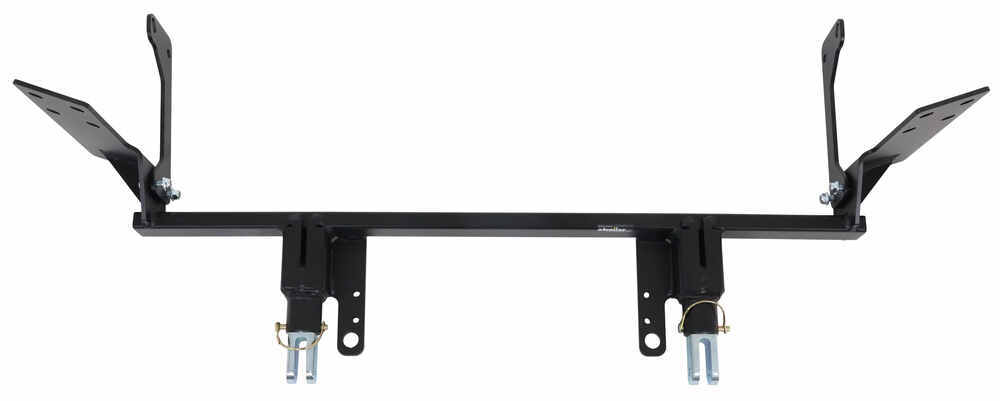
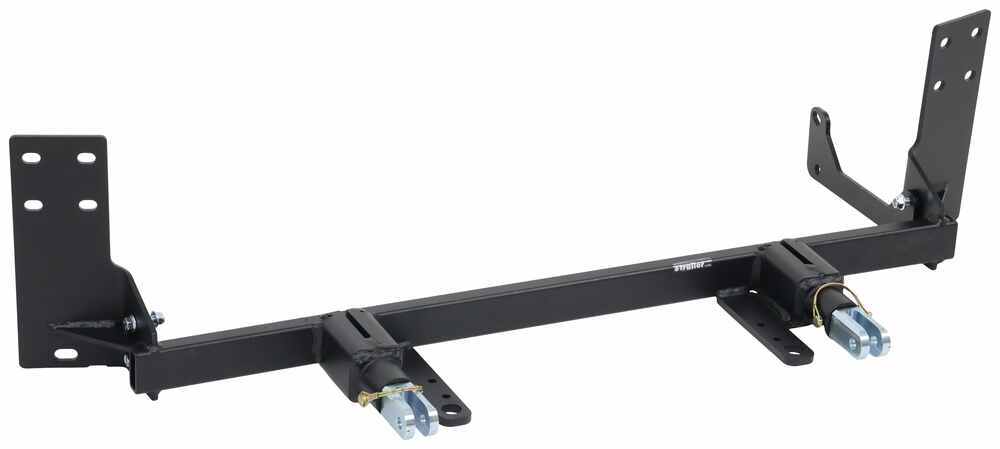



If you care about keeping your vehicle’s front end clean and uncluttered, this setup fits the bill. The invisible design leaves no obtrusive crossbar or protruding brackets, so it keeps a factory-style look when you’re not towing. The tabs stay attached to your tow bar arms instead of sticking out from the bumper. Snap-in receiver covers made of high-density polyethylene keep dirt and debris out of the base plate receivers, so the arms slide in and out smoothly each time you hook up.
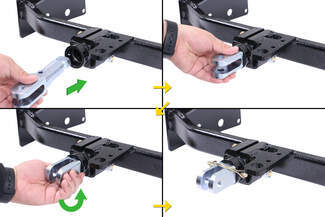
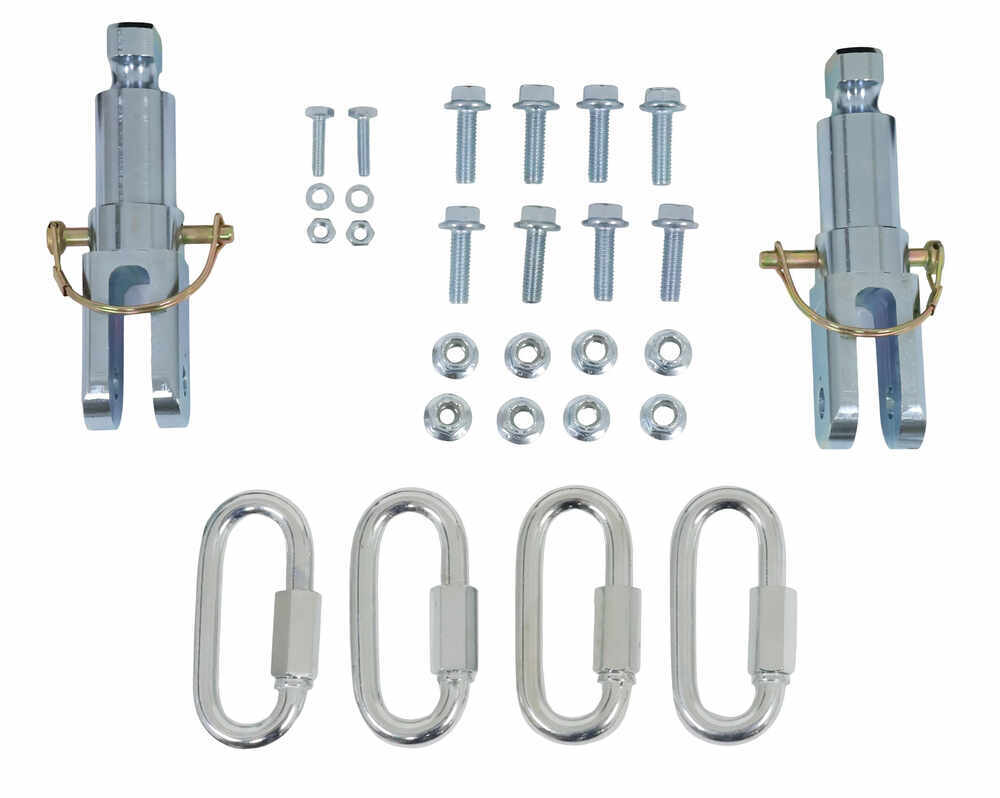
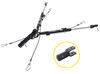
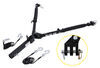
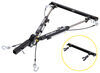
Connecting your tow bar to the base plate is straightforward and solid. Each arm inserts into the receiver, twists to lock, and secures with an included pull pin. That extra step adds confidence that everything stays in place while towing. When it’s time to disconnect, just release the pin, twist, and pull the arm free. The bracket layout—21-1/2" between brackets and 17-1/2" bracket height—gives you clear reference points when planning your setup.
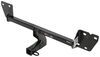
This base plate bolts securely to the chassis with no welding required. Its sturdy steel design spreads towing forces evenly to minimize stress on your suspension. It’s built for long-distance reliability, giving you peace of mind through every mile. The included hardware makes installation straightforward, and covers help prevent corrosion so everything continues to move freely over time.
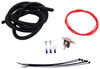
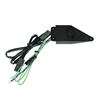
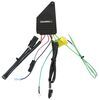
Already running a tow bar setup? This base plate connects directly with all Demco, etrailer, and Blue Ox tow bars without an adapter. It’s also adaptable for Roadmaster models using the correct adapters—e98983, e98984, e98979, or e98981 (sold separately). There’s even an electrical bracket included so you can mount a round connector plug neatly up front for a tidy wiring finish.
You don’t need special tools or welding to get this installed. The bolt-on design uses existing mounting points on the chassis, and all required hardware is included in the kit. With clear instructions guiding each step, it’s a project that most do-it-yourselfers can handle confidently over a weekend. Once complete, you’ve got a solid setup ready for consistent towing use whenever you need it.

Videos are provided as a guide only. Refer to manufacturer installation instructions and specs for complete information.
Hi, this is Scott with etrailer and today we're gonna be taking a look at and installing our etrailer base plate kit for our 2025 Buick Encore GX. This is what our base plate looks like all mounted up and with our tow bars attached. It's really nice design. It's kind of a flat black powder coat and it kind of hides back in back in our bumper fascia here really nice. I was actually surprised on how well it went on. It is a tight fit but it looks really good.
It's really hidden well. It's gonna be a pretty complicated task to get one of these done. I would say you're looking at a good full day of work just getting your base plate on itself. That's without all of your other things that go along with your flat tow setup. As far as measurements go, you're gonna want to know these numbers just so you know you're looking at about center of the pin you're looking at about 14 inches from the ground to the center of the pin there.
And that's gonna be a number you're gonna want to know. So you're gonna need to know if you're gonna have to have a high-low adapter or not. And with the measurement you're gonna need off that, you're gonna go by your measurement on the back of your receiver here and we're looking at right around 24 inches there. Now with your tow bar set up, you want it to be fairly level, so you're gonna want to have it level, so you're not gonna want to go any more than three inches above or below your 14 inch measurement here. So with that, you want it to drop down and you'll get a measurement here off the one we have here.
And we're at 16 inches to the center of this one. So that gets us in the range we need. With your flat tow set up you're gonna have five main components. You're gonna have your base plate, you're gonna have your tow bar, you're gonna have your safety cables, you're gonna have your braking system and your taillight wiring kit, could be diodes or anything like that as long as it's something that's set up for your model. As far as installation goes, it is pretty intense.
It can be a little daunting, especially 'cause you have to take off your whole entire front fascia. So you're gonna want to be really careful with that once you do pull that off. You'll probably want a couple buddies or something to come help you out with it. It'll help you get it done in a timely manner. As far as installation, if it's something you're not really interested in doing yourself, you can always take a look at our dealer network and have them see if we can find something local for you to get it done. Or you can stick around and watch our installation and we'll help you get it done. To start our installation for our base plate on our Buick we're gonna need to get our torque screws out along the edge of the top of our fascia here and we're just gonna take a T15 Torx bit and start getting those out. (drill grinding) Now on both sides of the vehicle in the inner fender right here in the front, you're gonna have Torx bits here as well. Those are also gonna be a T15. So it looks like we're gonna have five of 'em along here. We're just gonna have to take all those out. And I'm using an angled bit driver. Nice thing about these is you can change 'em up how you need 'em to set 'em up for what you need. They work out really well. Now that we have all of our screws out here, we're gonna be able to pull off this outer trim piece here around our wheel well and we did put blue tape on. What that's gonna do is that's gonna keep say this part from coming over and making contact with our paint here. So we just use blue tape to make sure we don't get any scratches. So what I like to do here is pull from up in the middle and kind of make a little gap where I can get a tool behind it. This can be a little tricky sometimes, so just work at it and it'll come loose for you. But just pulling some pressure on down here in the front we did we got it to pop loose so we are gonna move our way up and just kind of work back. We want to get just past this seam here, roll this easy, nice and easy along here and pop those out. It can be tricky so just be patient with it. Now you can see behind here we're gonna have a little bolt we're gonna have to undo on both sides. So what we're gonna do is just pull back one more notch and we're gonna take either a paper towel or maybe a rag or something like that and just kind of pop that in there and that's gonna help hold that out and we'll probably just take a wrench or something and try and get at that there. With this broken loose, you may need to use a wrench or something to get behind here 'cause you may not have enough room for a ratchet. So what do then is just kind of back it out by hand and just get it outta there. It's kind of a tight space so it's kind of easier to back it off and do it by hand once you get it loose. Now underneath the front here we're gonna need to get our bolts and little screws out so we can finally get the front end off of here. So we're just gonna go around, we'll start with our star bits we're a T15 and start getting those taken out. (drill grinding) And just work our way across the front. (drill grinding) Now we'll have six 7 millimeter bolts here. (drill grinding) Now that we have all of our hardware out of our front fascia, we're just gonna reach in here and grab this little tab that we had that little seven millimeter bolt on and just work our way across the front here. These should just pop right out for you. And what I like to do is just be careful of try not to get into your trim and stuff here. And one thing I did just notice as well is we will have to undo this little clip in order to have it come through the front of our fascia when it comes off. So you will want to remove that, just pull your little tab back, push in on this black tab. Now when you get that little tab pushed back, just kind of push in and push down on that tab real hard and it'll pop out for you. Just kind of tuck it behind here and we're gonna do that on both sides. So now this is the tricky part. There is a couple little clips right up under the headlight here so we kind of gotta lift up and pull back. You're probably gonna need a couple set of hands for this. So when it comes off now we got it to break loose here. And if you look right here it just guides up in along this right up here under the headlight. So that is gonna be an issue for you. Now we just want to pull down on the bottom of the bumper. Now once you get 'em all pulled back you're gonna have a plug on the passenger side. You're just gonna pop back a little red thing and push in your little clip here. Now on the driver's side you're gonna have this little wire that almost looks like a hose here. Do the same thing, pull the clip back and push in on that and carefully pull it apart and then you can move your fascia into a safe location. Now let's take a 15 millimeter socket and remove our bumper bolts. (drill grinding) And we'll just take all four of them out on both sides. (drill grinding) With all of our bolts out, we'll just let it sit there and hang in place. One of the options in your instructions is gonna be to have to trim this lower piece here. It's kinda like a little air dam thing. So what I like to do before I get everything put in place is I'll kind of test fit it and get my bar put on there and see where everything goes. Well with doing that, did decide that we are gonna have to trim these. We're just gonna cut a square out of that to make room for that to go into place. So now I'll just take a tool and you can either use maybe like a little hacksaw or a Dremel. I'm just gonna use a multi tool and cut these out on both sides. (saw grinding) Now with this trimmed out we're just gonna get it lifted into place and just get a bolt in on each side. So we're just gonna slide it in behind our factory impact bumper here. One thing to remember when you're putting your bolts in is in your kit you will come with Loctite So you wanna put it on all of your bolts, just get a good strip of it on there and do that with all of them while you're putting them in. And that goes for all of your bolts in the kit and your factory bolts that you're reinstalling. And for now we just want to get 'em snugged down after we get 'em all in finger tight. Now for our next step we're gonna have to get our washer fluid bottle out of the way. Behind it there is a couple holes we need to get to and to drill one of 'em out. So we're gonna start by getting that out of the way. We're just gonna take a 10 millimeter wrench and work on this one right under the headlight and work our way around until we have 'em all out. We're gonna have this one here, we're gonna have one back over here and we'll have one hidden back in here that will probably be a little bit tricky to get at. If I was to do it over again, I would actually do this step before I put this on. It'll just be easier to get that bolt back there out. So you may think about that and take a look at your directions. You may want to pop this out first before you put this on just so you can have easier access to that bolt back there. On the passenger side you're gonna have this little pocket where we took our washer fluid bottle out and you're gonna have a lower hole here, which is the size we need it to be. And you're gonna have another smaller hole up here above it and you'll have to feel around for it. It's kind of straight in right here. We're gonna need to drill that out to 7/16 so we can make room for our bolt to go through that. Now when you're drilling through this, make sure you look on the other side and make sure there's nothing there that you're gonna poke through. On this instance, we do have an inner cooler tubing so I'm just gonna be careful not to get into that when I go through and we'll just go ahead and get that drilled out now. (drill grinding) Now with our whole drilled here, we're gonna go ahead and get our brackets installed. We're gonna go on the inside here and kind of go up under this sensor. And what I like to do is get one of them here in the front 'cause that's gonna help to get it lined up in the back there. So I'll just get one started there. Just let that drop and just put it on finger tight. It's just gonna be there to help line up the ones on the inside there and we'll get the other one in and just leave them in loose. That's just gonna make it a little easier to get your bolts in back here 'cause these are kind of up in there. Now you can use the fish wire that's in the kit, but I'm able to get my fingers in there. So I'm just gonna kind of feel my way and get one started. The lower one's probably gonna be the easiest, so I'll do that one first. So what I started to do here is run the bolt from this side into the other side and then have the nut on the inside of the frame. From what I decided is to run it the opposite way with the bolt coming from the inside out to this side because of the fact back here we have a intercooler tube for the turbo and I was worried about the nut and bolt and getting the turbo tube so I went ahead and did it that way. So I'm gonna go ahead and get the other top one in here and it can be a little tricky to get 'em in there. You just gotta work at it. Now with all of our bolts in place, what we're gonna do is just go through and get everything torqued down to the torque specifications listed in our instruction manual. Included in your kit you're gonna have your safety cables here and what you're gonna want to do is just loop 'em through your top portion here and then run 'em down and loop 'em down around the crossbar here and make sure you get these all tight and you can get these kind of tucked away outta the way and that's gonna give you a little extra protection. Now in our base plate kit we do have this little bracket for our wiring. So we chose to put it on the driver's side and we're gonna do it where it's as even of a plane as we can get with the top of these right here 'cause it's gonna fit in the slot in our fascia. So we're just gonna go ahead and get that bolted on now and we're just gonna run a bolt through and then we're gonna take a split washer and our nut and that's gonna provide a solid mounting point for our wiring. Once you have it lined up and have your bracket where you want it, just go ahead and tighten 'em down. I'm gonna use a 7/16 wrench, I'm just gonna use two of 'em and get 'em nice and tight. Now way we have everything all trimmed out on our fascia here, all you're gonna have to do is hold it up and have somebody help you hold it up and mark the places that you have to trim. You're just gonna cut out little pieces of the grill section on the lower section of it there and just trim it to whatever looks like it's gonna work for you. It really depends on what side and everything you put your breakaway switch and everything on. So you just gotta remember to plug in all your plugins that you unplugged when you took the fascia off and get it put in place. As far as getting the fascia back on, it can be kind of tricky. You will want two people, maybe three to help you get it lined back up. On this particular vehicle the fascia fits on really tight. So at this point now, once you get it on there like that, then you'll just move on to your finishing touches and get all your hardware put back in place that you took off during unassembly. So now we've just gonna get the bolt in here and then we'll start getting the rest of our trim on and that'll button up the front end. And that was a look at our etrailer base plate for our 2025 Encore GX.
Customer Satisfaction Score:
89% were satisfied with this product
11% of customers were not satisfied
Ratings & Reviews




Gwendolyn Y.
4/9/2026
Looks great on your Jeep! Where are you headed to first, Franz?

Jerry B.
8/17/2026
That's great, I'm glad it's taken care of you! Any big trips coming up?
Chris
10/10/2026
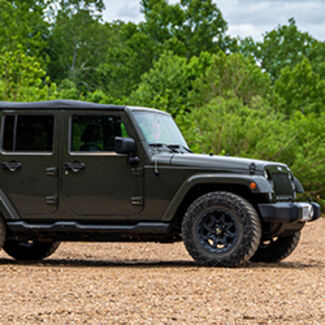
Still working perfectly. Towed the jeep about 2000 miles from WA State down to Disneyland and then to Las Vegas and back. Plus dozens of camping trips.


Claire H.
6/2/2026
Hi Shawn, the etrailer Invisible Base Plates part # e66GV are not a fit for the 2026 Jeep Grand Cherokee, which is why the shutters had to be removed, and the instructions didn't cover it. These base plates fit the previous 2025 Jeep Grand Cherokee model, but due to changes in the fascia and bumper they're not a fit for the 2026 model due to those modifications. However, the actual frame of the 2026 Grand Cherokee is still the same as the 2025 model, so the base plates are safe to tow with.
Do you have a question about this Tow Bar Base Plate?
Info for this part was:
At etrailer we provide the best information available about the products we sell. We take the quality of our information seriously so that you can get the right part the first time. Let us know if anything is missing or if you have any questions.


















Lazer S.
4/21/2026
Glad we could help, David! Looks good on there! ^___^ What's the next trip you have planned?