
Roadmaster Direct-Connect Base Plate Kit - Fixed Arms


To see if this custom-fit item will work for you please tell us what vehicle you'll use it with.


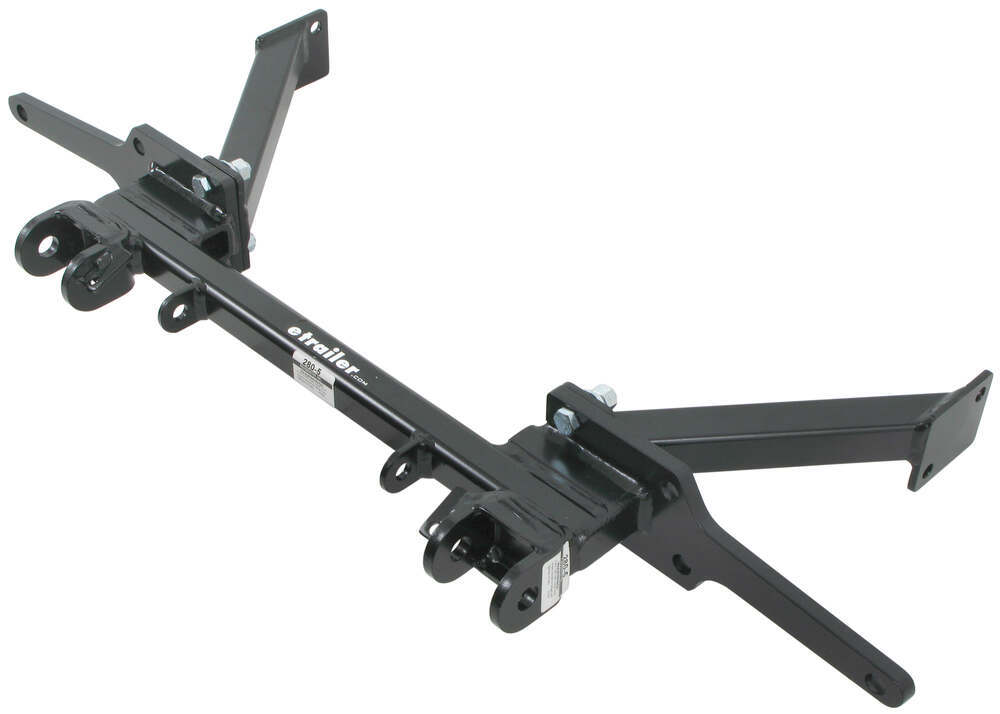
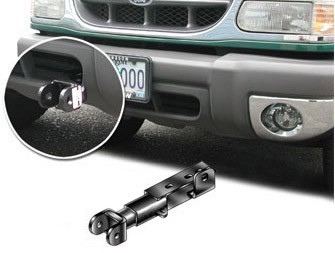
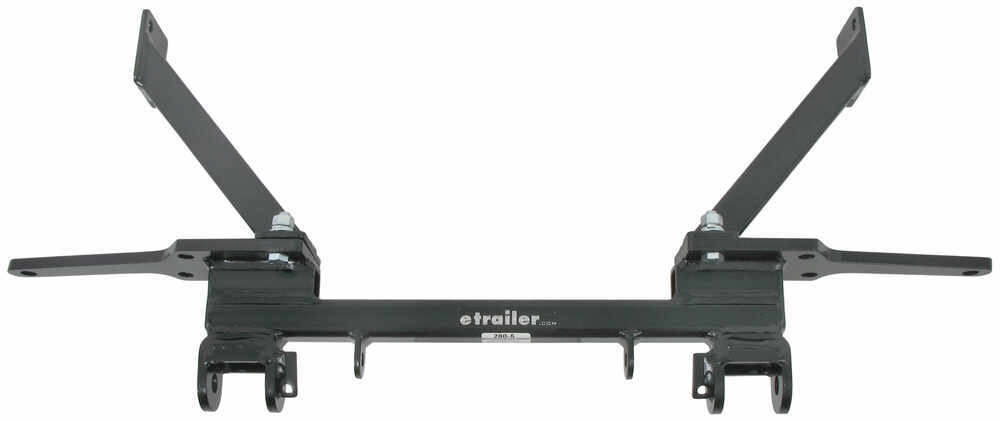

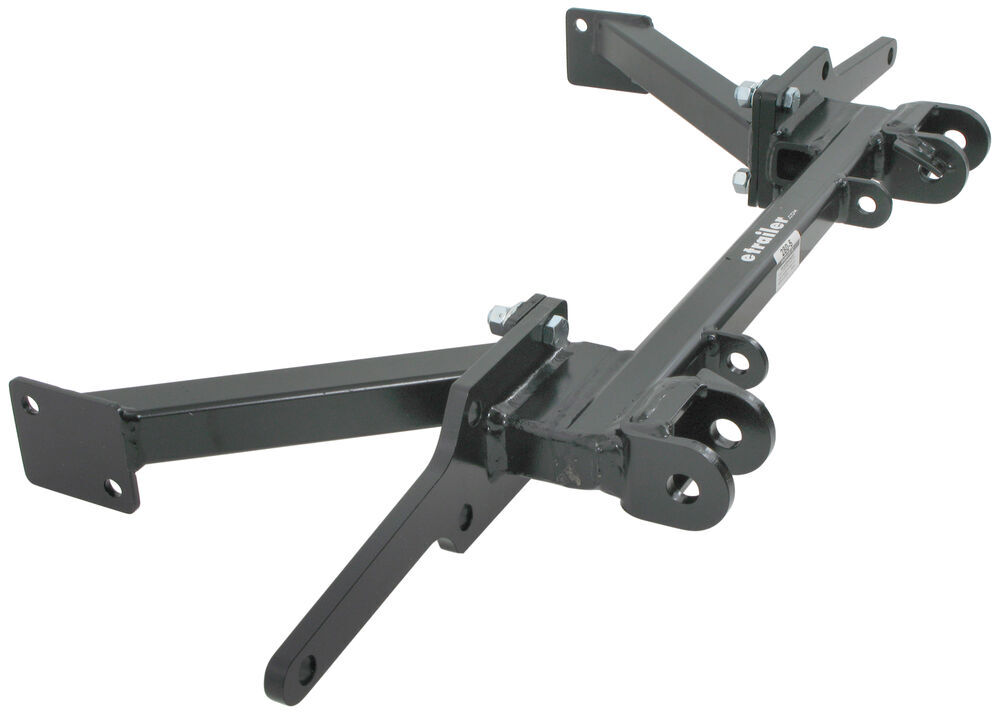
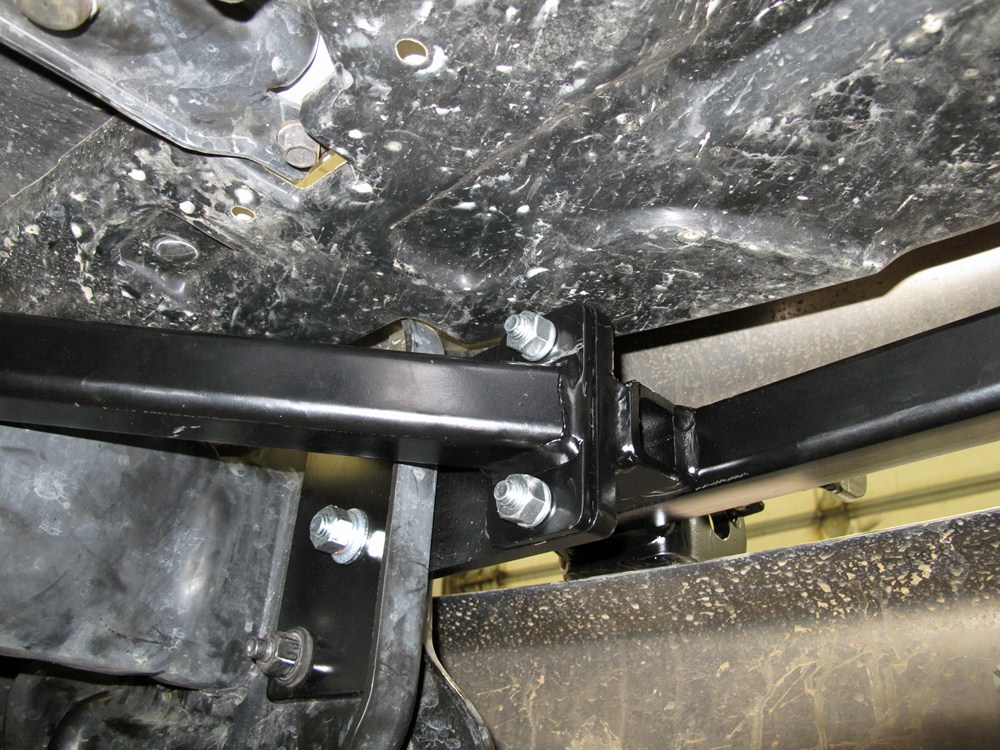
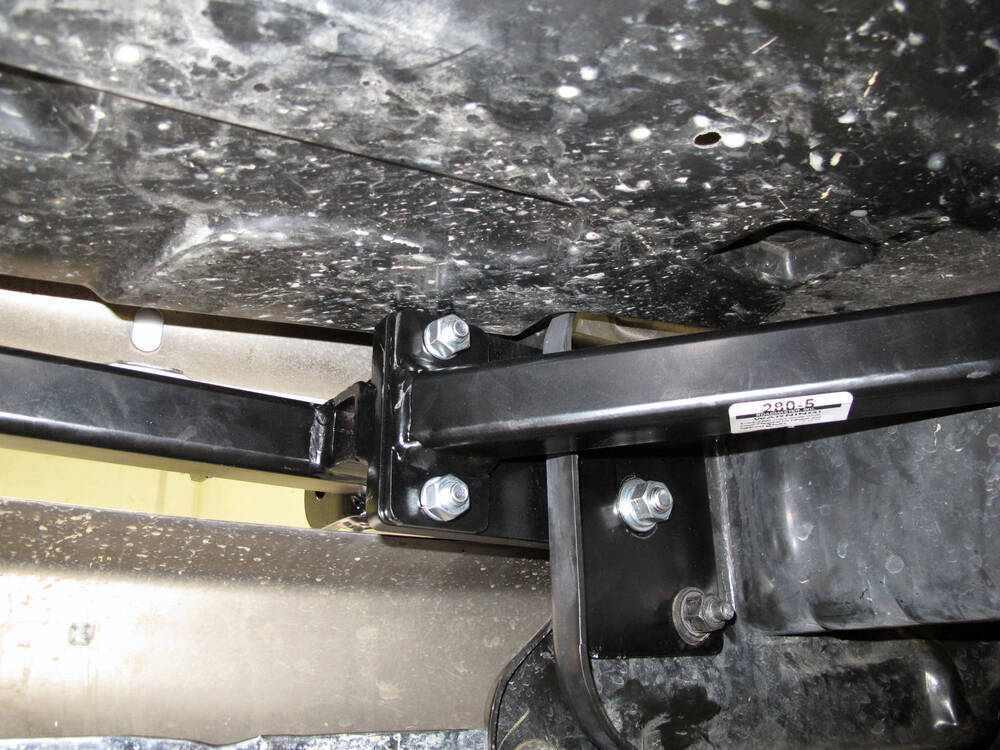
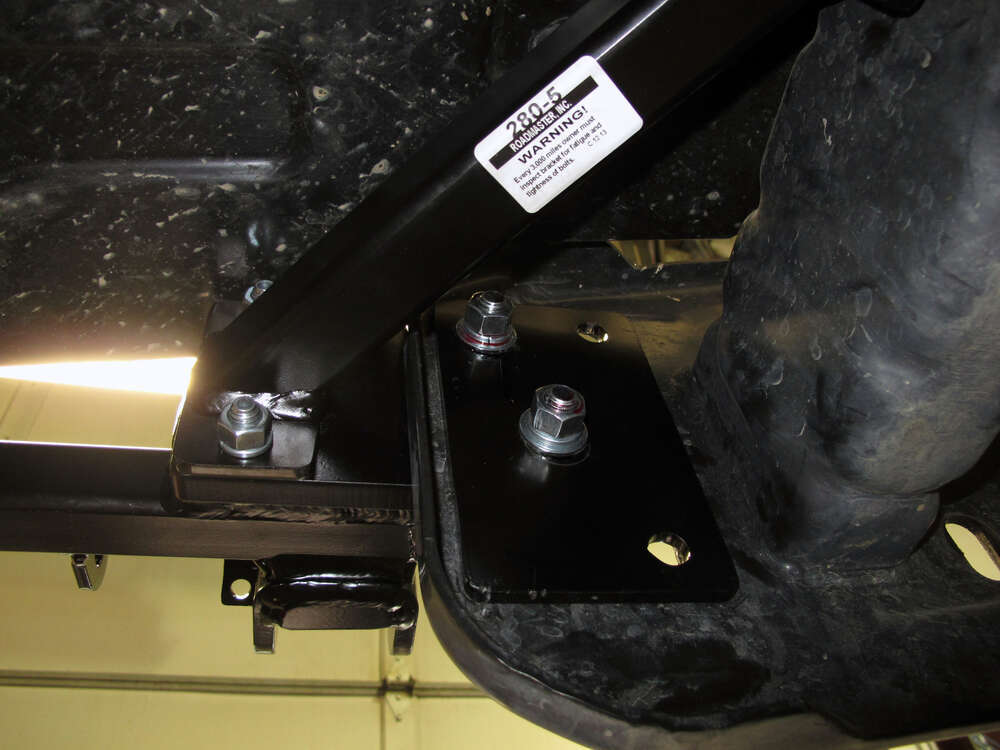


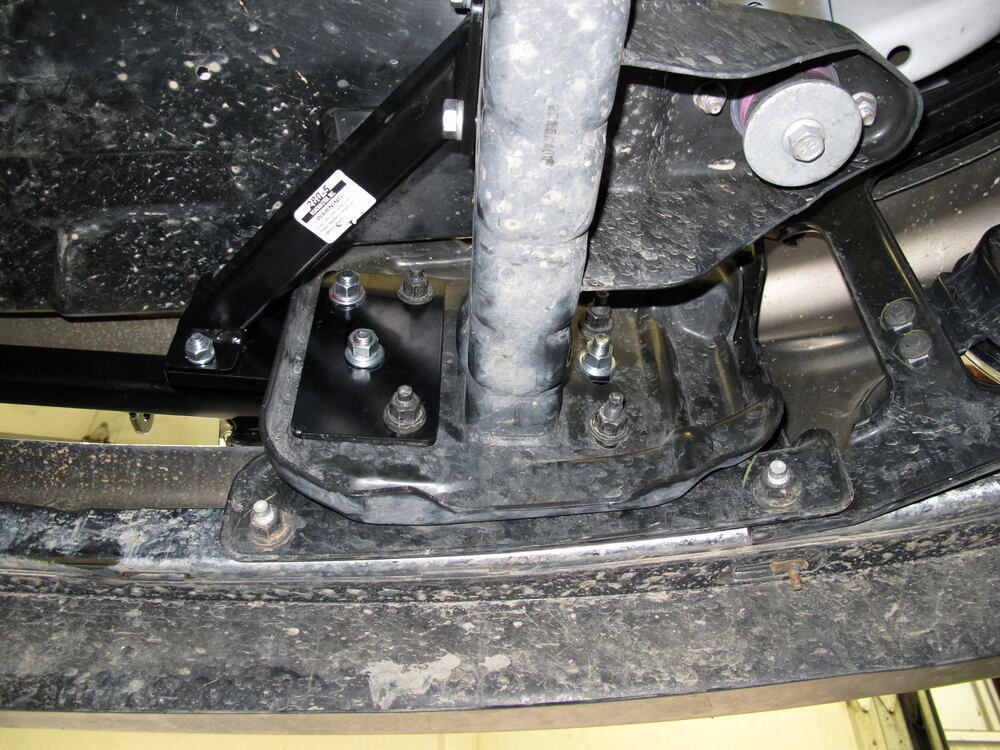
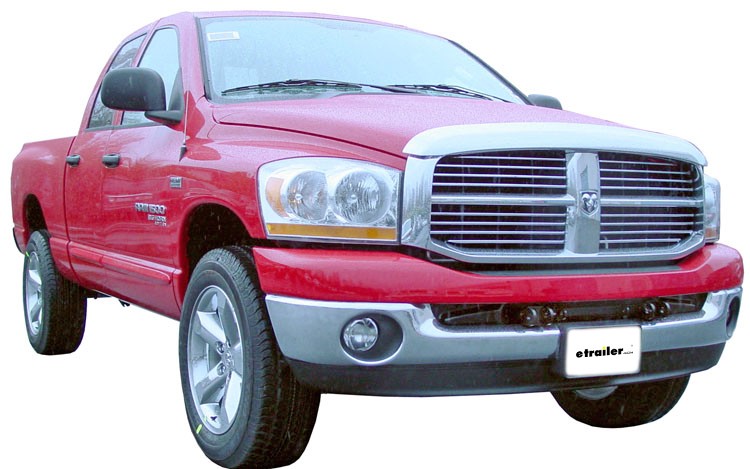
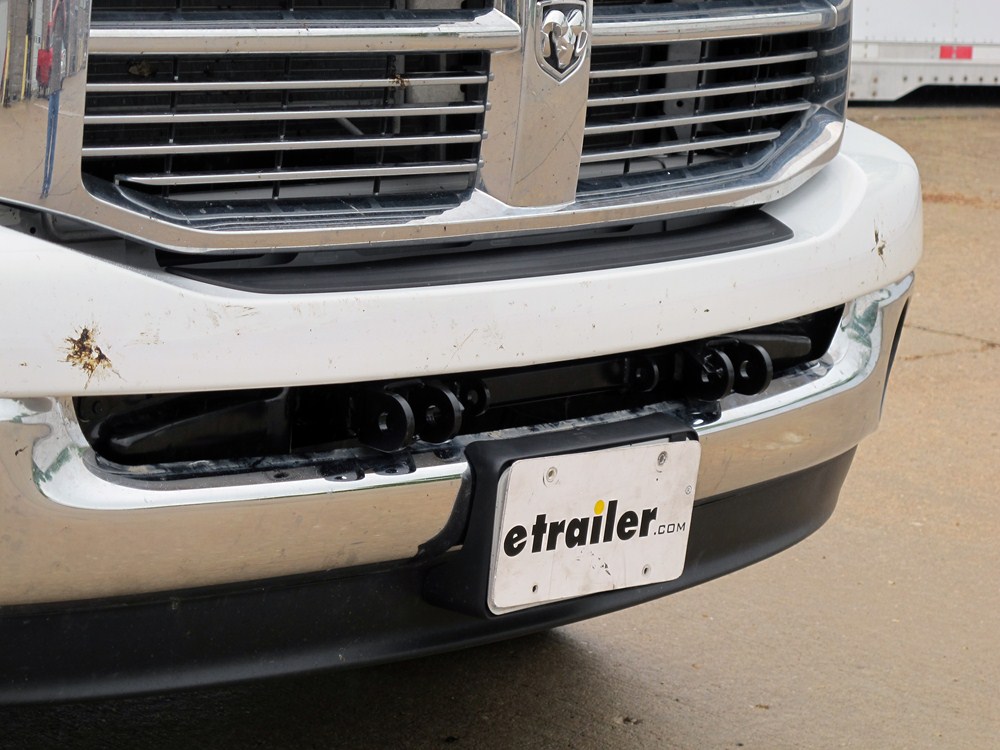
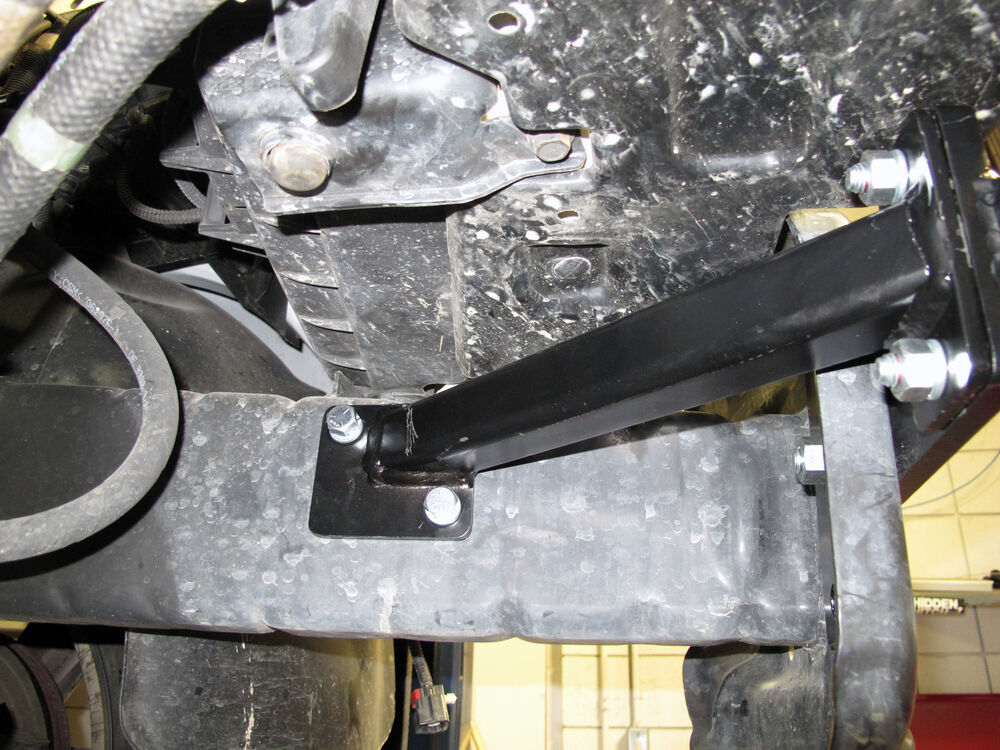
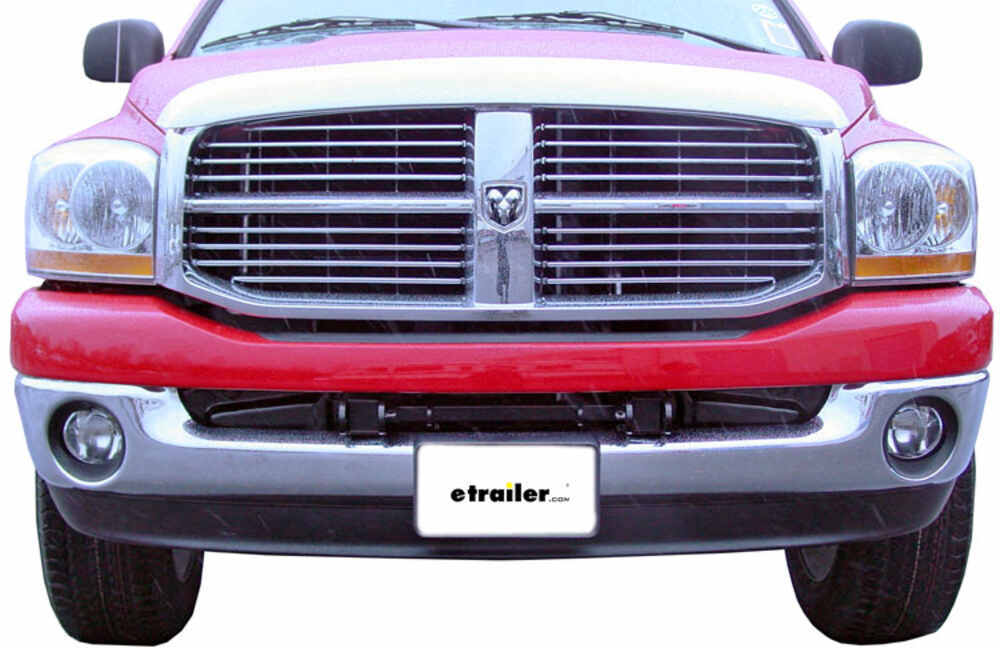
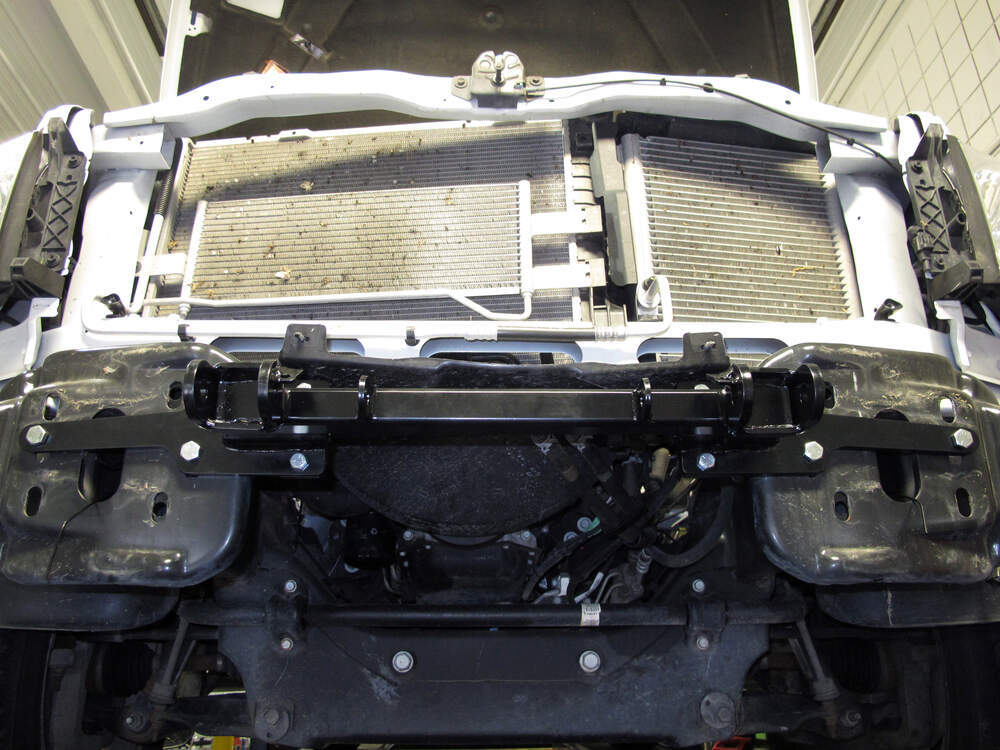

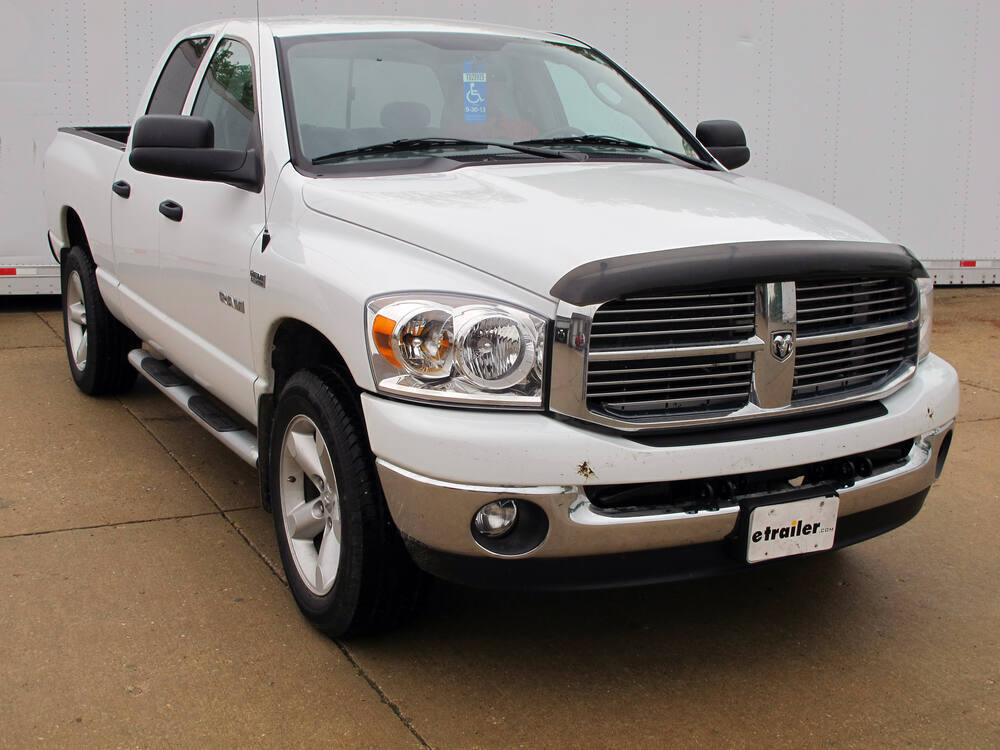
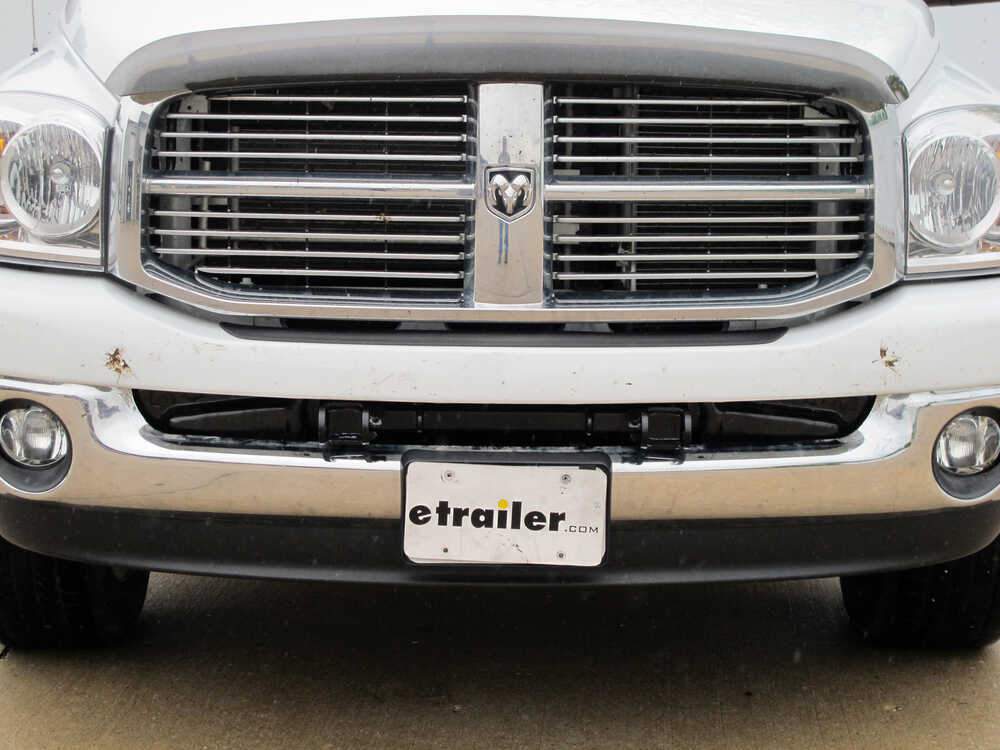
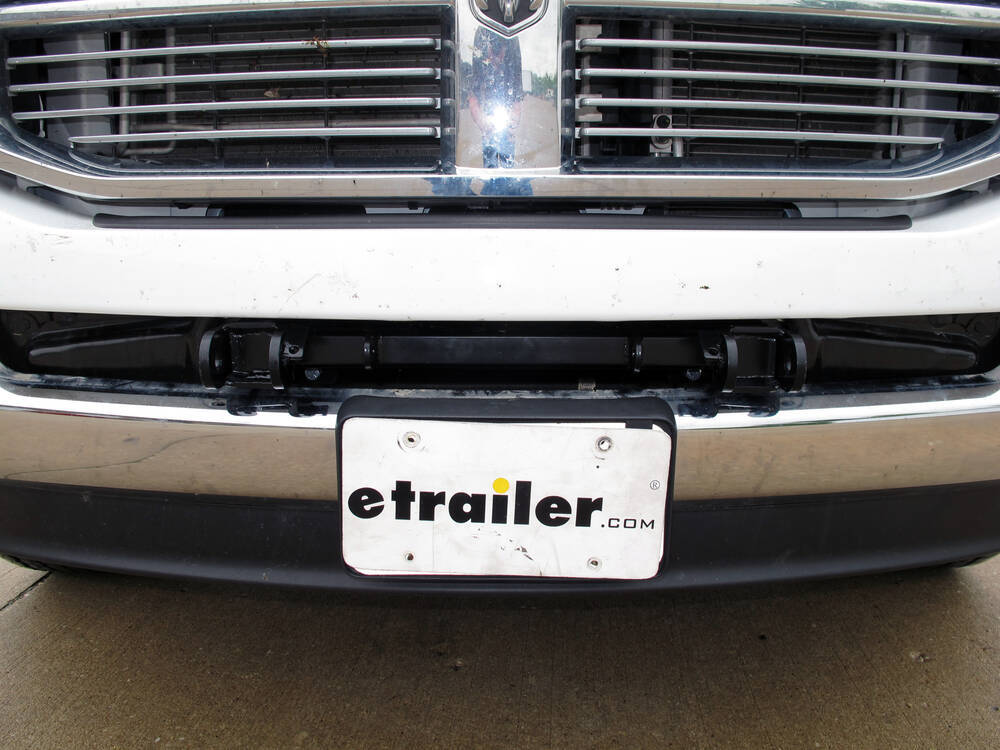

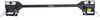
When you’re setting up for flat towing, you want solid mounting points that don’t flex or shift. This direct-connect kit uses computer-cut, all-steel construction for exceptional strength and a black powder coat finish that stands up to corrosion. The fixed-bar design means the front arms stay in place, ready to take on the load of a motor-home-mounted tow bar without needing extra pieces or welding.
Hookups go faster when there’s less hardware in your way. These base plates bolt straight to the frame and connect directly to Roadmaster tow bars that slide into trailer hitch receivers—no bulky crossbar required. That means fewer parts to handle and a cleaner, sleeker appearance once everything is mounted.
Whether you’re running a Nighthawk, Sterling, Blackhawk, Blackhawk 2, Falcon, or Falcon 2 tow bar, this kit is built to match. Each one slides right into the receiver without adapters or complicated linkage. If you’re using a Demco Excali-Bar setup, an adapter such as the Demco Tow Bar Adapter for Roadmaster Base Plates # DM9523032 makes it all work together smoothly.
Getting the brackets on is simple and doesn’t require welding. The kit comes with instructions and all necessary mounting hardware so you can bolt it up confidently. The direct connection to the vehicle’s frame helps align everything properly and gives you a strong foundation for reliable towing mile after mile.

Videos are provided as a guide only. Refer to manufacturer installation instructions and specs for complete information.
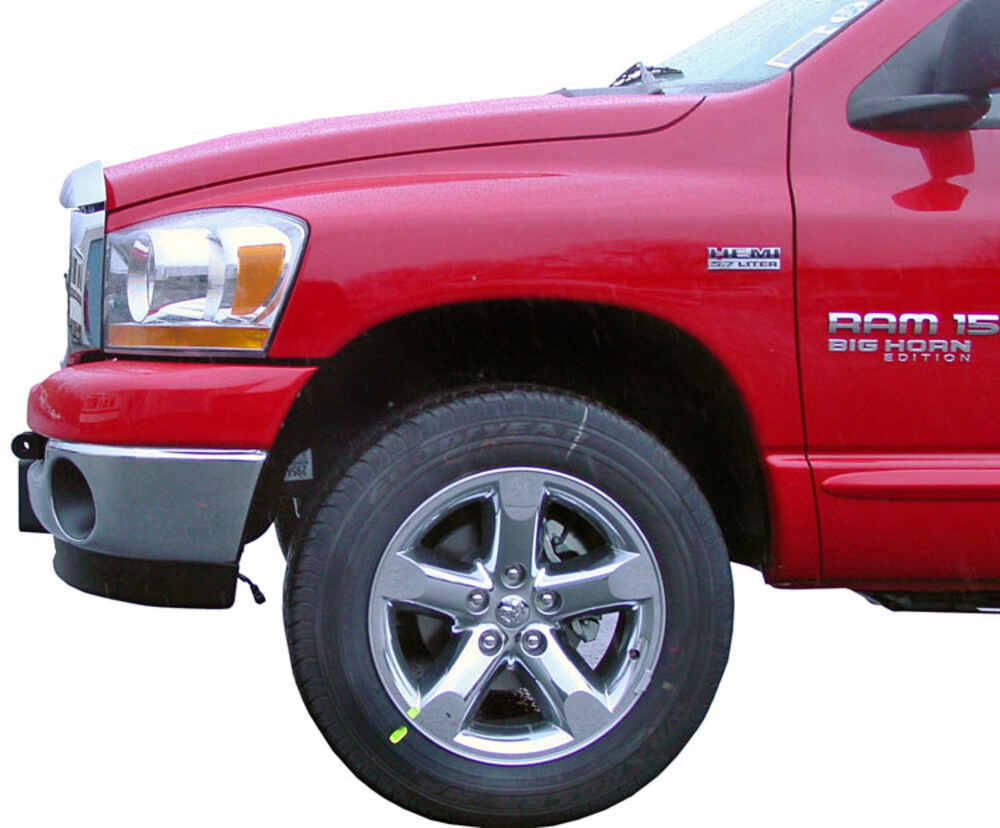
Today on our 2008 Dodge Ram Pick-Up we'll be installing the Roadmaster MS Base Plate Kit, part number 280-5. To begin our install we'll first need to remove the front bumper. Our first step will be removing the electrical from the front bumper. For this application there is a fog light wire that we'll need to disconnect. Push up on the locking tab and press on the connector and remove the connector from the socket.Next we'll need to locate the eight fasteners that secure the front bumper to the frame flange. Once we remove each of these nuts and set them aside for installation later we'll now move to the top of the bumper where we'll need to remove two plastic push pin fasteners that secure a portion of the air dam.Now with the push pin fasteners removed we're ready to go ahead and remove the front bumper.
We'll pull straight out away from the vehicle until it releases and then we can go ahead and take it and set it aside for re-installation later. We're ready to go ahead and start installing the main receiver brace.This we'll fit underneath where the front bumper was just removed. To secure it to the front frame assembly we'll be using the half inch bolt along with a half inch flat washer, split lock washer and nut. Note each fastener that secures our new base plate kit will get red Loctite on the threads, part number LT37420. This will help to ensure that the hardware doesn't come loose over time.We'll put the bolt through the base plate.
For each fastening point that has an oblong hole is especially necessary to install the flat washer and then the split lock washer. Now with those two fasteners installed finger tight holding the base plate receiver in place, we'll move to the center forward attachment points; two on each side. As we put the half inch bolt through the receiver brace we'll then add an additional backing plate which is lined up with the manufacturer's pre-drilled holes.Then we'll secure these with the half inch bolt, flat washer, split lock washer and nut. Once we have all six installed and finger tight we'll now move to the rear braces. This will go from the base plate to the frame.
Once we identify the driver and passenger side we'll go ahead and use the 7/16 hardware to secure it to the base plate. We'll put the 7/16 bolt through the base plate then through the brace securing it with a split lock washer and nut.Once we have those in place we'll go ahead and snug them down to make sure they're secured. Then we'll need to drill out the attachment points on the other side of our brace to the frame. Using the brace as a template we'll now go ahead and use a half inch bit to mark the centering point of each attachment point. Once we have the center marked out we'll then use a pilot bit or smaller bit to drill them out.Using a step bit process we'll go to a larger bit and then to our final half inch size as per the instructions.
Now with our holes drilled out we'll go ahead and secure it with a bolt, split lock washer and on the inside of the frame we'll use the threaded backing plates. Once we have each one installed finger tight we'll then snug them down. Once we have them installed and tightened down we'll break off the ends of the backing plates.Now with all our hardware in place we're ready to go ahead and reinstall the front bumper assembly. However on this application we'll first need to remove the plastic fascia piece in the front bumper. To remove this fascia piece we'll need to remove the four push pin fasteners. With this removed we'll now allow the base plate arms to go through the front bumper. To remove these push pin fasteners you'll screw out the center point of the fastener and then pop the fastener out completely.Note over time these fasteners can become extremely difficult to remove. In extreme cases it'll be necessary to drill out the center portion of the fastener and then remove it. We'll go ahead and remove the fascia and set it aside as it will not be reinstalled. Now we're ready to go ahead and install the bumper. It's a good idea to get an extra set of hands to help you install the bumper as we line up the front bumper bolts to go back into position.Once into position we'll go ahead and reinstall the nuts we removed earlier. In some cases it may be necessary to remove several fasteners in order to get enough play out of the wheel liner to get it back into position. Once we get it into position we'll go ahead and reinstall the fasteners and move back underneath the vehicle so we can complete installing the bumper nuts and tighten them down.Now with our bumper nuts tightened down we'll go ahead and tighten down all of the base plate securing fasteners. Now with all our fasteners tightened down we'll go ahead and torque to specifications as indicated in the instructions. Now with all our fasteners secured and torqued to specifications we'll go ahead and reinstall the wiring for the fog lights and the push pin fasteners for the air dam.With that completed we're ready to hit the road. That does it for the installation of the Roadmaster MS Base Plate Kit, part number 280-5 on our 2008 Dodge Ram Pick-Up.
Ratings & Reviews

Product came ahead of schedule Great!
Great product.
Easy to install
I installed these a year ago and since have towed my Jeep a little of 2,000 miles. Perfect. No issues at all.
Thanks for the great service.
Website was easy to manage and place and order.
The Customer Service follow up was excellent.
Part fit perfect. Easy installation no complaints here.
Excellent , knowledgeable , fast service !
And the person that assisted me with my order friendly & had a good attitude !
Solid brackets and ease of putting them on.
I used this on my 1997 (square body) F250. Fit perfectly, no drilling required. It works as it should. No issues.
Easy to install, have held up well over 8,000 miles. They do need to be checked for tightness as per the directions. Highly recommended!
Received these and they were well packaged and no damage even to the paint. Appears to be well made. I am impressed with the construction of these. Appear to be well engineered. Fit my Roadmaster tow arms perfectly.
Product is well made totally happy with it.
I have Rugged Ridge Modular XHD Bumpers for Jeep Wrangler JK and needed special adapters for the Blue Ox tow system. Alex J. was able to guide me and get exactly what I needed for my setup. These are working great!!
I asked for thr pins that go with this part do you have them? thanks
excellent fit on my dodge very pleased with this product...
Easy to install, choice of video and/or printed instructions.
Everything went well till I got to lining up the threaded plates inside the frame rails with the wire attached and one of the wires broke off before l got the bolt started other than that instructions were very good
Info for this part was:
At etrailer we provide the best information available about the products we sell. We take the quality of our information seriously so that you can get the right part the first time.























Thank you! Your comment has been submitted successfully. You should be able to view your question/comment here within a few days.
Error submitting comment. Please try again momentarily.