


To see if this custom-fit item will work for you please tell us what vehicle you'll use it with.


Thank you! Your comment has been submitted successfully. You should be able to view your question/comment here within a few days.
Error submitting comment. Please try again momentarily.

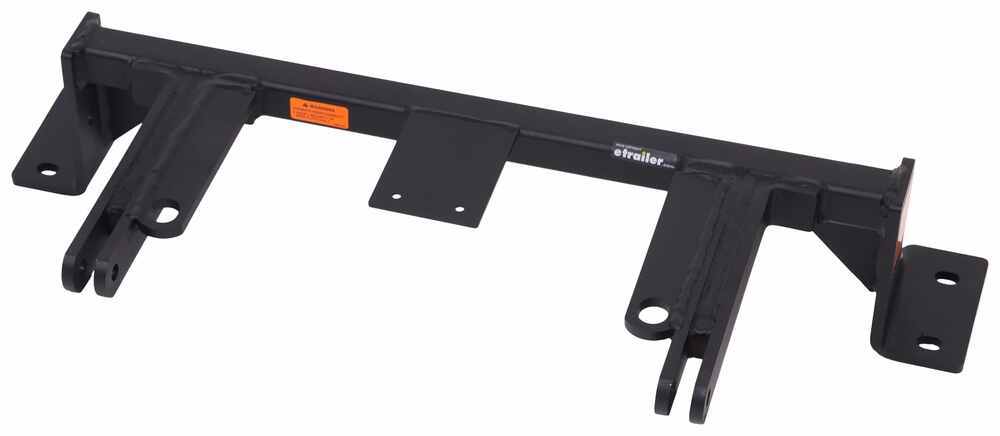
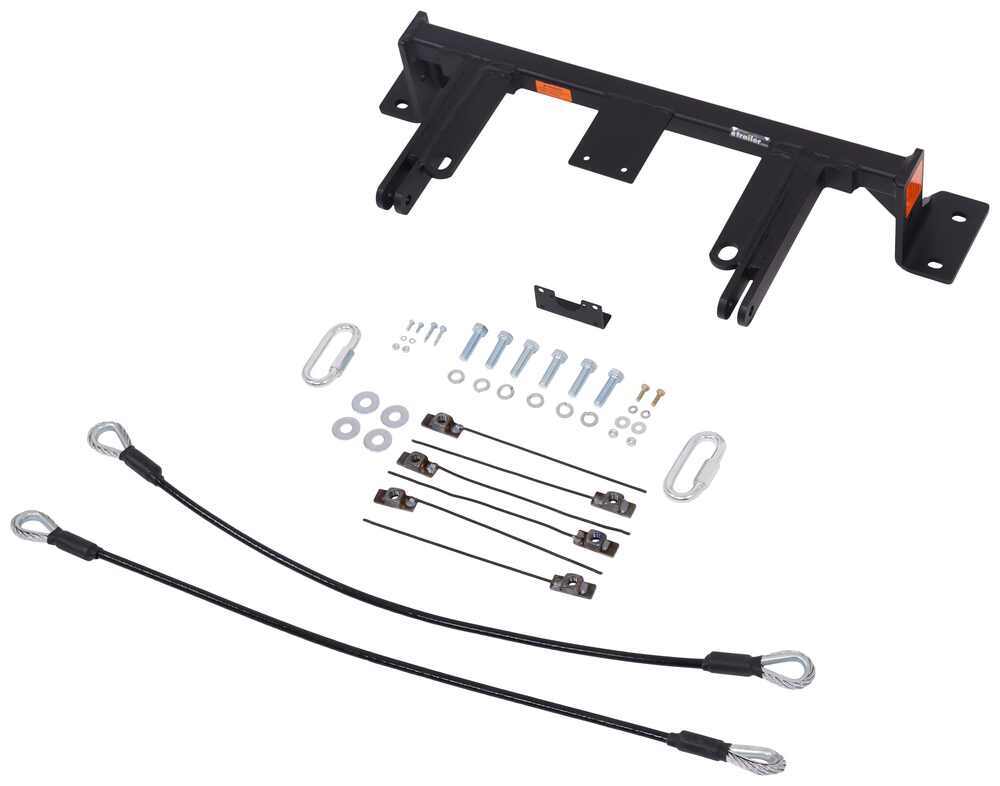
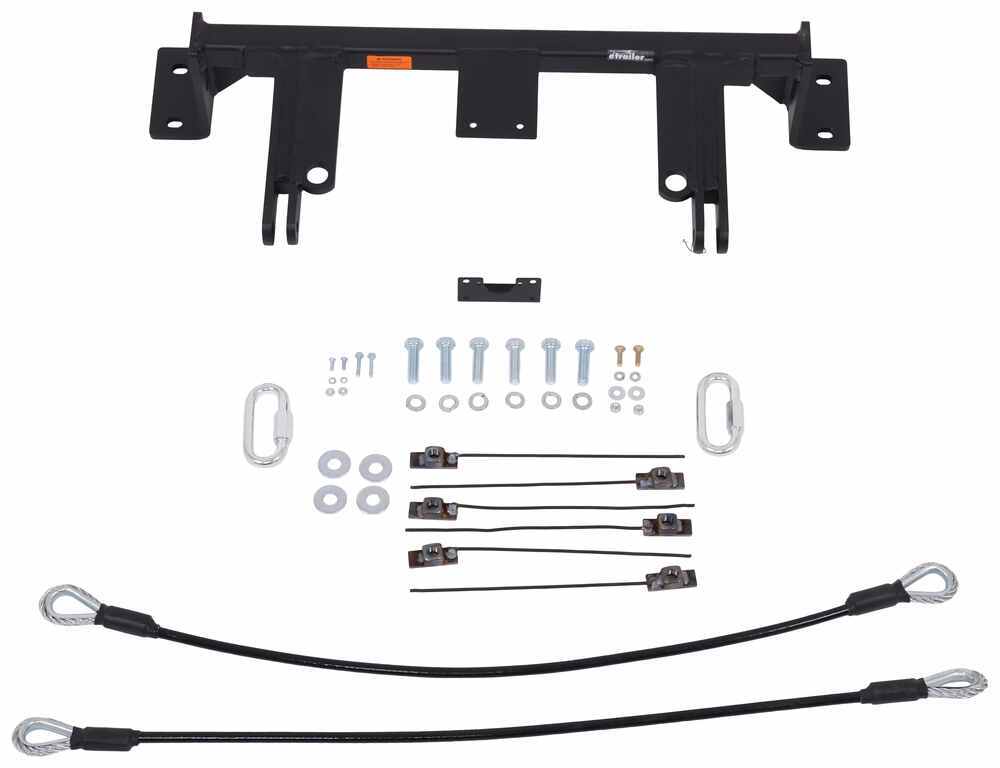
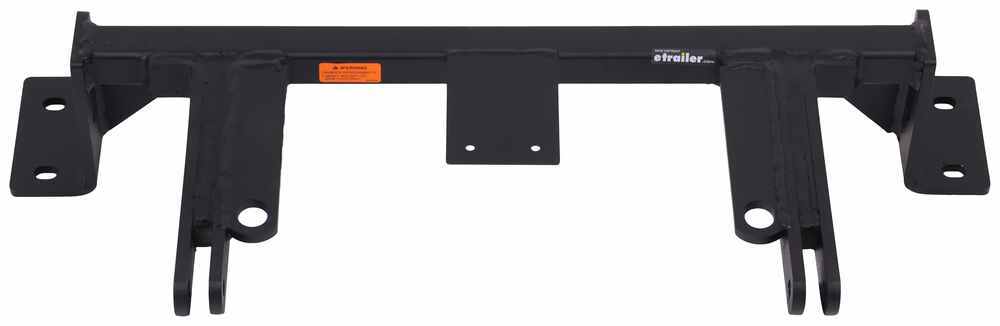
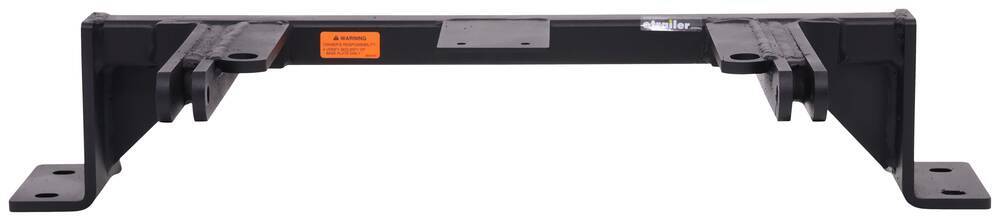
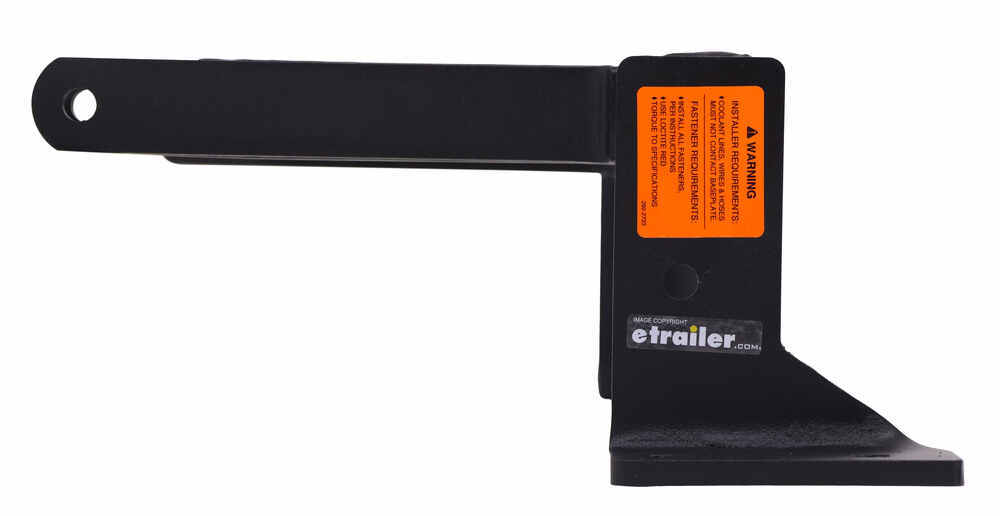
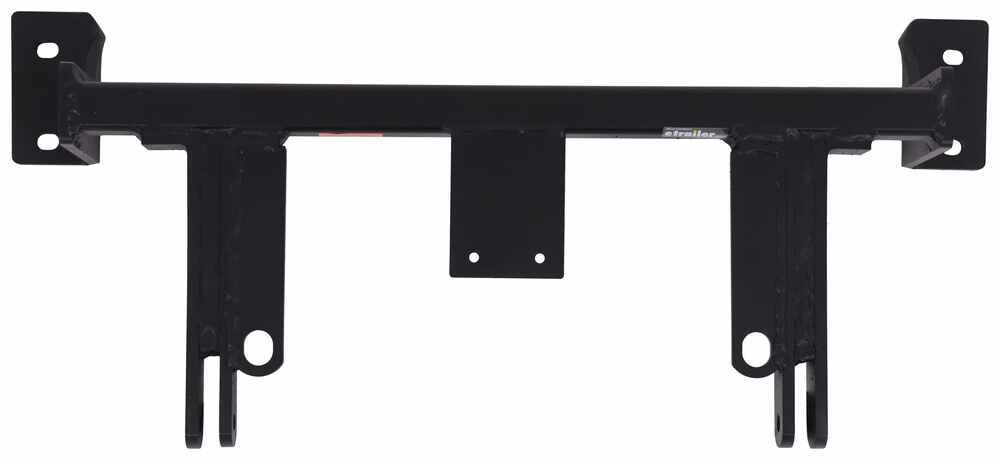
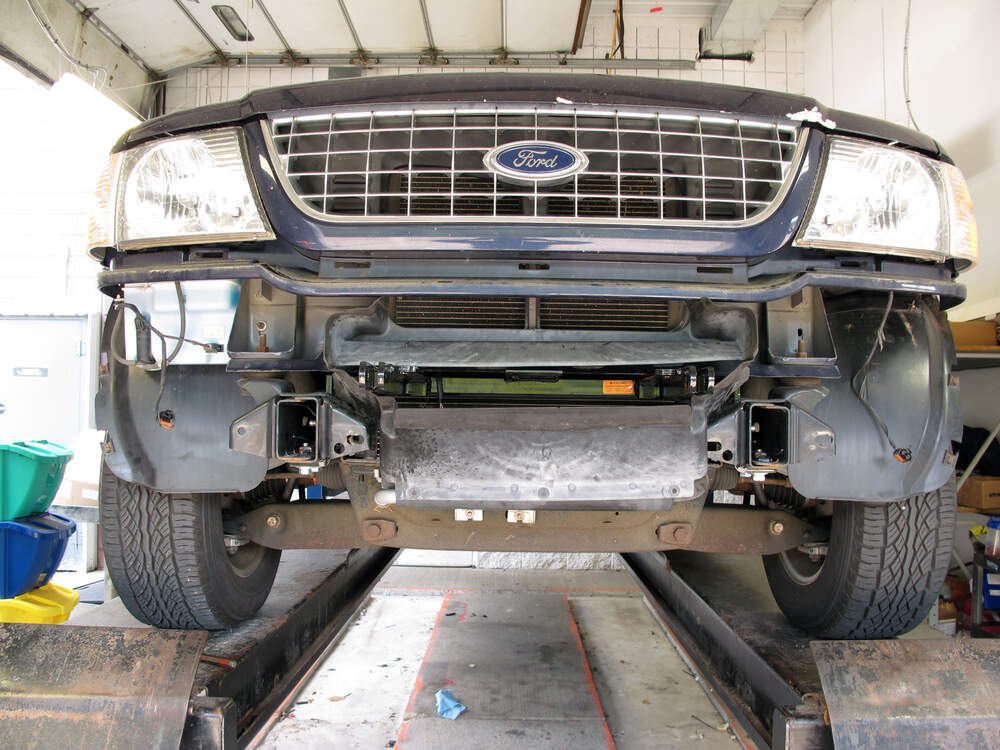
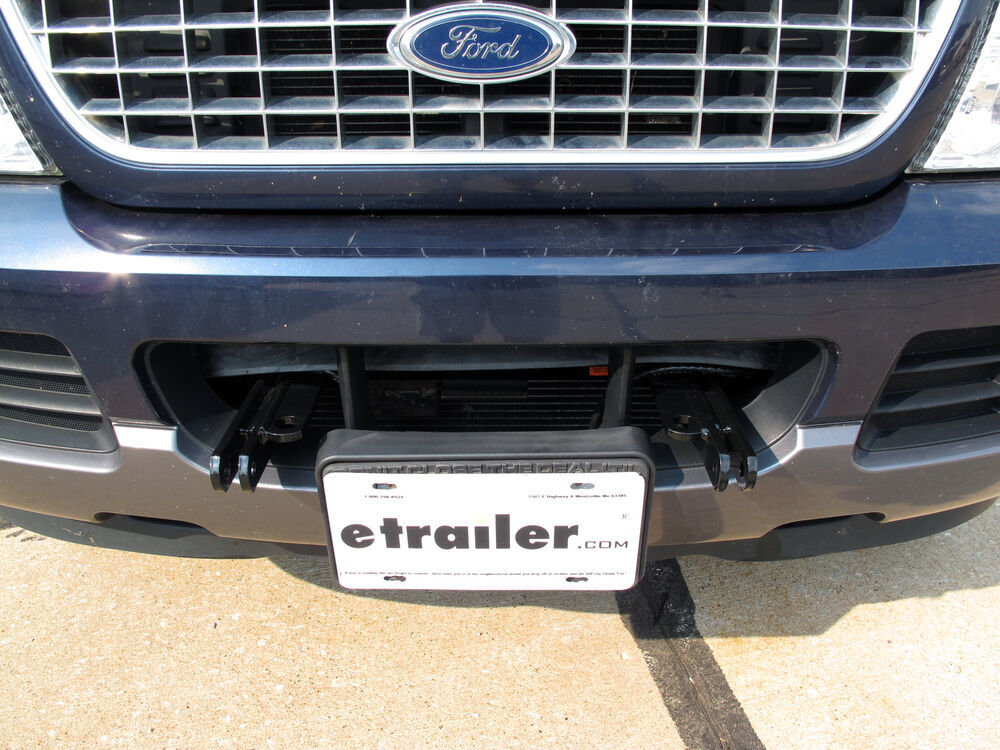
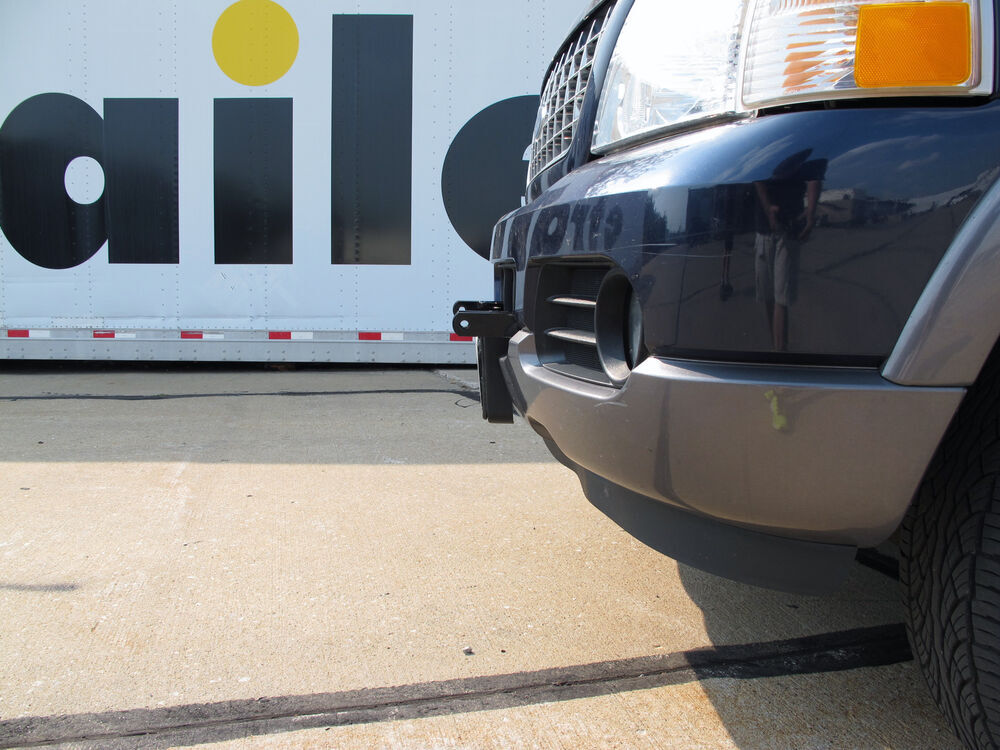
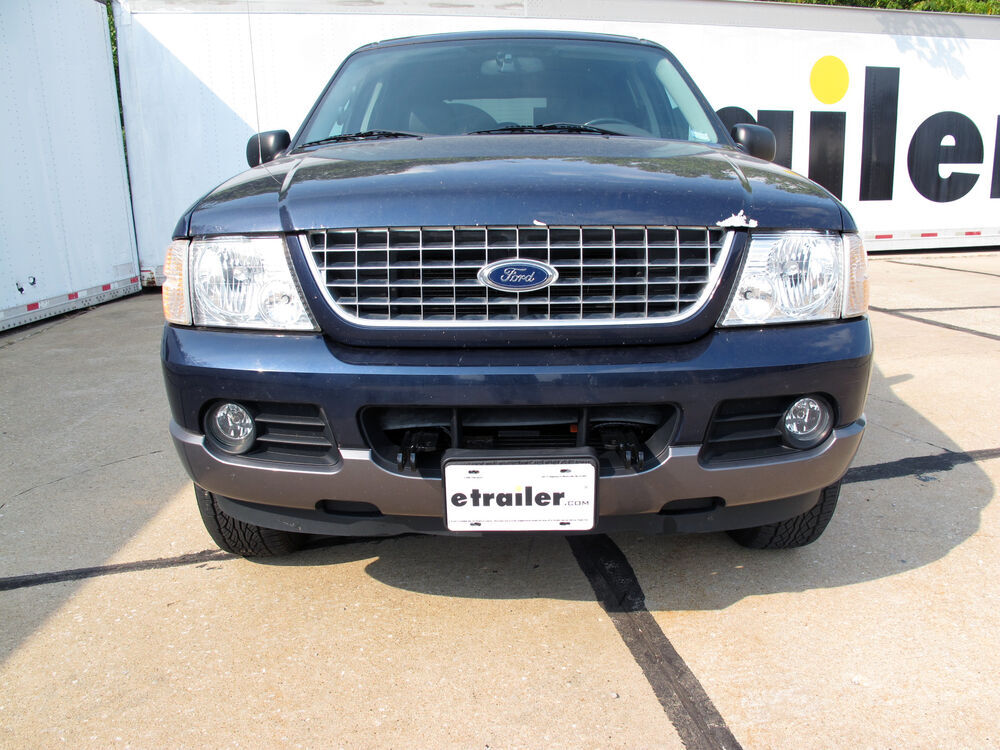
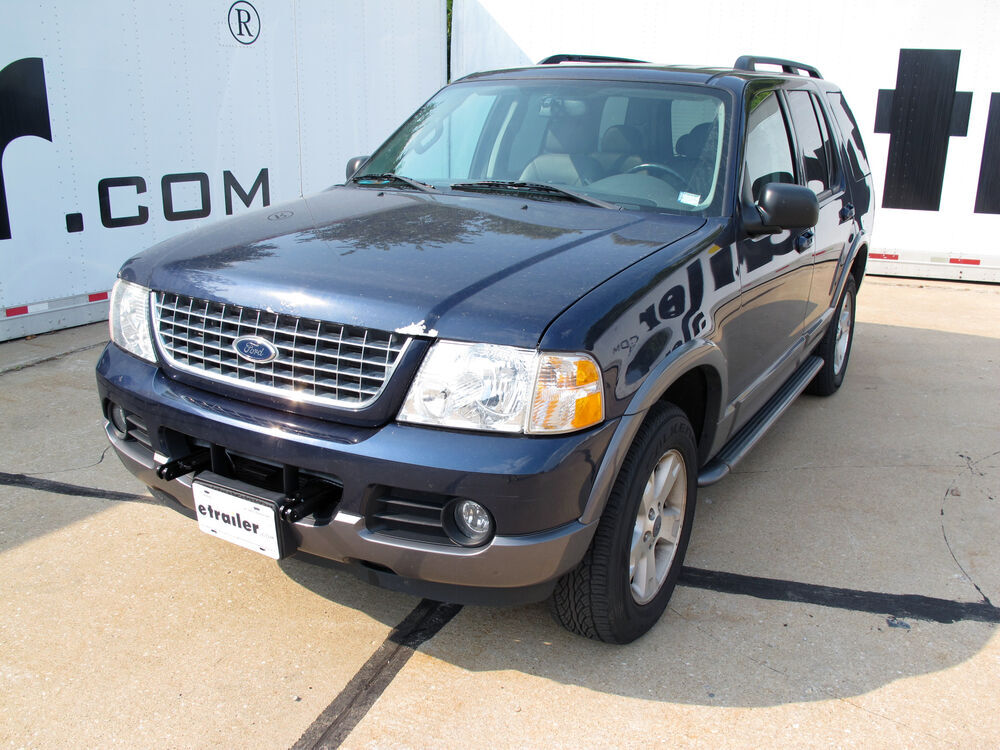
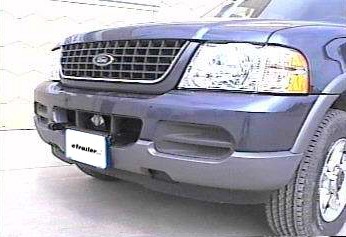
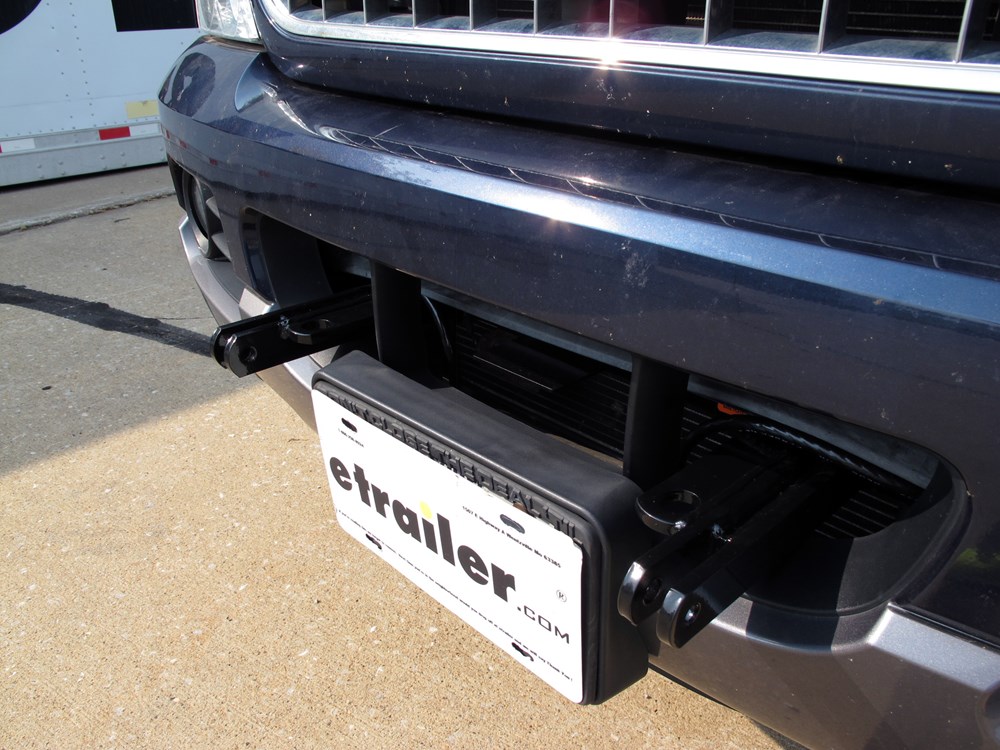
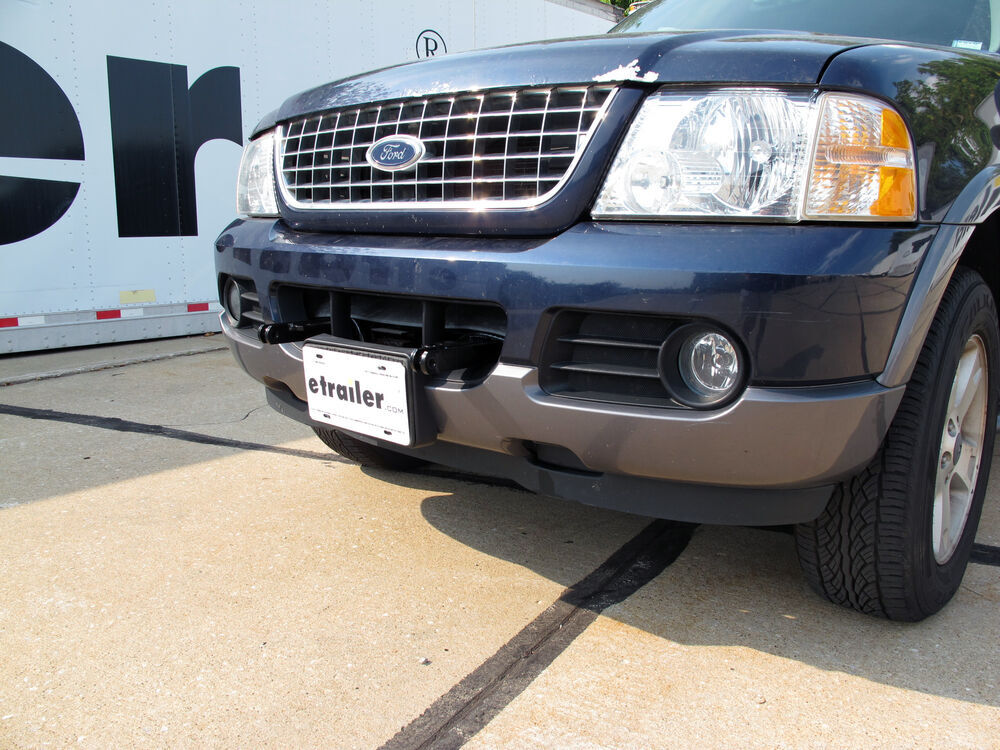
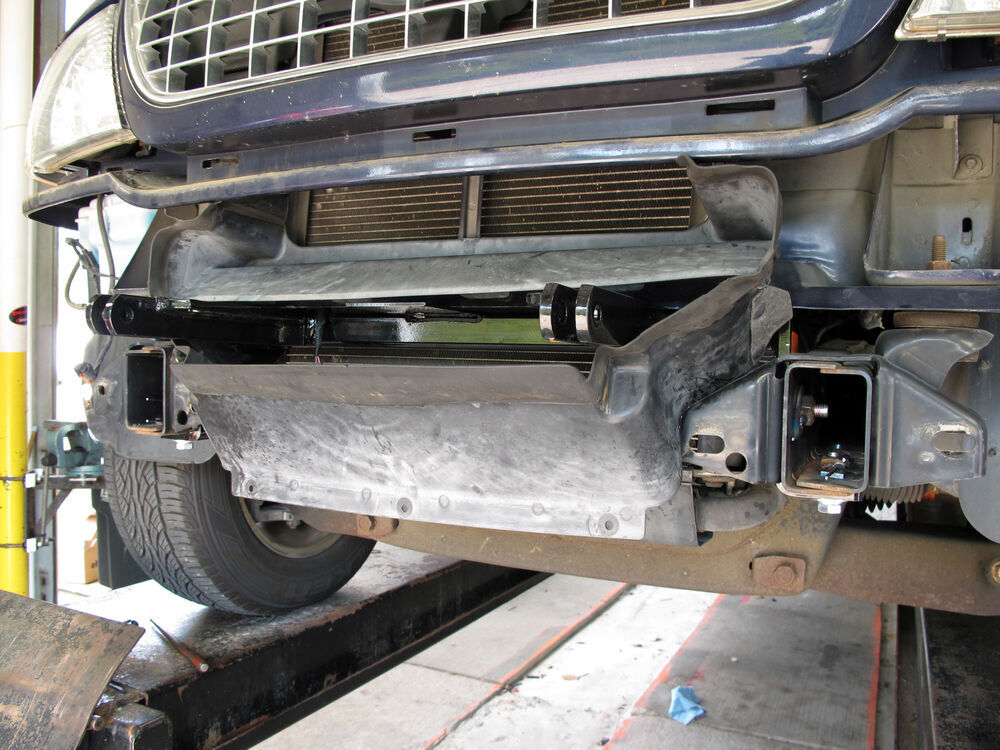
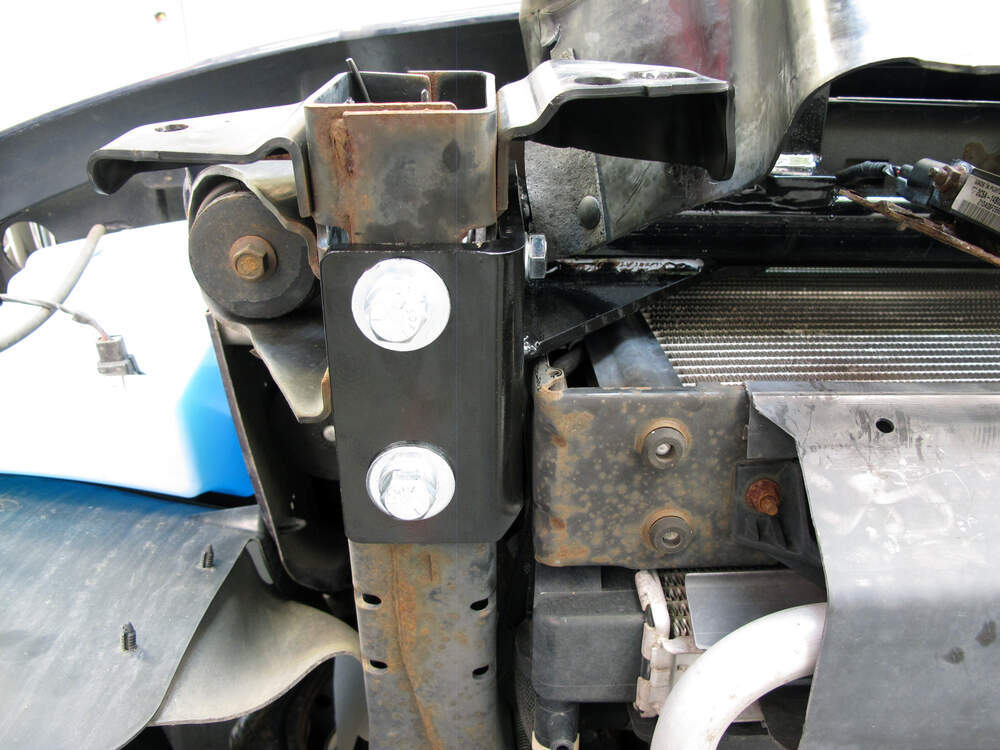

When you’re putting in serious miles behind your motorhome, you want gear that holds steady. The Blue Ox Base Plate Kit - Fixed Arms is built from durable steel and finished with a rust-resistant powder coat for long-term strength. Its sturdy design spreads towing force evenly across the chassis to prevent stress on your vehicle’s suspension, giving you confidence mile after mile.
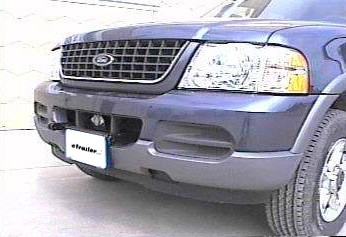
No one wants bulky hardware sticking out up front when not towing. This base plate’s hidden reinforcements leave only the attachment tabs visible, so your vehicle keeps a clean, low-profile look between trips. It’s a simple, functional setup that stays out of the way when you’re just driving around town.
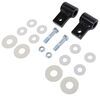
For those who like a hands-on approach, this kit bolts directly to the chassis—no welding required. The included mounting hardware makes it a straightforward setup you can tackle with basic tools. Once it’s in place, it delivers a solid, permanent connection that’s ready whenever you are.
The base plate’s sturdy lugs pair directly with Blue Ox tow bars for a strong and reliable link to your rig. It’s also adaptable for use with Roadmaster tow bars using adapter RM-031 or RM-031-5, or with Demco tow bars using adapter DM9523041 (each sold separately). With bracket spacing of 18" and bracket height of 21", it’s easy to plan the rest of your flat towing system around these dimensions.


Videos are provided as a guide only. Refer to manufacturer installation instructions and specs for complete information.
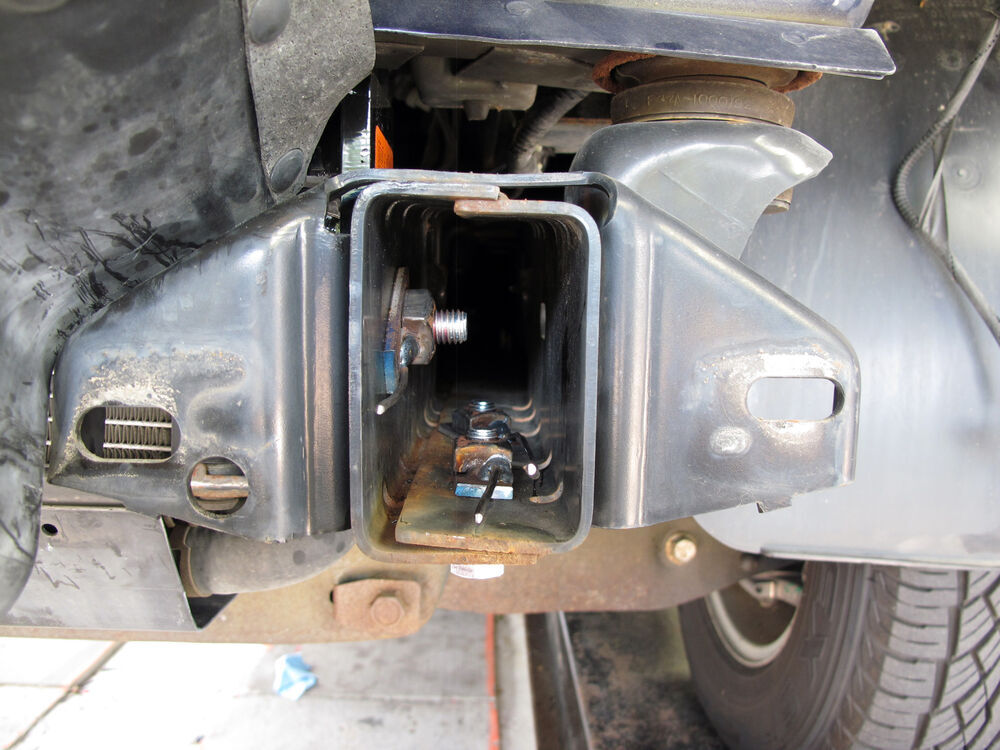
Today on the 2003 Ford Explorer, we're going to show you the Blue Ox Base Plate Kit, part number BX2160. This is what the base plate looks like when it's installed on our Explorer. You can see there's not much to it, basically the parts that you use come through this opening right here. These loops right here are for your safety cables or chains. This is a custom fit for the vehicle and it's all wrapped up in power coat finish. This is a fixed point here, these points are non removable. We have one less part to lose. The tow bar goes directly to it and you're good to go. A couple things to know about this is that the distance between your brackets will be 18" so this will work with the Blue Ox Adventa, Alladin, Alpha, and Allure tow bars.
This also comes with instructions and necessary hardware to install it. Next we'll go ahead and show how we installed ours on this Explorer. First off we need to go behind the fender well, just in front of our front wheel and remove two screws, using a Phillips head screw driver. This is our driver side, one more time on the passenger side. Next we'll go underneath the vehicle and will remove these two bolts here and here. They're towards the inside of the frame.
We'll use the 10mm socket to remove them. Now when we look behind our fender wheel, there will be two screws we have to remove with the 10mm socket. We'll do this on both sides of the vehicle. At this point we can go ahead and disconnect electrical go to the fog lights. Pretty simple, there's a little tab you push in and you pull down. Now we've got out bumper cover loose, there's still some clips, one underneath the headlight, push down tab, we'll pull back on the bumper cover just a little bit, and three underneath the grill.
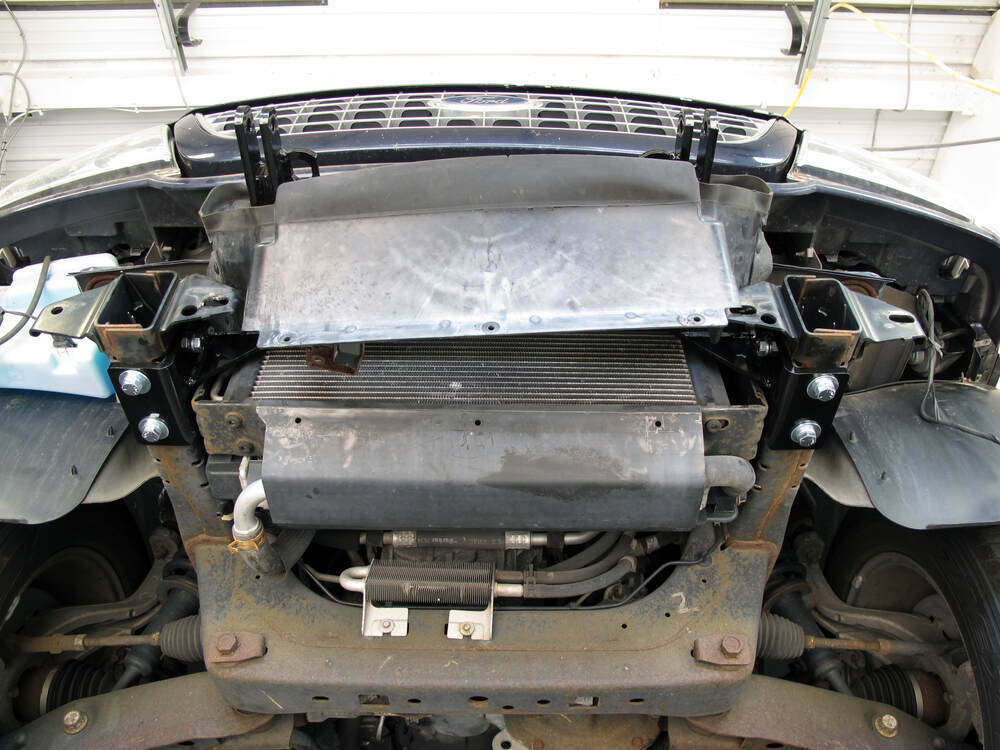
It may help at this point to get an extra set of hands to support the bumper while you release the catches. Next up, this is the actual bumper structure right here. There will be four nuts that we have to remove, located here and here. This is the drivers side, same thing on the passenger side. Now remove the hardware using a 15mm socket. The shroud we have to move up and out of the way, so there will be three plastic fasteners we have to remove on the bottom here, and there will be some on the top as well up here.
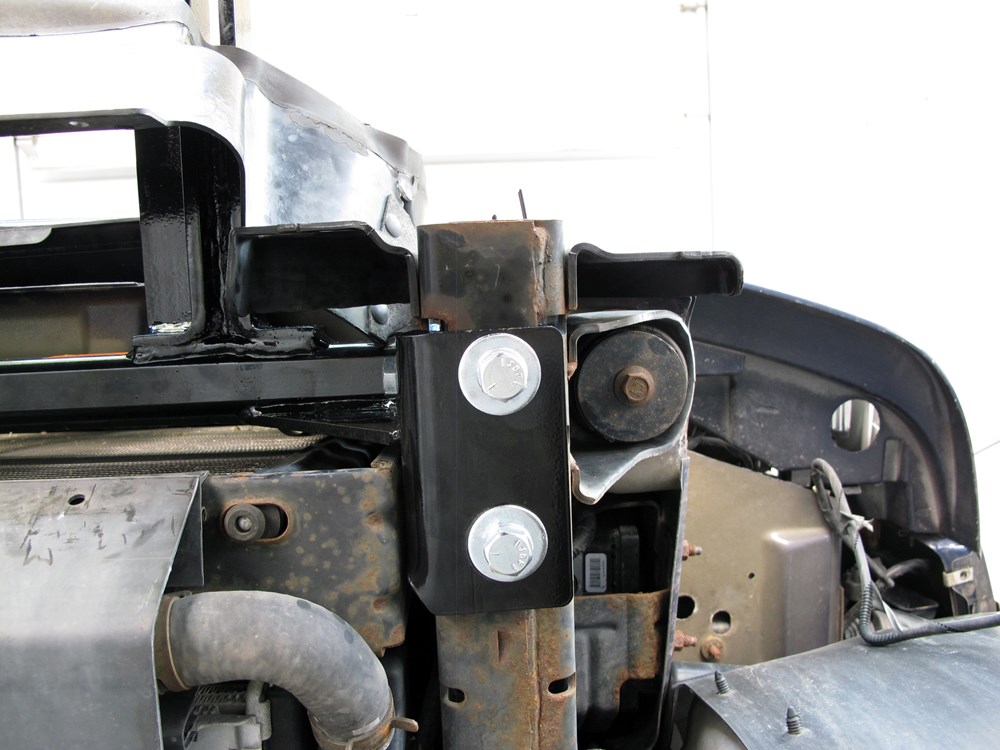
I'm just using a plastic pry bar to get these out. There's two more fasteners up here that are kind of hard to get to, so I'm just going to take the shroud and just pull it out of the way like this for now. Next we need to remove this sensor here for the airbag, so there's two bolts we have to remove here and here using an 8mm socket. At this point we can go ahead and put the base plate in position, definitely want an extra set of hands. We'll go ahead and thread it through the shroud, hold it to the bottom of the frame then we'll use some clamps to help hold it up there for us. When we clamp it into place, our base plate will line up with existing holes in the frame, we just have it clamped for now. Let's go ahead and use an alignment tool, just a large screwdriver, to kind of help move it around and line up the holes. We can go ahead and work the first bit of hardware, we have a hex bolt right here, " diameter, followed up by a half inch lock washer and a flat washer. On the inside of the frame, we'll get this handle nut which will thread in just like any other nut. We'll also add some Loctite to the threads as well. Got our bolt inside the frame, we'll go ahead and and our handle nut and thread them together. With this loosely installed we can go ahead and take off a clamp on this side. For the holes closest to the bumper here, gets the same set of hardware. I'm just going to leave these loosely installed, repeat the same process over on the passenger side. We'll go ahead and tighten them down then we'll go ahead and torque them down as described in the instructions. We'll go ahead and cut off our excess handle now. We need to install two more bolts. We'll go ahead and use our base plate and the template and drill two " holes. I'm going to mark my hole first with my " drill bit. Make a inaudible 00:04:40 and then come back at it with a larger bit. We have a slight variation on our hardware, same bolt, same lock washer but no flat washer. Run it through the hole, the we'll install the handle nut. We can go ahead and tighten to our inaudible 00:05:00 as well. That sides done, one more time over on the passenger side. Next we'll go ahead and work with the sensor. It's actually attached directly to the base plate, so we'll go ahead and hold up into position, I'll go ahead and mark the place where we're going to drill our holes. The drill bit I'm using is 5/32. Put the sensor back into place and we'll install the self tapping screws. Next we'll go ahead and install our safety cables on both sides of the base plate. Everybody is probably going to run their cables a little bit differently, but there's not a lot of room on here so this is how we did it. We ran our cable over the top of the base plate, so this goes through, down behind the bumper structure, around underneath the frame and on top, you can see, went around this body mount right here, and came to the outside edge of the frame where we installed our quick link that comes with the kit and tightened it up. We can go ahead and start putting everything back together, this shroud has to be trimmed a little bit. This little offshoot, this little addition right here, I think we just go ahead and remove that section, that'll fit around our base plate and we can put everything back together. It'll be the same on both sides. Probably use a sharp knife, or tin snips like I'm using. I think we'll also take some off the back here. Once you're satisfied with the fit we'll go ahead and put the shroud back together. Reuse the originals fasteners and push them back in. Our bumper structure goes right back into place and reinstall original hardware. At this point we can go ahead and put our bumper cover back into place. Install it slowly, make sure the base plate comes through the opening on either side of the license plate, slowly push it into place, and we'll push in the clips on top first. We'll go ahead and reinstall our fasteners in reverse order that we took them off. We'll also plug back in the wiring for the fog lights. That'll finish it for the Blue Ox Base Plate kit, with fixed arms, part number BX2160 on this 2003 Ford Explorer.
Ratings & Reviews

Etrailer.com shipped the item quickly. The baseplate arrived on time. Installation was easy and all the parts fit perfectly. We towed our Cherokee the very next day to Arizona from California. Everything worked perfect.
I thought price was a little high, but they worked very well. Fit perfectly and looked good. Came with clear installation instructions. The nuts on steel wires made it possible to slide them deep inside the frame where the support plates bolted on without any trouble.
My blue ox base plate kit came right on schedule. I met my mechanic at the shop and with a hydraulic lift and air tools we had it installed and secured in about 30 minutes. I could have done it alone at home in about 1.5 hrs. It fits perfect and looks like it was part of original car frame.
Thx
Installing it today. I was impressed with the quality of components and construction. I test fitted and it slid right in. Now to drill the holes. Another thing was the quick delivery and packing. I definitely order from etrailer again.
The Blue Ox BasePlate has worked out very well. We've traveled over 3,000 miles on 4 separate trips....with multiple hookups and detachments. Great system. The only constructive comment is the electric hookup for lights/turn signals was a little wonky but my mechanic worked it out with the manufacturer.
The predrilled holes didn't quite match up which required drilling out a little. Other than that it went quite well. It took this eighty year old man about two hours to get the whole thing mounted.
Installed this on a 2014 Chevy Express 3500 15 passenger van. Install was time consuming, as holes needed to be drilled (went through 2 drill bits) and the nuts must be fished through the frame, then "caught" by the bolt. I think there were 12 of them! Instructions were clear, though, and I've safely towed without incident over 7,000 miles in the past year. Definitely rock solid! Paired up with a Blue Ox Aventa 7,500 lb tow bar.
Easy enough install on my 86 samurai. Had to do some persuading but nothing major. I did need to notch the bottom of the bumper in two spots to clear the mounting brackets. Seems awfully expensive when you see what you get.
I had a simple ball hitch setup for my 1999 Jeep Wrangler for towing behind our RV. Our first trip out with it, the bolts that attached the bar connectors to the front of the Jeep came loose. I was fortunate that they didn't come out completely and cause a major accident. I was able to tighten them again, and we had no additional issues on our trip. Of course, this made me extremely nervous with my 'budget' route to tow the Jeep so I began looking for a better, more reliable solution.
Blue Ox was the name that kept coming up so I purchased the BX1120. The build quality is outstanding, it's extremely solid and very durable. Installation time was about an hour and a half once I had the right tools, couldn't find my 1/2 inch socket set! I'm using the Blue Ox Alpha tow bar with this setup.
I will say that having a second set of hands to install is valuable, my son had to come help me get the drivers side bolts in while I held the steering housing in place.
All in all, I'm very pleased with the product. It went in easy and should save my nerves on our next road trip!
1999 Jeep Wrangler Sport
After market front bumper (Plenty of clearance with this specific mount)
Quality built product! And outstanding customer service by Ashley!!
A well-built, stout and heavy-gauge base plate with beautiful welds. It brings peace of mind for towing my Cherokee Sport cross-country behind my Class C without worry of mechanical failures on the open road. Because so much money and liability rides in tow, Blue Ox is the first choice.
First of all, the staff at etrailer has always been there with answers with anything. Fitment, installation, usage etc. Second. The install was easy with the enclosed instructions. I did it by myself with only getting help to raise and lower the bumper. After several thousand miles of towing, still tight and still looks great
1 year later, it’s been used for over 1500 miles and held up great. I did the install and had a weld shop tax the bolts do they wouldn’t back out.
I'm not giving the products the stars as much as the woman who helped me select them and turned me onto the "road-master" product line. Road-master had a "towed-car" hitch for my 2002 Mazda Protege. It was a blessing to have met her acquaintance.
Very simple to install, just need to drill a few holes in the frame. Comes with everything you need except a couple basic washers (mine came with 3 lock washers and 2 standard flats for 4 bolts)…
Would be nice to have the torque specs also in the instructions but the busted bolt is on me!
Perfect fit, well built of high quality materials. In my mind you just can't get much better than Blue Ox. The only issue is that the BX1120 doesn't have removable twist lock tabs. The fixed draw bar mounting tabs are at just the right height and position to play havoc with your shins when the draw bar is not installed. I solved that problem with a shin guard I made of 2 inch schedule 40 PVC. (see photo) Fits perfectly, guards the breakaway switch and lighting connector when not in use, and solves the shin interference problem.
Base plate is well built and fit well. As I would expect from Blue Ox products. My only complaint and the reason for 4 stars would be the horrible instruction. Pictures are absolutely horrible. Not a big deal for the mechanically inclined, but not everyone fits that category.
Outstanding communication. Outstanding customer service. Outstanding towbars and baseplates. Will be back.
Once again just great service from etra iler
Easily installed but proper alignment needs to be maintained before drilling the additional hole required for through bolts.
Not a bad install the nuts on the end of the wires was a little strange and odd to use and bend….. worked out great haven’t towed it yet ….bolted in and ready. There’s not really any place on thes 06 Wrangler to put those safety cables to the frame. Alex T in sales was great.
The kit is well built and comes with all the necessary hardware to install. Installation was a breeze and asthetically blends in well with the front of the truck. Great job on the design and the production!
We really like our blue ox towbar mounts from etrailer. We're excited to be able to flat tow our 2001 F-250 with our ATV in the bed. Real game changer,, Thank You etrailer
A few pictures of how I attach it
4 it's in solid, but the [finish] that was used killed it from being a five.
The installation took about four hours. I had a tight interference fit between the frame rails. I wish I had an 18-24" linear ram, but I didn't. So two hydraulic floor jacks, with 4 - 24" welding clamps, and two 12" C-clamps, a short 2# sledge did the trick. Nothing a little spray paint can't fix. Four bolt holes lined up nicely. Two 1/2" drilled holes from the bottom were easy leverage to set up. Two 1/2" drilled holes inside to outside, were quite the challenge to get behind the drill. All fasteners now torqued to specification with red locktite. Added the 1/2" safety cables, made an adjustment in the lower airdam. And presto, here you have it. Now time to set up diode kit, and brake away switch installation.
Info for this part was:
At etrailer we provide the best information available about the products we sell. We take the quality of our information seriously so that you can get the right part the first time. Let us know if anything is missing or if you have any questions.




















Phillip
10/11/2025
Product is Great, eTrailer Service is Great. I actually have an 2003 Lincoln Aviator Automatic Trans that is not designed to be towed on all four. The frame is the same as the 03 Explorer, so the bolt up went just like the instructions say. The Lincoln has an extra little coil to cool something Trans Probably I didnt need disconnect anything, just had to alter the mounting bracket, not a big deal. The truck is over 20 years old, so I had no reservations about cutting an access hole in the floor behind the rear seats to allow me to disconnect the drive shaft without laying on the ground, I installed a velcroed cover for the hole. The drive shaft disconnects easily with 4 bolts, then I strap it up with a ratchet strap and Its all set to tow. I leave the trans in park, leave the key in the ignition to keep the steering unlocked and away we go!