


To see if this custom-fit item will work for you please tell us what vehicle you'll use it with.


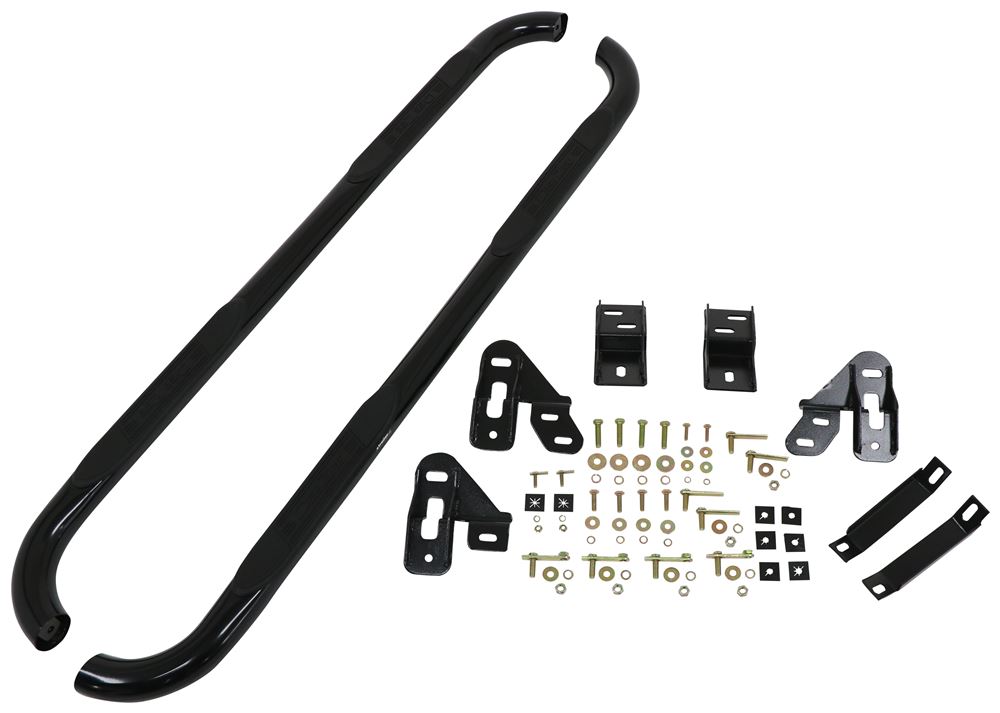
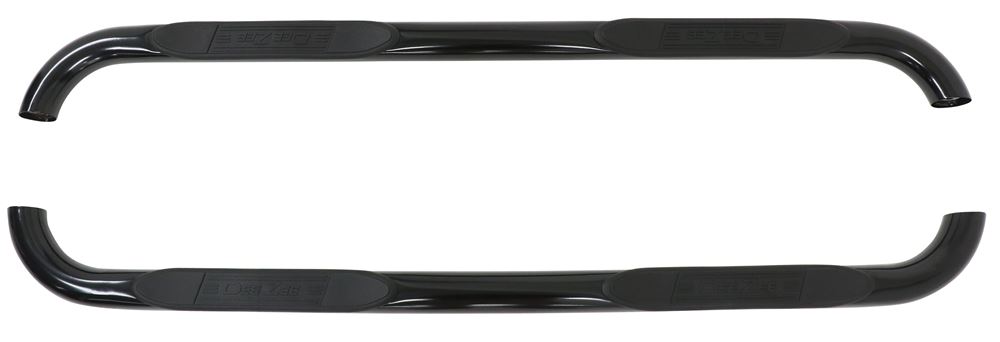
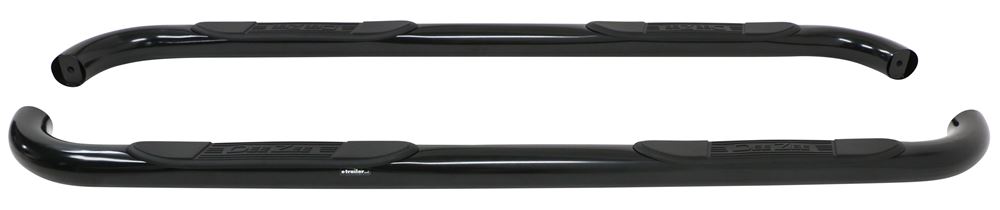
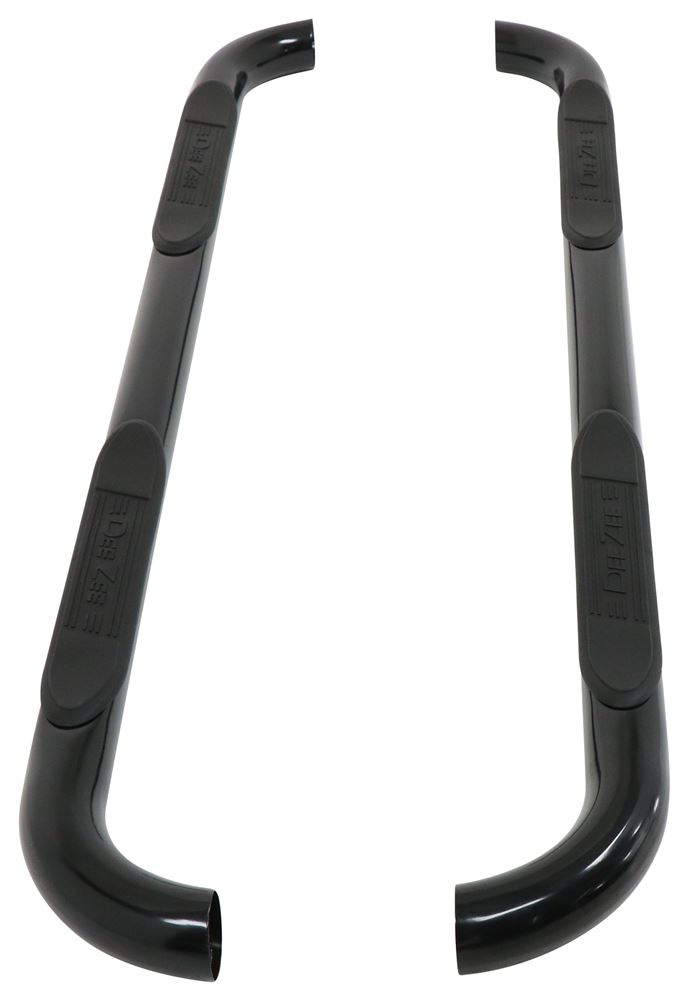
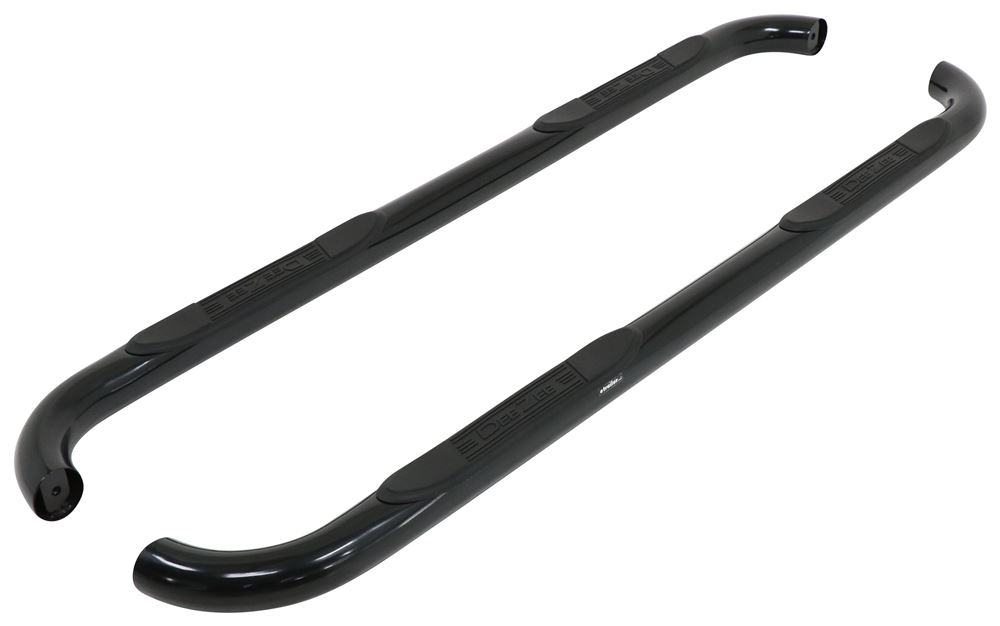
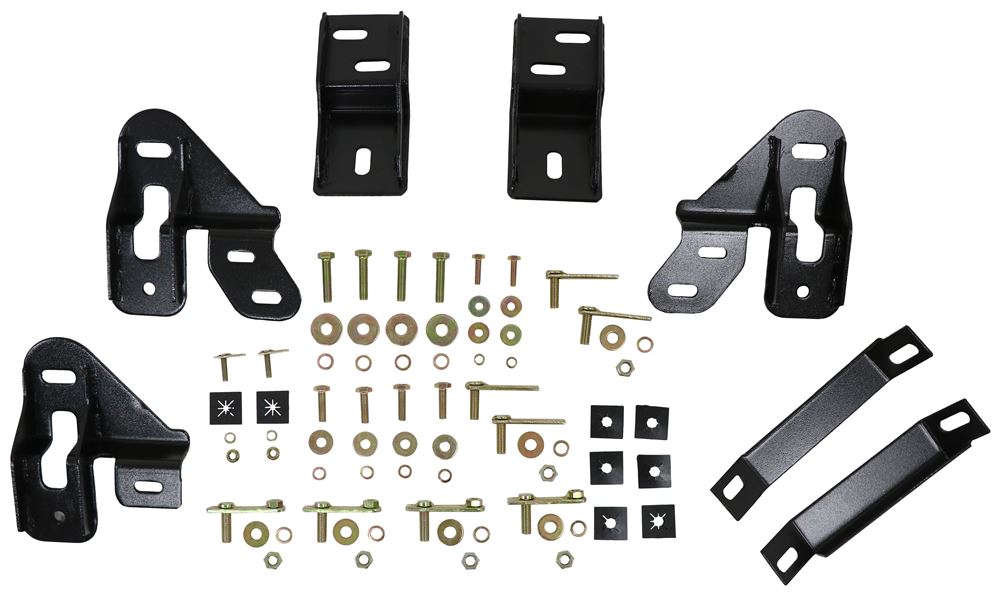
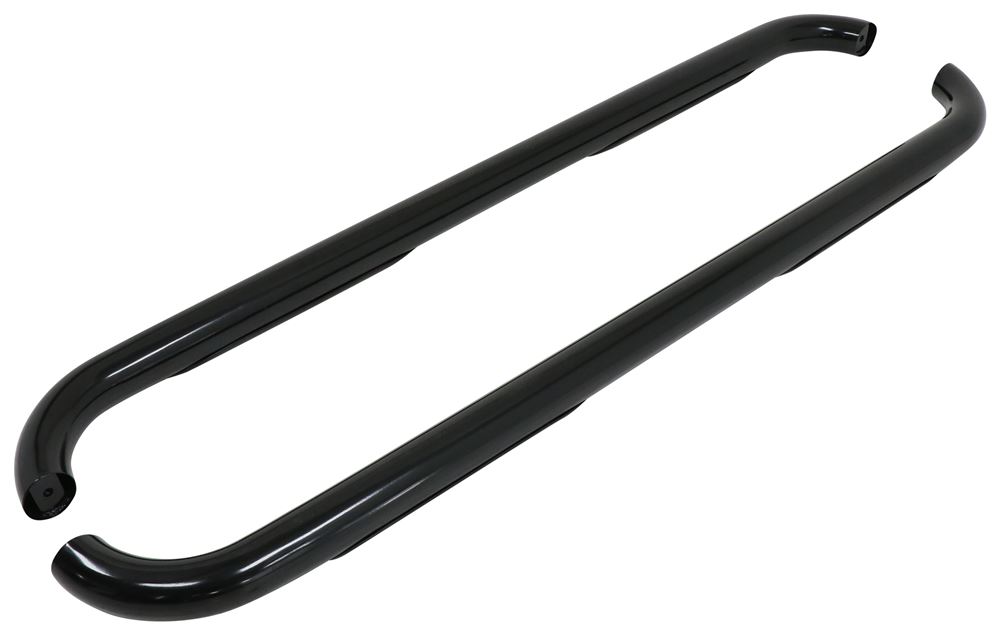
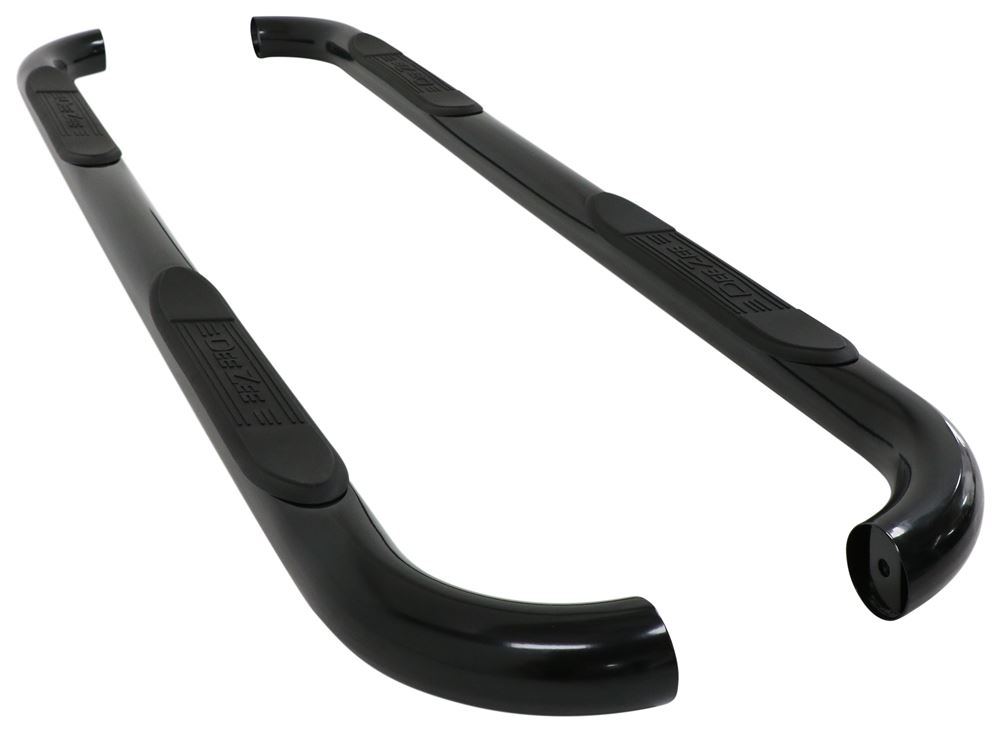
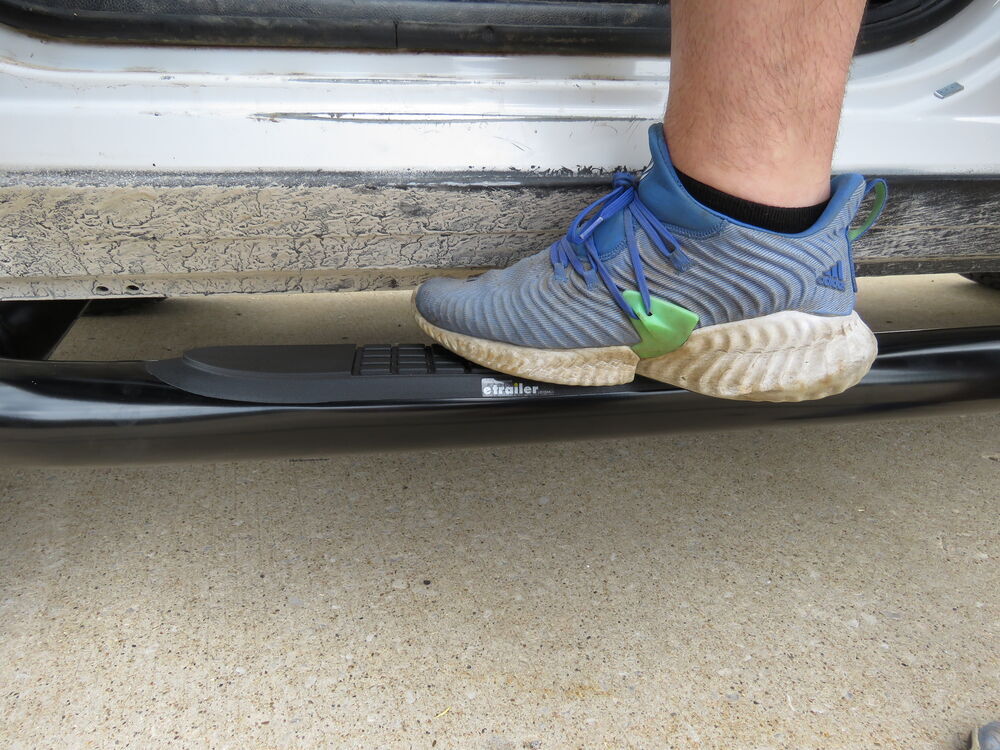
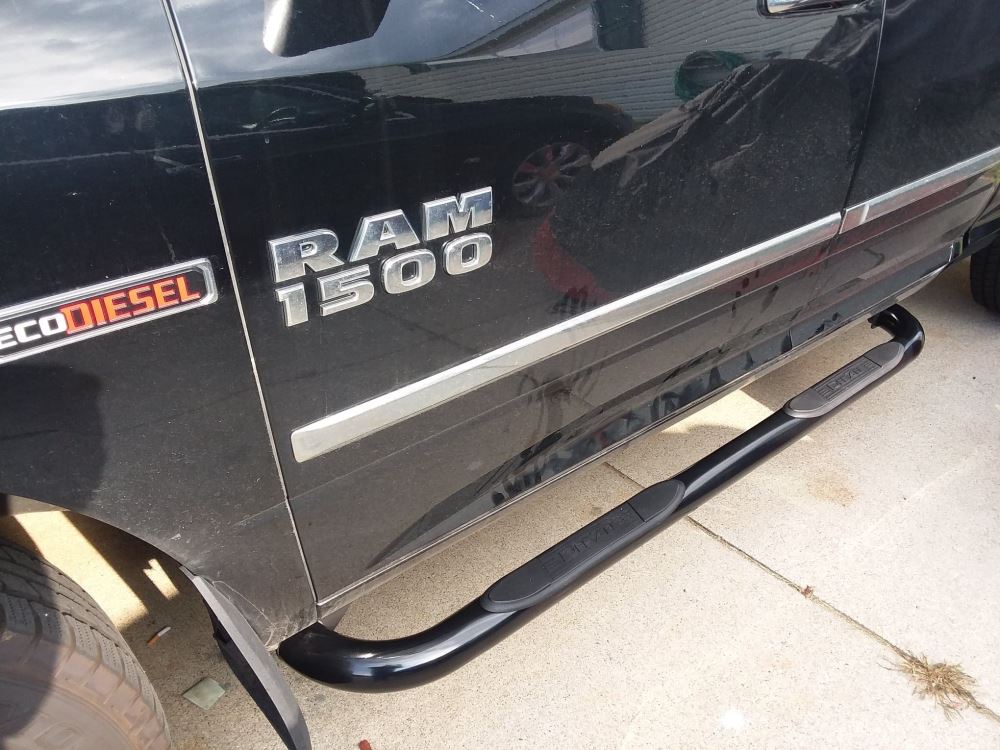
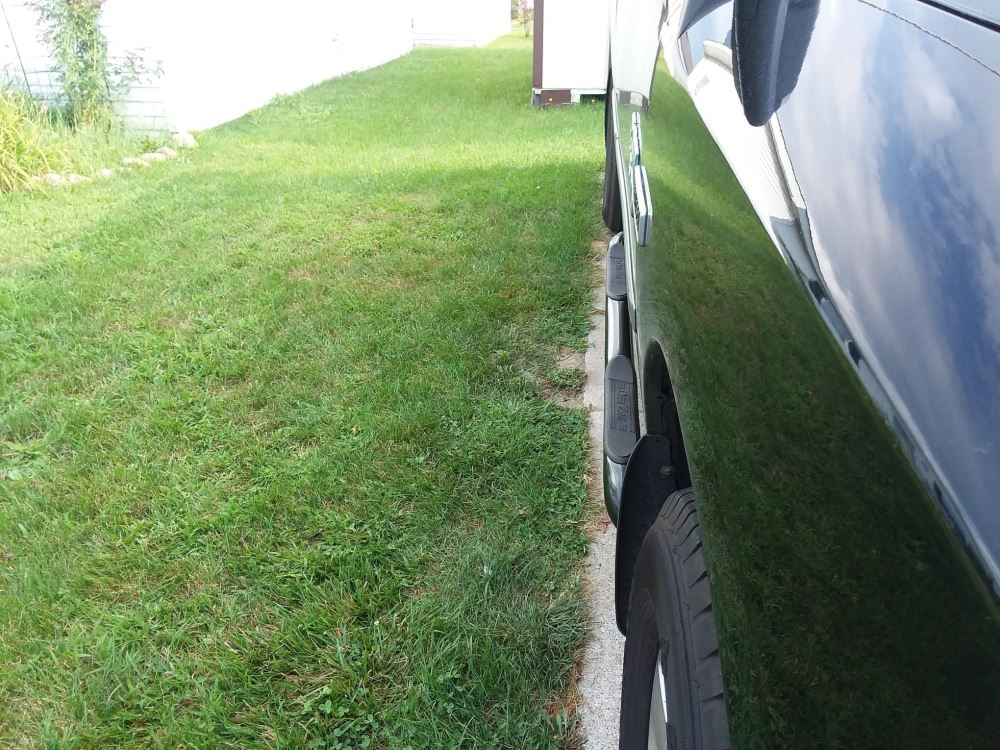
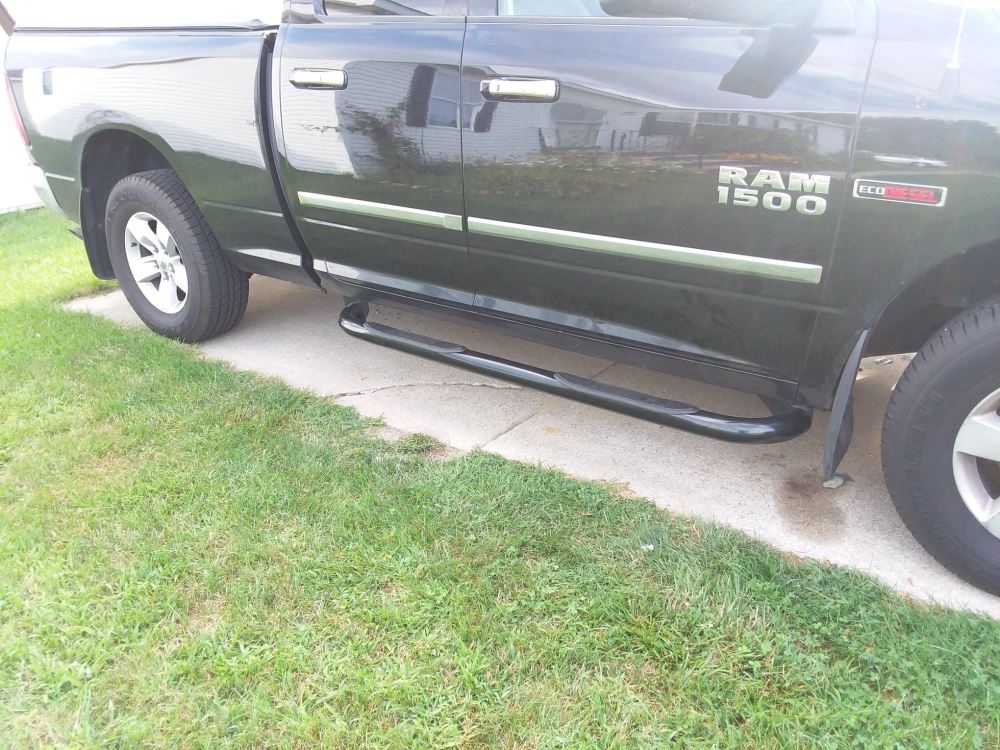
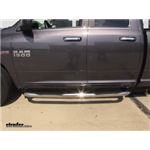
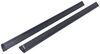
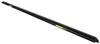
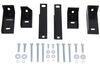
These 3" round tube steps make it easier to climb in and out of your truck. Their molded plastic step pads are non-skid for secure footing. Black powder coat finish on the steel resists rust and corrosion. Custom installation kit included.
Features:
Specs:
Videos are provided as a guide only. Refer to manufacturer installation instructions and specs for complete information.
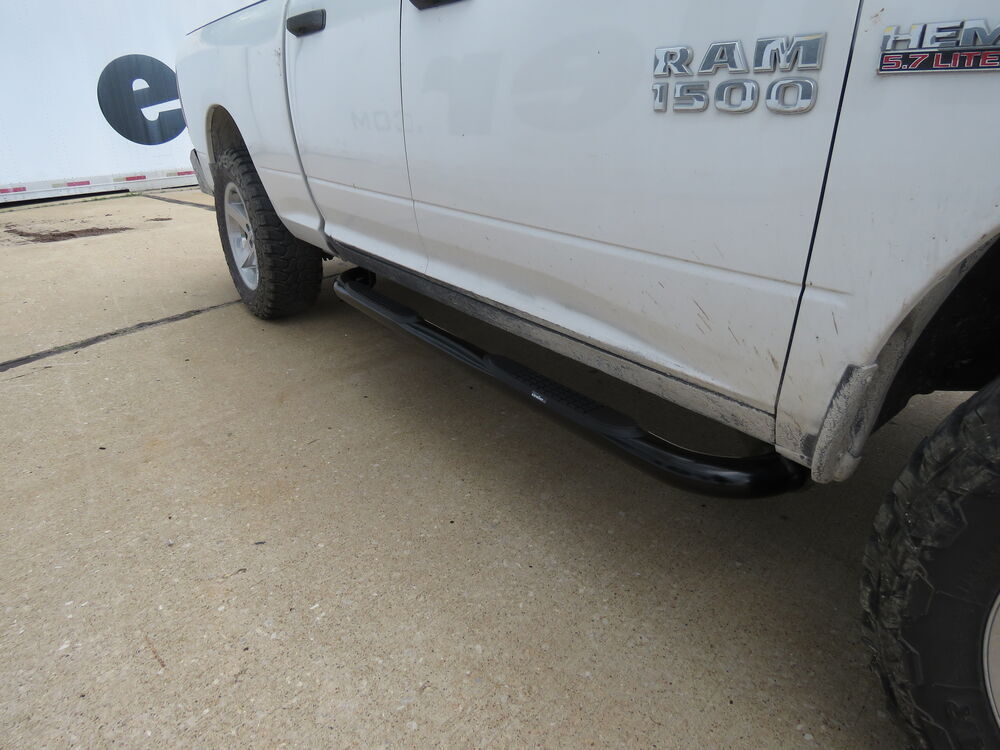
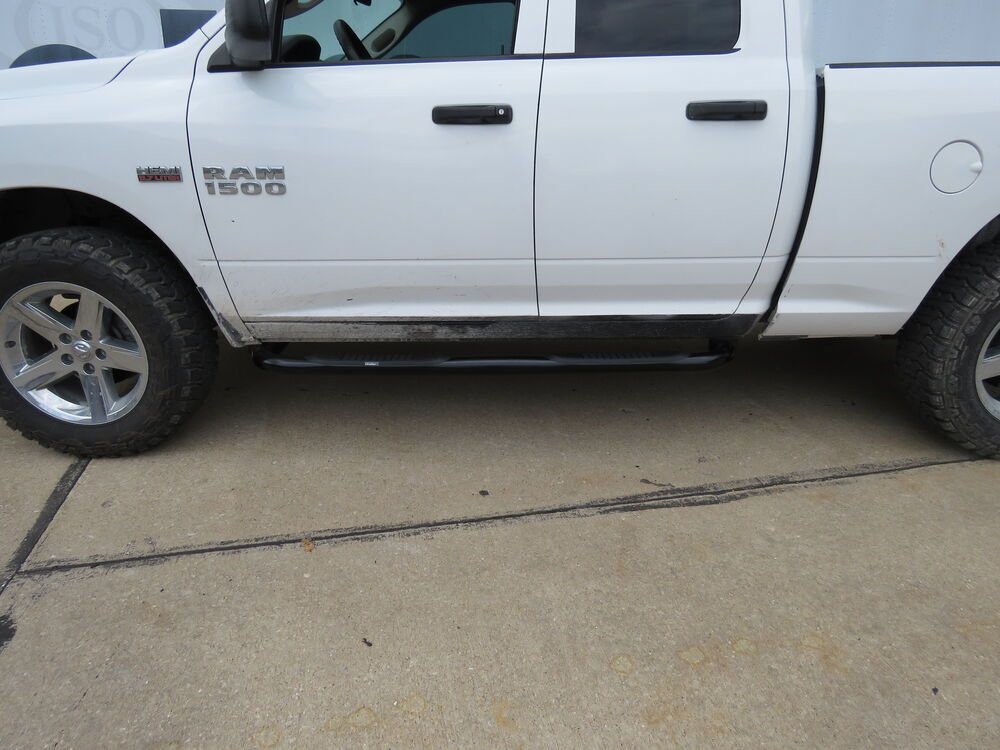
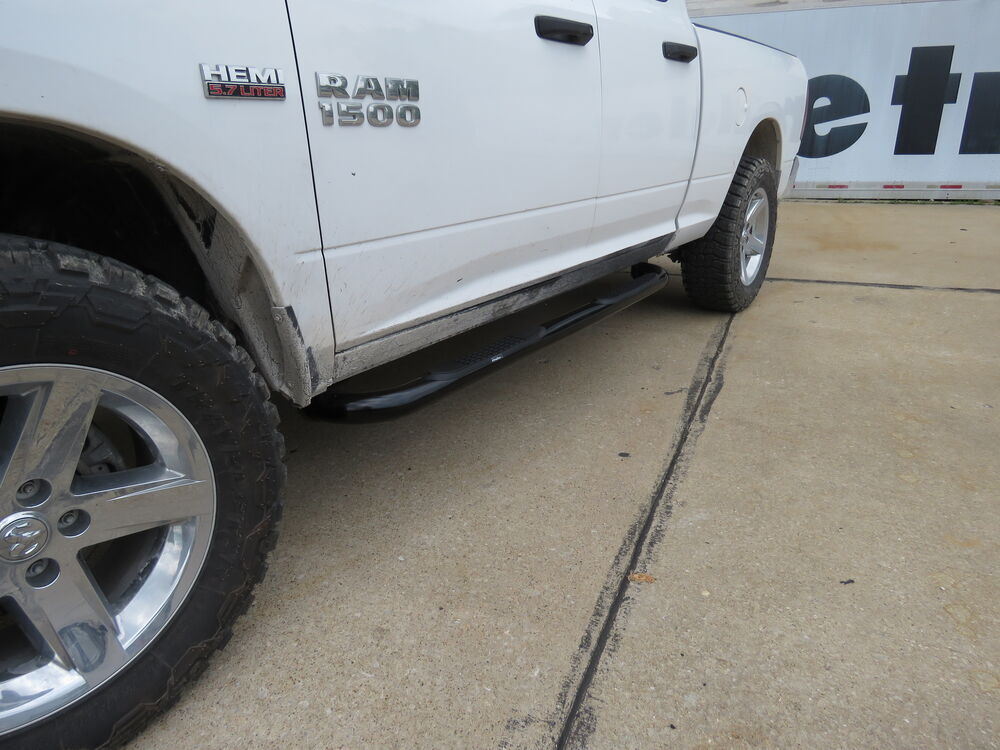
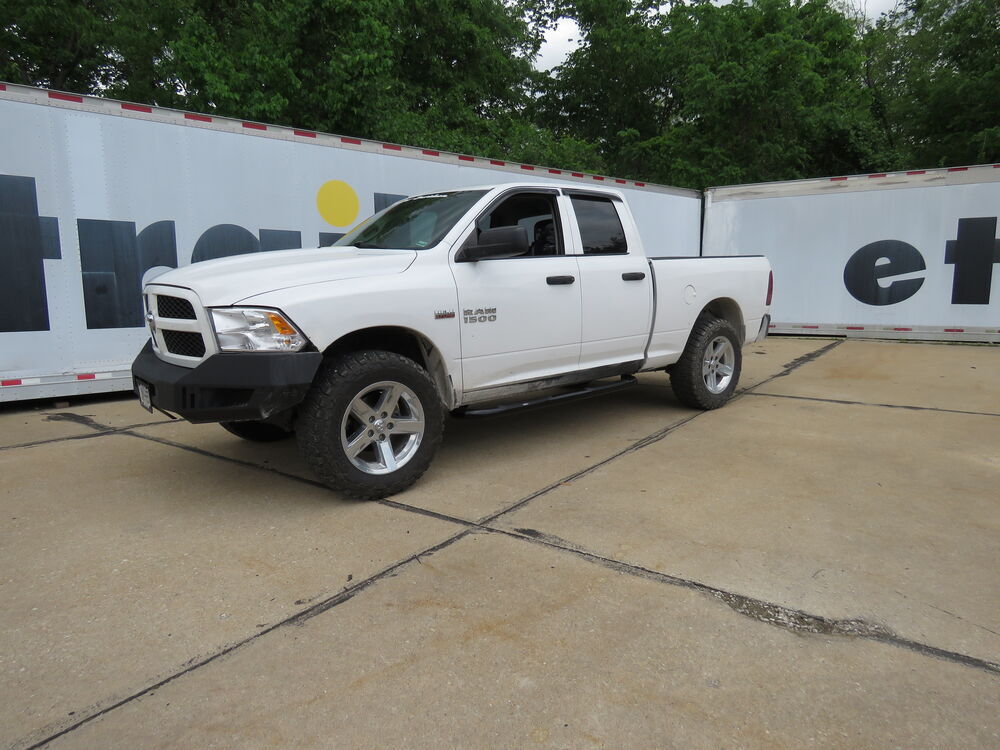
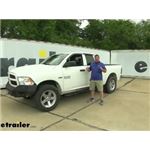
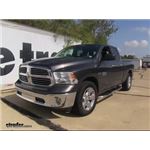
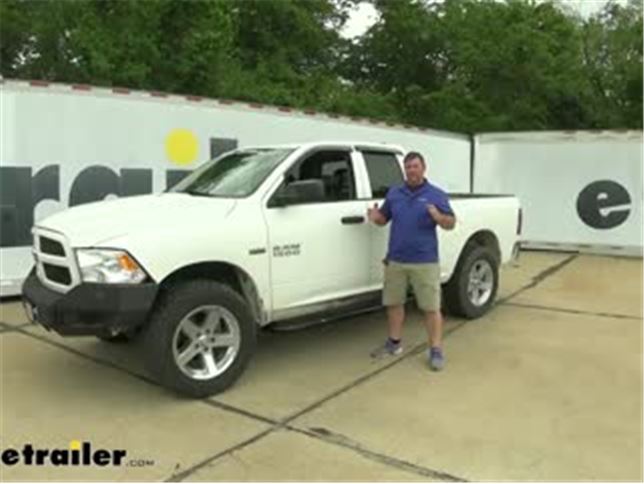
Hey everyone. Shane here with etrailer.com. Today I have a 2014 Ram 1500. I'm going to walk you through how to install the DZ three inch Nerf bars. Adding Nerf bars or tube steps, as you often hear, to your vehicle is not only gonna add style but it's also gonna give you an easier time getting in and out of your vehicle. Especially, if your vehicle sits a little bit higher.
I'm six foot tall getting in and out of this vehicle with the larger tires on it. I have to kind of jump up into the seat. Adding the Nerf bars again is going to make it much easier when getting in the vehicle the bars are going to be three inches. They're going to be a black powder coat finish. So they're going to look really nice on your vehicle.
Again, add a very nice touch. The steps their selves are gonna be a plastic construction, but they're going to have a they're kind of going to be dimpled, I guess. So it's going to give it a little bit of grip when your feet may be wet. The width of the step is going to be about two and a half inches where you can see the knobs here. They're going to be about 10, 10, and a quarter.
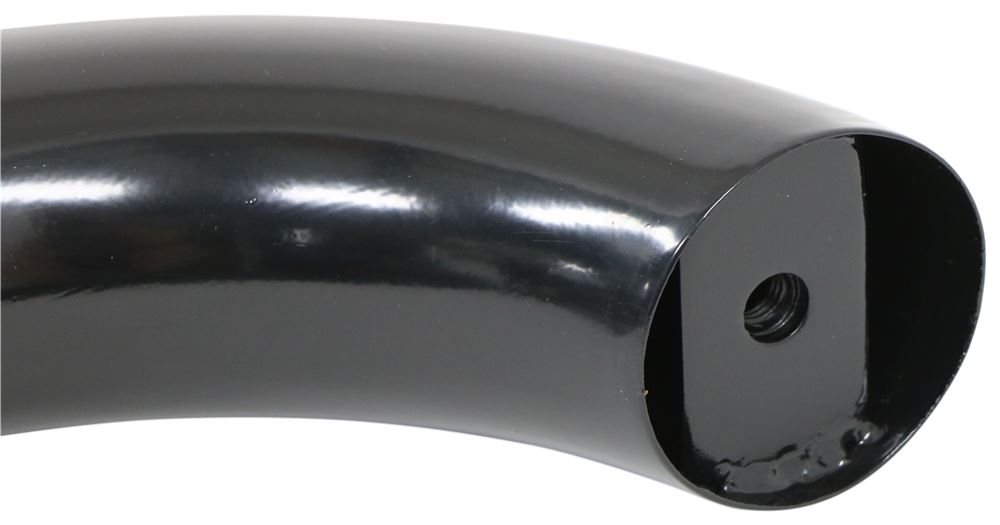
The whole width of the step, you're looking at about 19 and a quarter. Now you're not only going to have one for the front but you're also going to have one for your passengers in the back. The other nice feature I like about these is at the end of our tube, they're gonna have a rubber cap. And what that rubber cap does is it help prevent water from getting inside the tube. It's also going to keep the two metal surfaces from rubbing together.
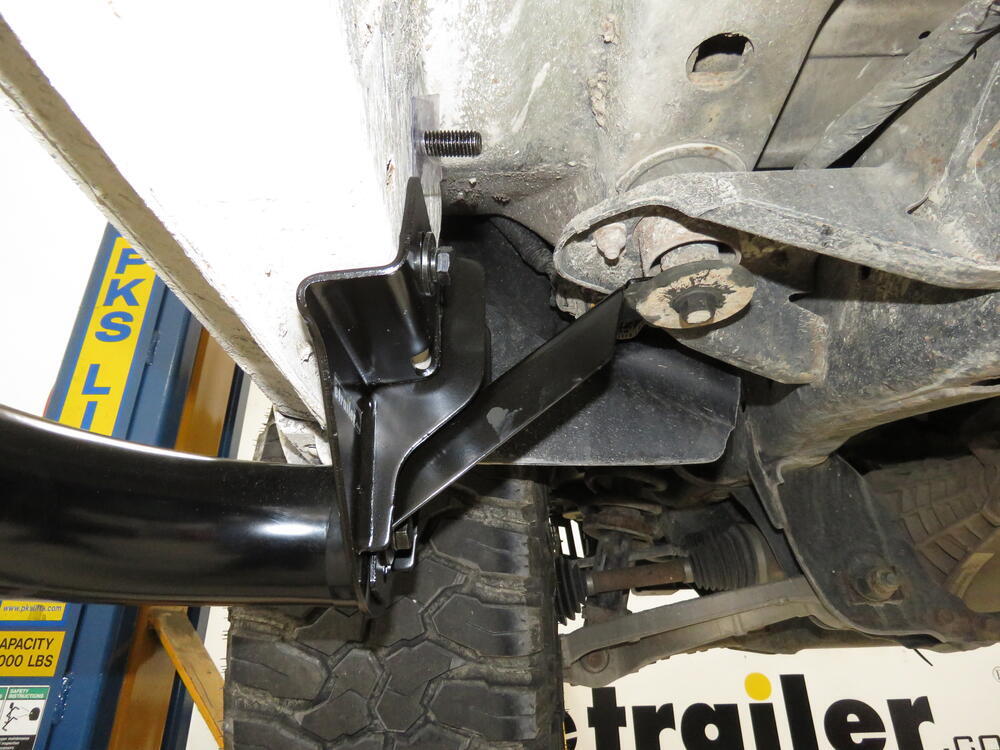
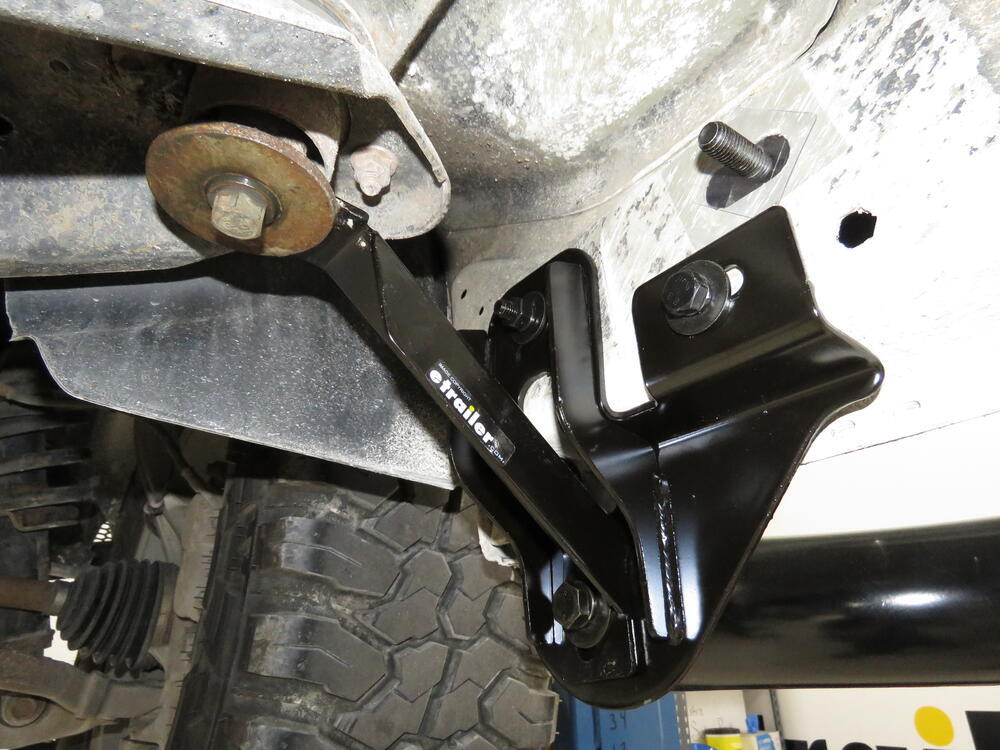
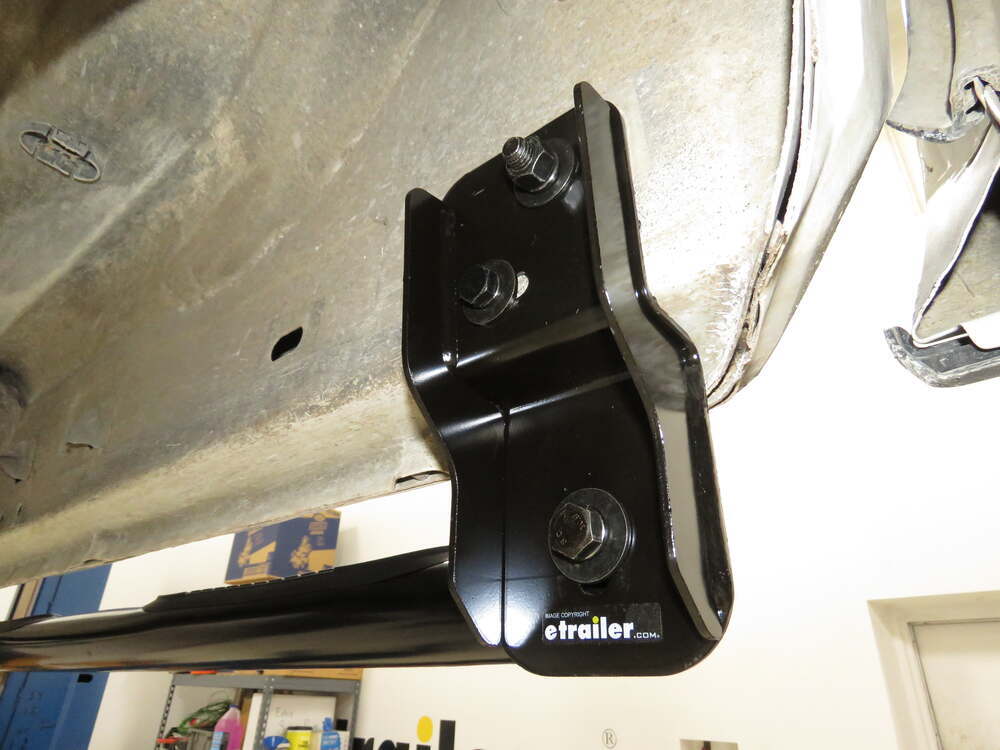
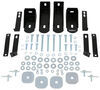
These steps are also going to be available in Chrome if you prefer Chrome. As far as the installation process, installation process is very simple, straightforward. It's going to come with all the necessary hardware and it's not going to require any drilling or welding. Now we've gone over some of the features let's get in the shop and show you how to put them on. To start your instillation, you can start on either side of the vehicle. They're both going to be exactly the same. You're gonna grab a nut plate like this. It only has the bolt coming out of it. It's just a plate and a plastic retaining a, washer like this. You may or may not have tape on this hole. You do pull it off. In some cases, this hole is going to be small. You're going to take the full wire that comes in your kit the spring end, and you're going to feed it through this hole. And you're going to come out this hole. Then you'd feed your hardware through here and then come out here. In our case, our hole is the correct size. You're going to take your plate. Now they're going to tell you to feed it in there and then put this on. I find that it's easier if you just thread this on partially get it in the hole, and then thread it on the rest of the way it's going to hold your plate in place and keep it from falling into the frame room. On some vehicles, these two holes right here are going to be threaded. You're just going to use the hardware when you get to that point, that fits those holes. In our case, we don't so we're going to have another nut plate. It's going to be a larger bolt. We're going to put another one of our keepers on, we're going to slide it in the hole. We want it to be up towards the front hole here. We'll thread this on. We're going to take our bracket for the front. It's going to be marked. P.F. for passenger front. We're gonna slide it over our bolt. This side is going to get a flat washer lock washer nut. This here, is going to get a bolt with a lock washer, flat washer on it. Doesn't matter what you, we're gonna put them both on. I'm just going to put this one on to hold our bracket in place. Now we can come back and put that hardware on. In our case here, this bolt that's sticking out is not going to be used. We're going to make sure these are only hand tight. You don't want to tighten them down all the way just yet. Now we're going to come to the very back hole. There's tape again, pulled off the top hole. Another one of our nut plates. Put your isolator tab or your puller tab on there. And when we put our bracket up it'll determine which side we're putting this, this the bottom side on. So we'll leave, let it sit like that for now. Gonna grab our bracket. Again, it's gonna be marked passenger rear. You can see how the holes are. That's going to be turning this way. We're going to slide it over just like that. We're gonna use the bolt correct for the threaded portion of that nut plate black washer, flat washer, put it into place like that. And we can come back and we can finish up with a hardware. Flat washer, black washer, and then of course, again loosely installed. 18 millimeter socket and wrench for front body mount. We're gonna loosen this bolt. And then if you want you can use an impact or a power tool to get it out. One thing I will say is on a vehicle this age there's a rubber isolator up in there. And part of it will start to deteriorate over time. The little particles that have deteriorated, may turn into liquids, or if you're using impact once you get down so far, that stuff is going to spray out of there and it will get all over. So just watch yourself. Loosen it first with the impact. You can see that coming out of there just a lot of water right now. We're gonna go ahead and remove this bolt all the way. Once you remove the bolt you're gonna find the bracket that says passenger. You're going to fit it where it's going to fit to the bracket. We'll thread this bolt back up in there. We're just going to thread it in there enough. So it stays. Then we're going to get our hardware installed here to this bracket. Next we're going to take our tube step and each end, it's threaded. We're going to take the large bolt lock washer, flat washer. We're going to go through this bracket through our other bracket. We're going to thread it right into the end of the tube step We're going to do this at each end. Into each bracket. Once we have all our hardware installed we're going to come back and start tightening everything down. We're going to start with our brackets going into the side of the body or the rocker point. 19 millimeter socket for our top bolt here, we can use the five eight socket for the floor one here and then we'll move to our front bracket. Five-eighths here for our front and top over here we obviously can't use our powered wrench. We're going to take a socket wrench with the five eight socket. We're gonna tighten it. Come back with your 18 millimeter socket. We're gonna tighten our body mount bolt now. Next we're gonna come back. We're going to straighten our steps out and get them aligned either high or low, however we want to set them. Come back with a 19 millimeter socket. Tighten these bolts down. I'm going to start with a back one, we can really can't go up any higher with the front here. So I'm going to align the back as high as the front end. Once you get one side done you're gonna repeat the process on the other. That's gonna do it for look at installation on the DZ Nerf bars on a 2014 Ram 1500..
Ratings & Reviews

Fast delivery good quality easy to ins tall.
They fit and look great on my truck!
Vary easy to install
When first ordered, wrong item was sent, not a big deal. Then when I got the correct bars, the bubble wrap had slid down in the box and there was a small ring in one of the boards.
Looks and works great, great price.
Good product, good price and fast service. Easy to install
Excellent product. Delivered very quickly. Installed within an hour and looks great
Still hanging on there doing fine.
Nice looking. Not too tough to install.
Install is easy look nice good product
Easy to install. So far no rust spots after 1 year.
Parts look great. Now they look like they'll fit the 73 dodge that I'm putting them on. I'll let you know. Can't add photos yet but will take some and get help to send them.
I have had them over a year and they look as good as the day I received them. Great company to deal with. Fast service and no backorders.
I am very pleased with this product.
Installed these myself in about an hour (110° outside at the time) wish they had more vertical adjustment built in. Nothing a unibit and a couple minutes with the drill couldn't solve.
Do pretty good holding my 250#s
Very easy install. pipe should be a little heaver gage, Passenger side even got a small ding in it proably from shipping. Look good and definatly will make it easyer ta get in truck.
One year in and still very happy. Installed in the dark by myself in about an hour...light and help would have been much quicker. Still holding up well in terms of finish and everything is still tight and sturdy.
Nerf Bars look and function Great! They were delivered early and I installed them myself without a lift. Took me about two hours as I was 69 years old and don't get around like I used too.
They're Great!!!
Great Product ! Installed easily by myself. Held up well this past year and is great "step up" for me to get in drivers seat. Also good dent protection from door dings. Etrailer is the "Cats Meow" They were great in every respect.
Tips to save you an hour: Have a table or work bench available to organize the hardware and brackets, have somebody to hand you stuff. You need an 18mm socket, an 18mm deep socket, and a 16mm socket. You need a long extension, a long handled ratchet and a standard ratchet with a normal length extension. You only need to tighten one bolt fully before putting rail on. It is the front most bolt in the front bracket. Make sure bracket is in forward most position, and tighten it up. You won't be able to reach it after installing the cross brace that connects to the main body bolt (large bolt with huge washer that is part of the truck, not supplied hardware.)
After everything else is finger tight install the tube step and torque fully, then torque front bracket, rear bracket and you're done. Do it in any other order and you'll spend way too much time being frustrated.
Fitment is perfect, brackets work just as they should, look exactly like the instructions. Product seems more robust than similar tubestep my mechanic installed on previous truck for more than double this price.
I like the nerf bars
really happy with the product the instructions could have been better but it went fine after i got started
8mm screw for front passenger side mounting bracket doesn’t fit. May be a 7mm instead. 2019 Ram 1500 classic. Have not tried the driver side yet.
Arrived undamaged (this is my 2nd vendor), easy install.
Do you have a question about this Nerf Bars - Running Board?
Info for this part was:
At etrailer we provide the best information available about the products we sell. We take the quality of our information seriously so that you can get the right part the first time. Let us know if anything is missing or if you have any questions.




















Thank you! Your comment has been submitted successfully. You should be able to view your question/comment here within a few days.
Error submitting comment. Please try again momentarily.