
Rhino-Rack ROC25 Roof Rack for Naked Roofs - Vortex Aero Crossbars - Aluminum - Black


To see if this custom-fit item will work for you please tell us what vehicle you'll use it with.


Thank you! Your comment has been submitted successfully. You should be able to view your question/comment here within a few days.
Error submitting comment. Please try again momentarily.




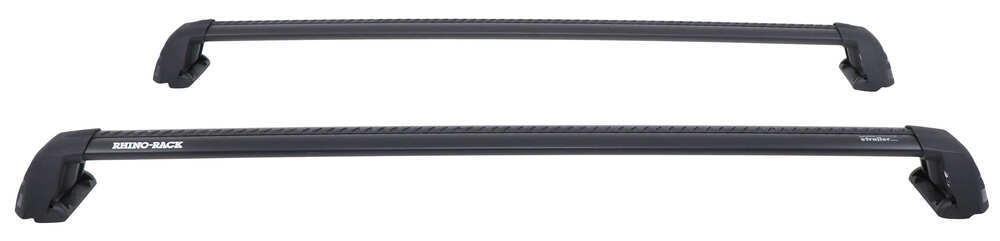

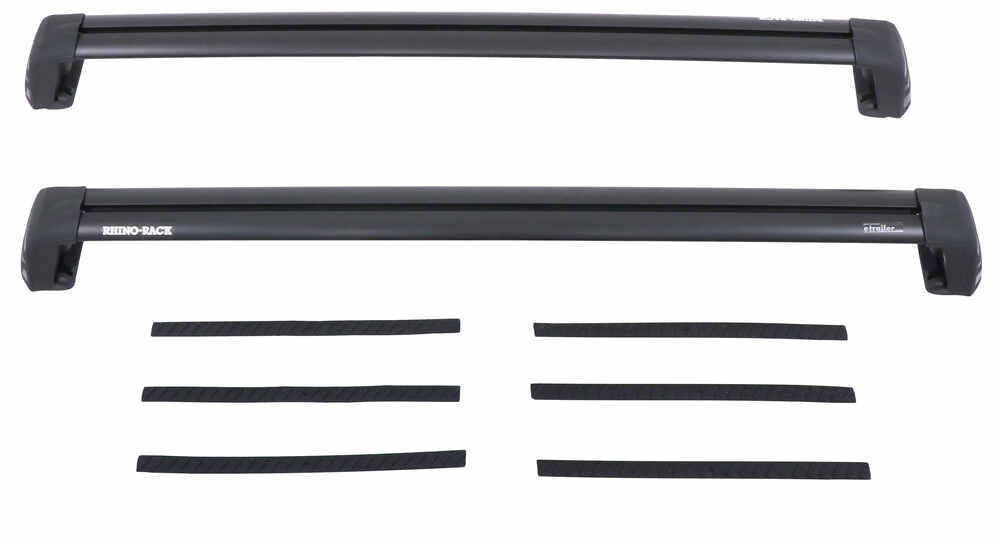


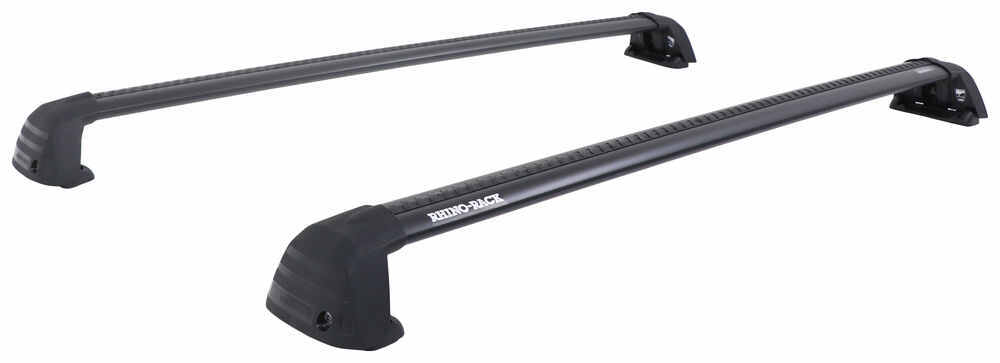
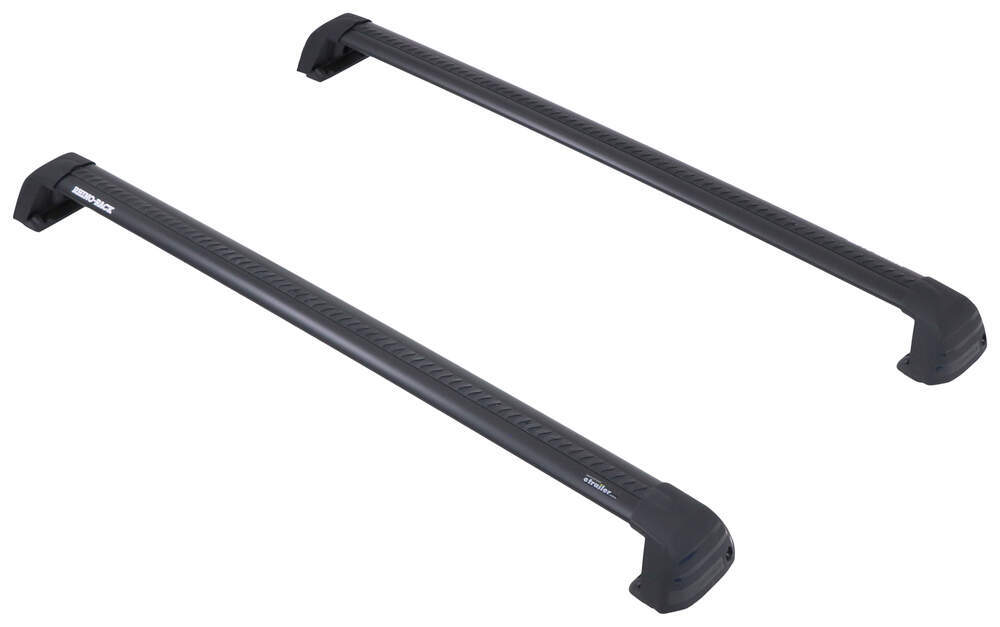
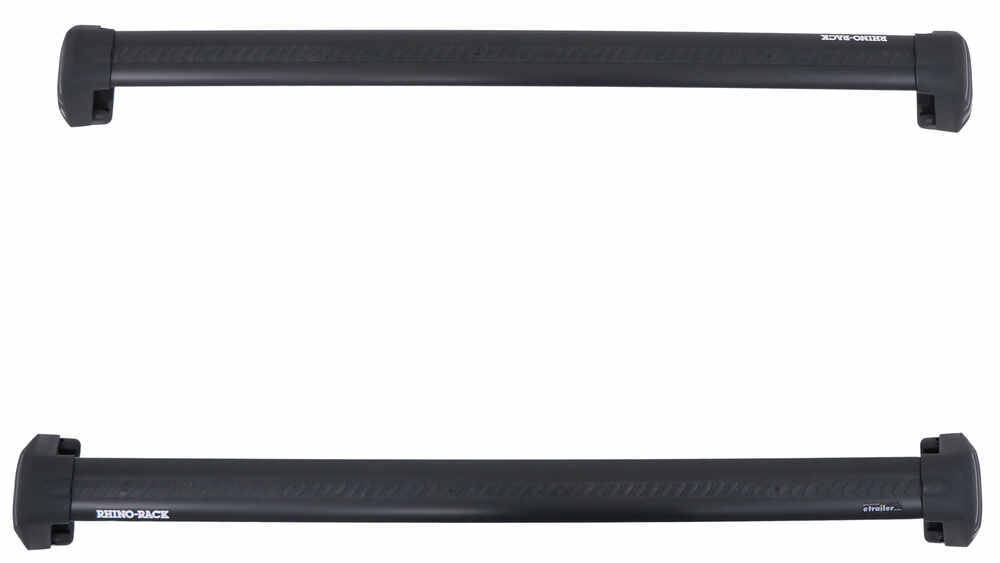
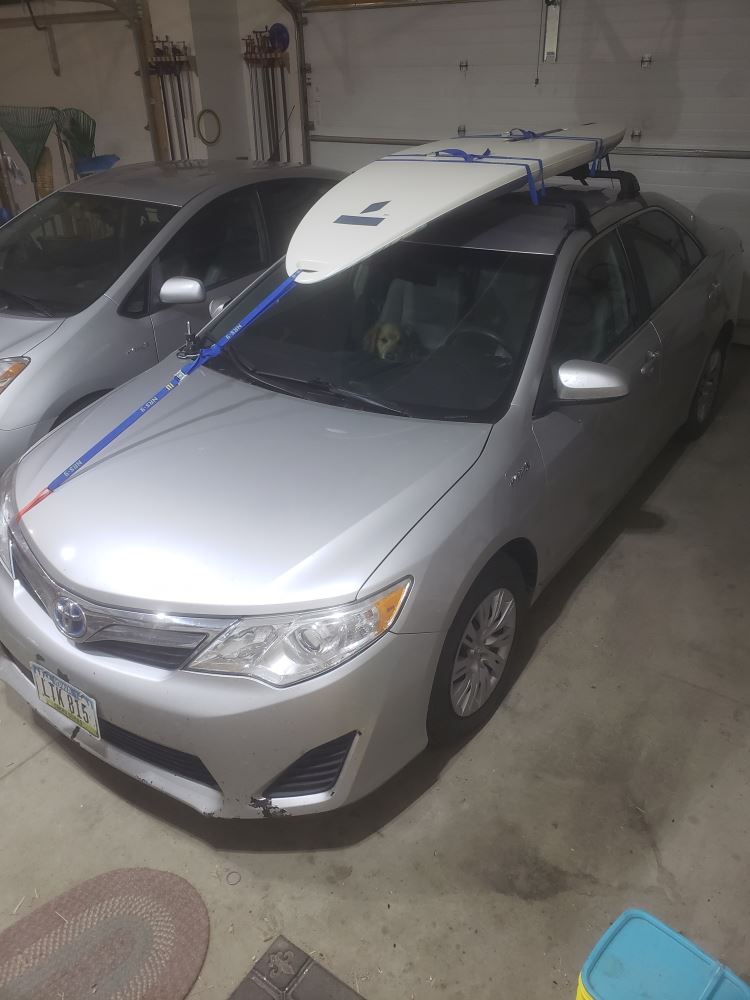


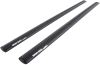
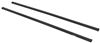
Wind noise can ruin an otherwise relaxing drive to the water or mountains. These crossbars use rubberized Vortex strips with wave-shaped grooves that disrupt airflow to cut down on whistling and vibration. The slim, elliptical aluminum bars create a quiet, low-drag setup that stays calm at highway speeds without the need for a fairing.
The flush design keeps the bars tight to the roofline so nothing sticks out past the legs. The result is a clean, from-the-factory look that blends into your vehicle instead of standing out. It’s a low-profile system that looks neat and helps reduce drag while you’re on the road.
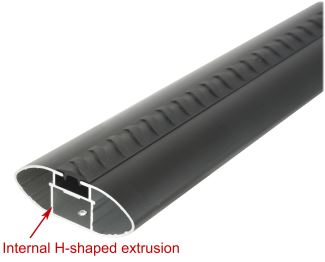
When you’re loading up heavy gear for a road trip or weekend paddle, you want bars that hold steady. These structural-grade anodized aluminum crossbars are rustproof and reinforced with internal H-shaped extrusions for exceptional strength without unnecessary weight. The UV-treated, glass-reinforced nylon legs are built to handle weather extremes season after season. The system supports up to 165 lbs—just be sure to follow your vehicle’s own roof load limit.
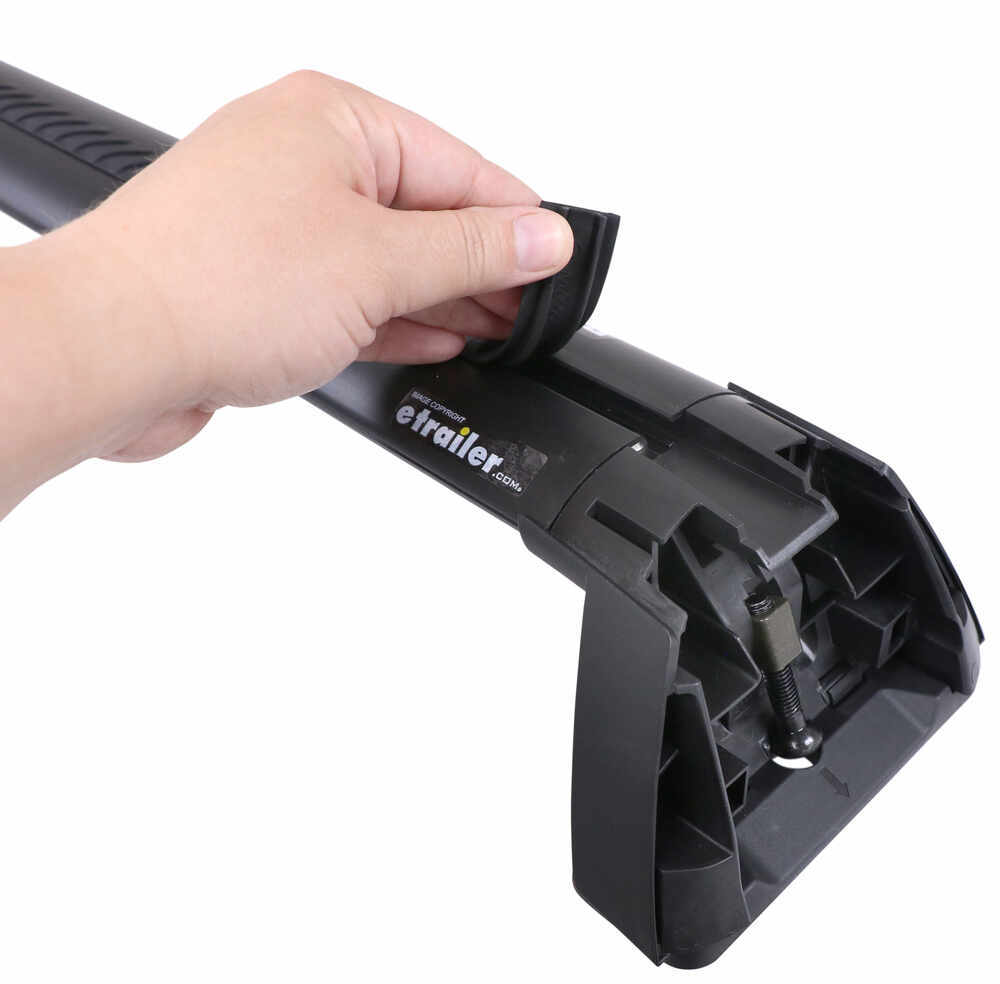
You can use both channel-mounted and clamp-on carriers with these crossbars, giving you the freedom to mix and match attachments for kayaks, bikes, skis, or cargo boxes. The built-in C-channel accepts channel-mount hardware, while the split Vortex strips can be trimmed and reinserted around your mounts to stay sealed and quiet. Clamp-on gear fits easily too, resting securely on the cushioned, no-slip rubber strips.
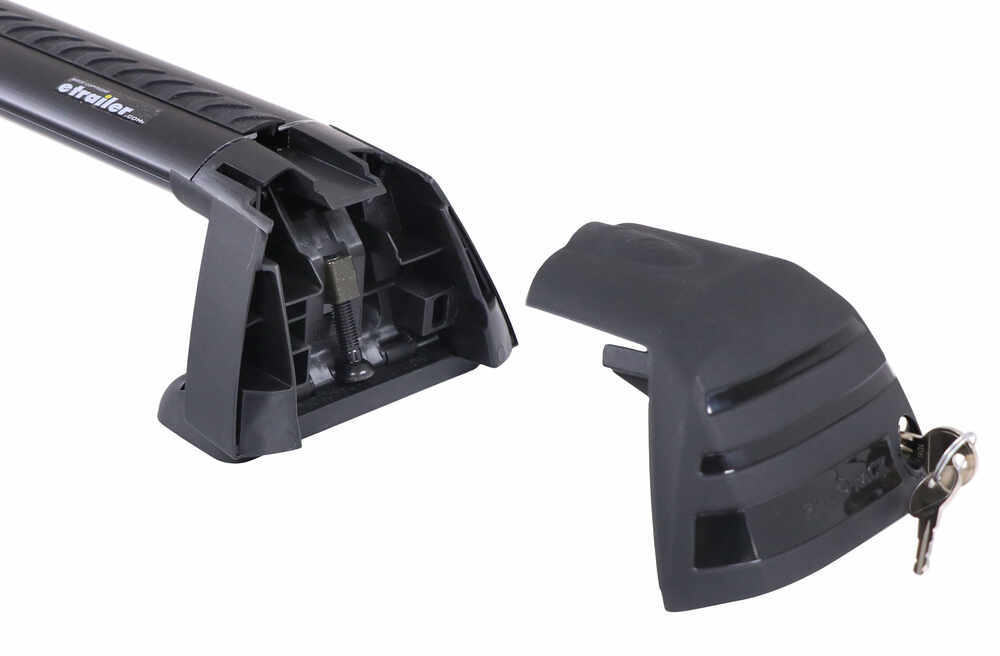
Each support leg includes locking covers that secure the rack and any channel-mounted accessories in place. The covers give the setup a finished look while keeping your gear protected from theft. All locks are keyed alike so you only need one key for the entire system.
 Alternate Instructions
Videos are provided as a guide only. Refer to manufacturer installation instructions and specs for complete information.
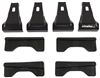
What's up everybody It's AJ with etrailer.com. Today we're gonna be checking out the Rhino-Rack ROC25. And what this is is a roof rack system for the naked roof of your vehicle. So it's gonna be a complete system. You get the bars, the feet, the pads, and the clamps that are specific to your vehicle. Each one's made a little bit different, each roof is a little bit different, so you wanna make sure you get the right fit.
This is gonna have all of it. You don't have to buy anything extra. Now what the roof rack is gonna do for ya is help you carry something like, let's say you don't have a hitch on the back of your vehicle like this one, you don't wanna get a bike rack, you wanna haul your bike on your roof. You can do that, you can get a cargo basket, a roof box. You can carry your skis up here.
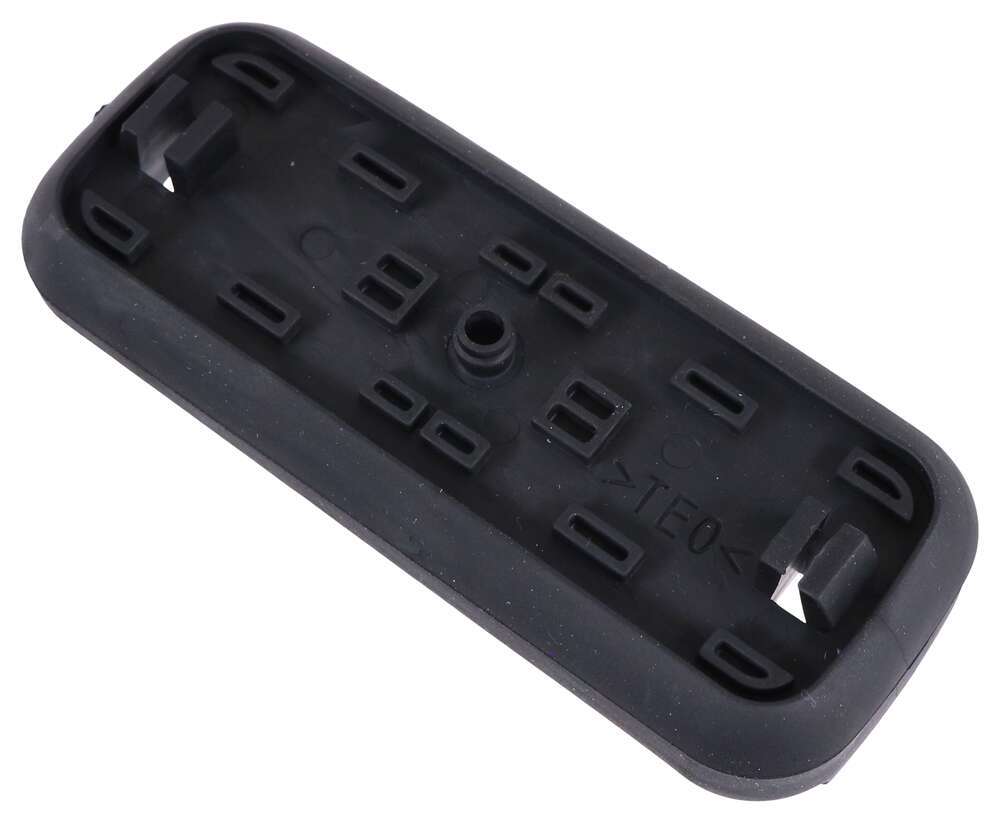
There's plenty of options to use this roof rack on top of your vehicle. Taking a closer look at it, I just wanna show you what I mean by custom design. This rubber pad is what the custom part is for this roof rack. So it's made specifically for this 2019 Nissan Rogue. You can see how the rubber pad goes down into this groove and catches it here and it's flat.
So it goes and conforms to the shape of the roof. And every one of these is gonna be different for every vehicle, that's why you get the kit specific to your vehicle. But they're all gonna function the same way. They're all gonna grip on that roof and catch it. You'll see that there is no overhang with this roof rack system, that goes with how custom it is to your vehicle.
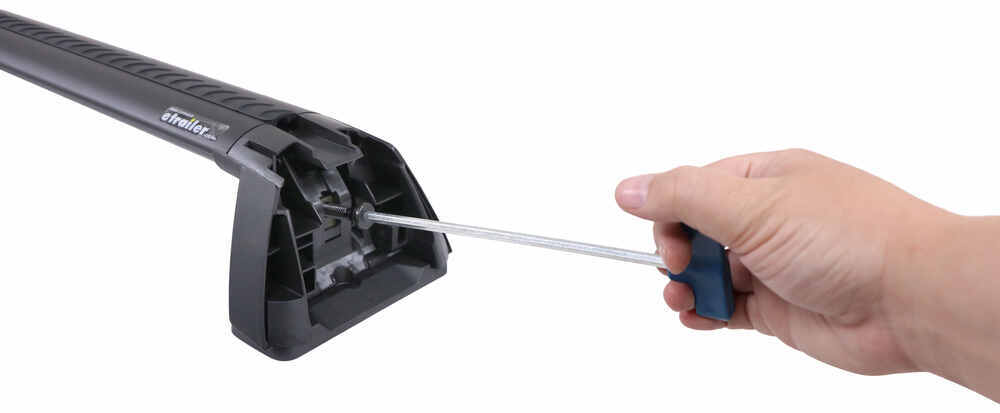
So it's made specifically with the right size bars. Even actually on this one, the front bar is longer than the rear bar. You can see that by looking at 'em. So that's how it's just designed for the roof. The roof tapers in a little bit and there's pros and cons to that. So one of the pros is you're not gonna hit your head when you're getting in and outta the vehicle. Sometimes that overhang can be a little bit of a burden. I know Zach, who does videos here too, complains about sometimes he forgets, he hops outta his vehicle and hits his head. I'm not that tall so it's not really a problem for me. But this would be eliminating that for everybody. So when they get outta the car, it's not a worry. A negative would be there's not as much space. Sometimes that overhang lets you add that one more accessory that you couldn't fit when the bars stop here. But overall, I think it's more of a positive than a negative. You can fit your thing on here just fine and then get outta your car without ever worrying about it hitting your head. While we're up here, we might as well look at the bars themselves. They're made out of an aluminum, black-coated. It's a black matte finish, sorry, and it's got reinforced on the inside. So it's not just aluminum like a soda can. It's got reinforced and they said it's like an H design in the middle of it and that's helped give it the strength so that it's not gonna budge when you load it up with your gear. Now it does have a weight capacity of 165 pounds, so I would not exceed that. On these bars is a weather strip which covers up the T-track channel. So this is a great option to do those T-track accessories that are gonna slide in here and go where the weather strip goes. That way you don't have to use a clamp that's gonna go around the whole bar because as you can see on this vehicle, it comes pretty close to the roof a little bit. They're in the middle, more so on the back. So if you don't wanna use those clamp-on accessories or you just don't have the room to use them, I suggest using the T track up top or you can just cut this to length wherever you want. So let's say that your bike rack slides in here. We would just cut this off and the bike rack would take up the space. That way, it's still got the weather strip. It's not gonna make noise when you're going on the road. It just slightly makes noise. It's not very loud but I could still get annoying over time. Now we'll move on to the foot. It's glass-reinforced nylon and it's also UV treated so you don't have to worry about the sun breaking it down, making it look bad or even the elements if you want to leave it on your roof all the time, it's not gonna bother it, it'll be just fine. That's this foot part which is gonna be separate from the foot down here. This is another part, same material and then the rubberized cover that goes on the foot is specific to your vehicle. So like I said in the beginning, there's a bunch of different kits and this is the part that's gonna be made specifically to fit your roof and the contours that are on it. Along with that custom rubber pad is the clamp. Now these clamps are gonna be the same but they all have a rubberized inside so you don't have to worry about them scratching the inside of your door jamb or the side of your roof here. That way if you take 'em on and off, you don't have to worry about damage over time or anything, it's not gonna happen, it'll be fine. Now it does fit and tighten up to your door jamb. So it pulls this clamp up the more you tighten this bolt down and that's what keeps it in place. You see there's no movement whatsoever so you don't have to worry about anything bad happening when you're going down the road. Now there is a cover for this so this isn't exposed all the time. And another cool thing that Rhino-Rack included is a lock. They don't all come with locks and locking caps so it's nice that they have that and you get two keys with it. That way you can keep one in your vehicle and one on your key ring, and then nobody can tamper with your roof rack when it's installed. So we've gone over how great this roof rack is and what it can do for you. How does it install It's not that bad, you just follow along with me as I do it and you'll see it's pretty easy. The only thing that's different is the foot pads, they may change from roof to roof, but that's the only thing that changes. Assembling it is gonna be the exact same. You're gonna measure from the same points. Now the numbers might be different because your roof and your vehicle are gonna be different, but still the same. So let's check it out. We're gonna install our weather strip. I've already done it on this bar and most of this bar, but I wanted to show you how it works. You just put this part that's a little bit more in in the top, just work it into the center, it'll pop into place. It's probably better to get one side down, see how it's tilted And then push in, is usually how I do it. And then it goes into place pretty easily after that. You just gotta get started, you can hear a little pop every time I push it into place. (weather strip pops) And come back on the other side and do the same thing. Looks like it's sitting nice and flat. I'll pull it back a little bit so it's even. That looks pretty good right there. Now I'm just gonna cut off the excess. Gonna use my flat side of this, that way you got a nice even cut. So not as even as I anticipated, but I'll come back and fix it up. Now we're gonna attach our feet to our crossbars. You just slide 'em in the ends here, we're gonna eventually put a screw in through there. Now, it might fight you a little bit. I suggest, I'm gonna try get like this, kinda use the table to push it down in that last spot because this plastic kind of sticks out a little bit and you put your palm on there, it doesn't exactly feel good. So you can't get a good shove on it. But if you just use the ground and push a little bit, it should slide right into place. Don't slam it on there or anything like that, you'll damage it, but just use that to help push it into place. Now we're gonna peel back a little bit of the weather stripping. You see it looks like the hole lines up just fine. So we're gonna add a screw in there. With that in place, now you can't pop that foot back off and we're gonna repeat that process on the other three sides. Next, we're gonna assemble our foot pads. You're gonna get these in a different kit and you wanna make sure you look at 'em and you see the number here is gonna tell you where they go. So this is the front left and front right. Stickers do come with 'em. I've already added the stickers so it was easier to explain to you which one's which. But you can look at the number and it'll tell you exactly where it's supposed to go. These are gonna be the rear ones. So you can see they already look way different than the front ones. They're specific to your vehicle. And again, just look at the number and it'll tell you where to put 'em. When you go to add your rubber pad, make sure the arrow is facing out. When you go to snap into place, you kind of just push on the rubber part and you'll feel it snap in several parts right into place. A good way to tell is if the rubber part of the cover is up here through the center hole, you know that it's installed. We're gonna attach it to our assembly. (metal snaps) It just pops into place. There's like a bar here at the bottom. There's spaces to clip this plastic part into, (plastic clicks) and just push it. You hear it snap into place and it's on there. And again, you wanna look at the bottom, make sure you're putting the right one on the right side. Arrow is facing outward and the arrow on the rubber is facing forward. (plastic clicks) And one other thing to note is that your crossbars are gonna be different lengths. So the front one is gonna be longer than the rear one. That's how you can tell the difference between 'em. You might be able to see on the table here that this front one is a little bit longer and that's how I know that that one's the front one. So the front crossbar on the roof already. And what we're gonna do is get our measurement to see where it needs to be on the roof. Now it's gonna be different for every vehicle, so these measurements probably aren't for you, but we go from the center of the door jamb to this arrow and on this particular one, it's gonna be a little bit before six inches, so. About there looks right on this side and I'm gonna go over the other side and adjust it over there too. Now if we set the rear one on, we'll get that measurement too. Again, it's gonna be different for you, but what they want you to do is measure from the center of the front crossbar. Now that you've got that in the spot, it's supposed to be to the center of this one and those measurements will be in your instructions. And ours looks to be right there. I'm gonna move it just a little bit and it looks good right there. That's where they said they have it. So now we know it's on there right. Another thing that would be helpful is they got these little stickers that are arrows and you can put them exactly where your crossbars are in like the door jamb so you can't see 'em. But that way you don't have to measure every time if you plan on taking these off and putting 'em back on. Plan on leaving 'em on, you're probably not gonna need these. If you don't wanna put 'em on the car, you don't have to, just measure again the next time. Not a big deal, it's really up to you. Now we're ready to add our clamp. This is gonna attach here and this is what actually holds the roof rack to your roof. So first, we're gonna remove this center bolt. Then we'll bring our clamp up, line it up. You see how it sits right here in the door jamb like it's supposed to. It's also rubberized so I don't have to worry about it scratching anything. Kind of align that upright. Put our bolt through and get it started by hand. Now you might have to hold it, put your hand behind there to hold this up 'cause it falls back pretty easily, you see that So you can put one hand back there and then get the bolt started that way. It looks like the trick might have been is to tilt it towards you, that way it's at an angle, and then the bolt went in way easier. I got the clamp sitting in the door frame where it's supposed to be and I'm slowly tightening it into place. I'll come back with the tool that comes with it and continue to tighten it down. On the passenger side, we do the same thing but don't fully tighten it, just kind of jump back and forth and tighten it evenly. That way one side doesn't pull it up off the roof. Now what's something I wanna point out about the tool, a good way of seeing if it's tight enough, you're gonna hear some creaks and cracks and stuff as you go, but this part is angled and you'll know when it's tightened. You go to tighten it, as you push on it, it flattens out. So I'll try and do it this way. You see how it's flat now That means it's tight enough and that you can stop tightening it. Last thing we gotta do is to put our covers on. You just slide them into the groove, pushes in there really easily. Then use your one of your two keys to lock it in place. Now you're good to go. As you saw, it wasn't too bad to get installed. Some roof racks can be a little complicated with a bunch of moving parts and a lot of going back and forth. That was probably the hardest part of this one, is probably the measurements and that's just, you know, setting this one in place, measuring, going the other side, doing the same thing, then doing the same thing for the rear bar. But really, in the grand scheme of things, it's not that big a deal. They installed pretty easily. They're on there nice and tight, they're not going anywhere. I'm fully confident that they're gonna stay there for as long as I need 'em to be. So now you can carry a roof box, a roof basket, you can even carry your bikes up there, skis, whatever. You have all those options with those bars on your vehicle. Well, thanks for hanging out and I hope this helped. (no audio).
Customer Satisfaction Score:
91% were satisfied with this product
9% of customers were not satisfied
Ratings & Reviews

Great setup. Pay close attention during initial setup. Some parts look very similar. They are not. Otherwise fitment was flawless. Looked good on vehicle. No noticeable wind noise with the added wind shield.
Solid construction and easy to assemble. Would give it 5 stars but the mounting pads had 3 of the M699 and only one of the M700. (should have been 2 of each). The written instructions are next to useless and hard to follow.
Easy install. Tough, well made. Great buyer experience. This is my second purchase from etrailer and I’ll definitely use them again.
Exactly what I needed. Great fit, and easy installation.
Great product, great service from etrailer. The instructions were very clear and I had it installed on my car in under an hour. It's very solid
Easy installation and has a somewhat sleek look compared to some other racks. Adds a lot of utility to to our truck.
This rack is a perfect low profile rack that has enough clearance to allow the pano sunroof to open freely while installed. I will be using it to transport my stand up paddle boards. I love how there is no bar overhang with this rack and has a flush custom look. It was easy to install with the help of the instructional video on etrailer’s website. Shipping took longer than expected but it was 100% the fault of USPS and the employees at etrailer were extremely helpful in getting it figured out. I would absolutely recommend this rack and would definitely purchase from etrailer again.
Worth every penny, 1 year later and it’s still holding up strong with the peace of mind that my kayak won’t go flying off in travel.
Good morning Amber, first and foremost I would like to thank you for your help and excellent customer service.
You went beyond the standard help to a customer in order to find what he needed and you worked closely with the applications and measurements in order to fit my car.
In this case it was not an easy application for my Cadillac unlike many other local dealers turned me down. Your experience got me the right Rhino Rack for my collectable car.
After installing it, I test drove it with good weight with 3 Surfboards on top on them and they perform excellent, sturdy and solid and no sound at high speed. Love the Racks!
Thanks again for your service Amber
Joe Cruz
Great rack for my 2022 Edge! Great videos for ease of installation but did take two of us. Would have 5 stars but for one of the adhesive pads coming out after just 3 weeks of use. Just emailed customer service to let them know and ask for replacement adhesive pad(s).
I've used this rack a few times now on my Range Rover Sport, and it has worked flawlessly. Two reasons why I went went with this rack, I liked the rounded ends vs the racks that over hang over (if this gives you enough rack space), and I wanted to easily take down because I like the clean roof look without the roof rails as I only need a rack 2-3 times a year. They don't leave mark and it's also cheaper than the OEM ones. I marked the 4 areas on the roof with tape to easily align my brackets, re-tighten all 4 and they are back up. I use with an older cargo box and can still open my large sun roof. I bought the RR573 ski holders too which I really like. I've used them separately with 2 pairs of ski's, and plan to use them together side-by-side later this year. I measured and they should barely fit next to each other.
These crossbars were absolutely great. Installation was a breeze made transporting our kayaks and all of our camping stuff a lot easier.
Great solution to our 2nd gen Ford Edge w naked roof. Functionally just what we needed. Looks great. Pretty quiet but does make a low volume whistling noise that I can hear at low to moderate speeds. QR code that comes with the model specific pads and hooks did not link to the specific instructions I needed for installation but e-trailer rep provided me with them via email and then it was no problem. I chose a Thule Force 3 medium. There is plenty of room to accommodate that box without really hanging over the windshield and it clears the antenna pretty well. Plenty of room to open the liftgate with extra clearance. There is also clearance underneath the crossbars to either tilt or fully open the sunroof. Would have given five stars if the rent a rack website loaded the vehicle specific instructions with specifications as it should have.
Excellent fit on our 2018 RAV 4. We use the rack to transport our kayak.
The roof rack I ordered was missing the most essential tool that tightens it to the roof. There was no Allen key and it’s a special Allen key that you can’t buy at the store. Waiting to see if they can send me a Allen key but still haven’t heard anything back.
Very impressed with the service of etrailer. They processed my order and shipped it within a few hours. I had my package within 2 days and, this was during the holidays.
The Rhino-Rack was easy to install. Once it was set up according to the directions, it is quick to put on your roof and take off, only a few minutes. I also purchased the foldable kayak J-cradles. They are very easy to use. To put the entire assembly onto the car takes less than 5 minutes. Being able to fold the J-cradle allows putting the car in your garage without taking them off. Remember to fold the J-cradle down before you put your car into the garage or you may appear on an insurance commercial. :)
Service was very helpful. William stayed in contact with me throughout the entire process. He helped me find the correct roof rack for my car. There were a few delays throughout the process due to heavy demand and the etrailer staff helped keep me updated and even provided alternate options to get a roof rack quicker. Overall a great experience. Everything arrived as described.
eTrailer was great to work with! Very helpful, easy ordering and fast shipment.
Thanks!

Pete

6/14/2023
Excellent! Using it again soon :

Instructions could be better on what the arrows all mean for the camry. I new what the out meant but had trouble realizing the pads were running front to back and not sideways
I have a 2012 Camry hybrid and haul a 180 L windsurfing board. My rack came as promised but lacked one of the bolts needed. I made one phone call and the missing bolt was on my porch in 2 days.
There's virtually no wind noise, surprising since the car is very very quiet at baseline and I expected there to be some.
My car lacks tie down or towing attachments so I got some of the loop type that clamp under the hood and trunk.
I'm very pleased with construction, fit, ease of use, and customer support. I'd buy it again.
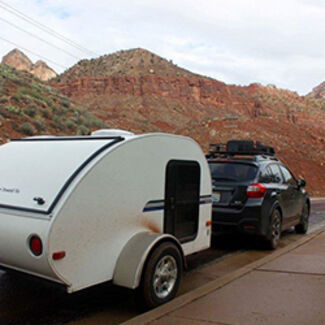
Robert
6/4/2024
Update: After a year of use, I still like this rack. It’s easy to attach and remove, solid, and quiet at road speeds, even in my super quiet Camry Hybrid.
The racks are sturdy and they fit my car as intended. The plastic legs which attach to the crossbar on either end wouldn't initially fit on though. The plastic didn't sit flush against the metal and it required about an hour of carving plastic out before I could force them on. After that was sorted out, the rest of the assembly was smooth. They seem solid.
Worked how I'd expect it too. I traveled 1800 miles going a cross the USA dealing with high wind advisory carrying my kayak with me as I moved and the crossbars held up and so did my kayak. Thank you
Info for this part was:
At etrailer we provide the best information available about the products we sell. We take the quality of our information seriously so that you can get the right part the first time.











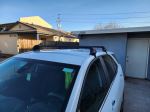


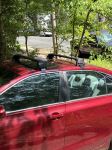

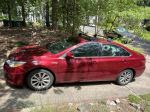


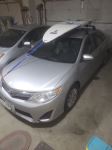








Sierra K.
6/21/2022
I apologize for this annoyance. I see that the manufacturer is shipping out the allen key to you.