


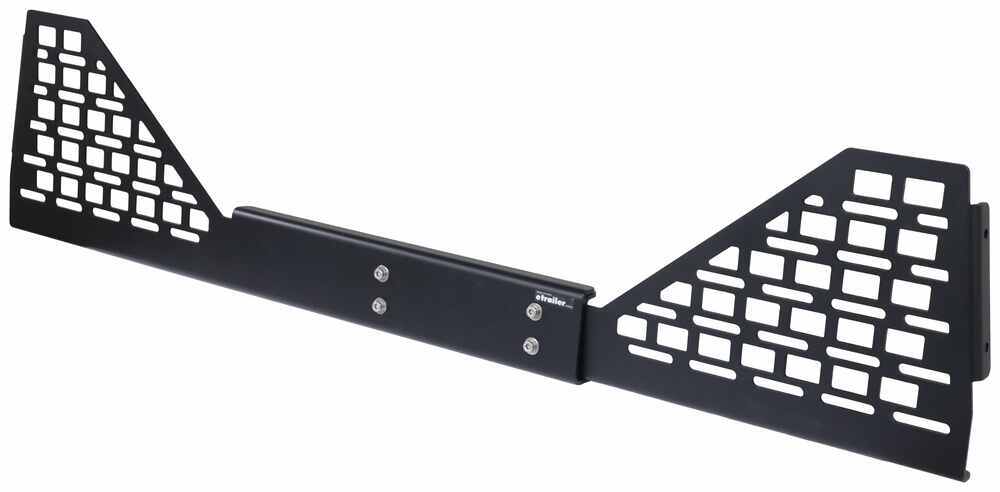
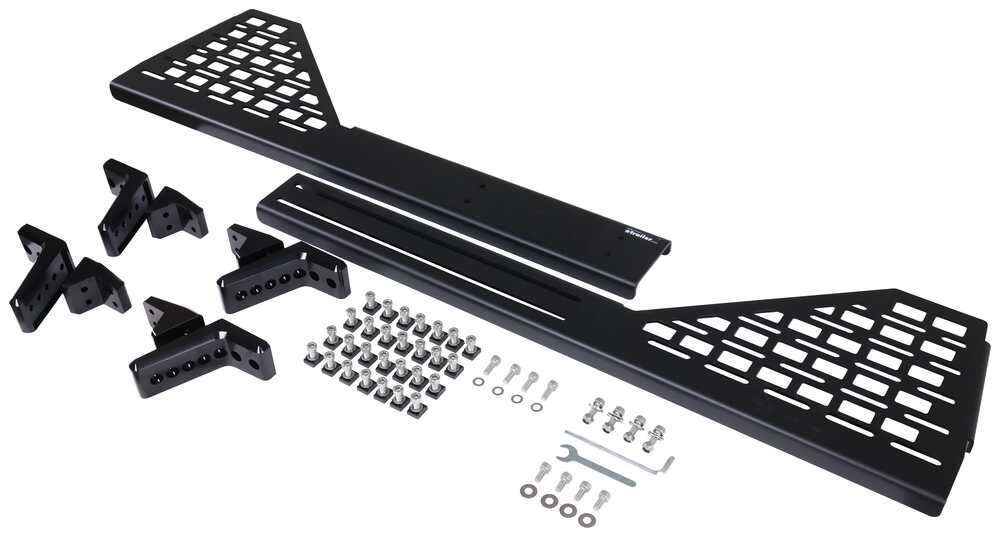
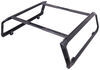
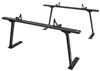
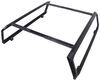
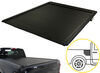
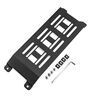
Add 2-3/4" - 4-1/2" of rise to your Gladiator's Ibex rack crossbar height with this hardware kit, which also includes an adjustable front MOLLE panel. Gain more mouting space without blocking your vision or sliding rear window access.
Features:
Specs:

Videos are provided as a guide only. Refer to manufacturer installation instructions and specs for complete information.
Hi everyone, Aidan with etrailer here. And today on our 2023 Jeep Gladiator, we've got a Kuat Ibex truck bed rack installed. This is a really versatile rack for camping and overlanding, but we're gonna be showing you how to install two accessories. That's gonna be your crossbar riser kit and a front MOLLE panel that come together in just a single kit. Let's check it out. Starting off with the crossbar riser kit.
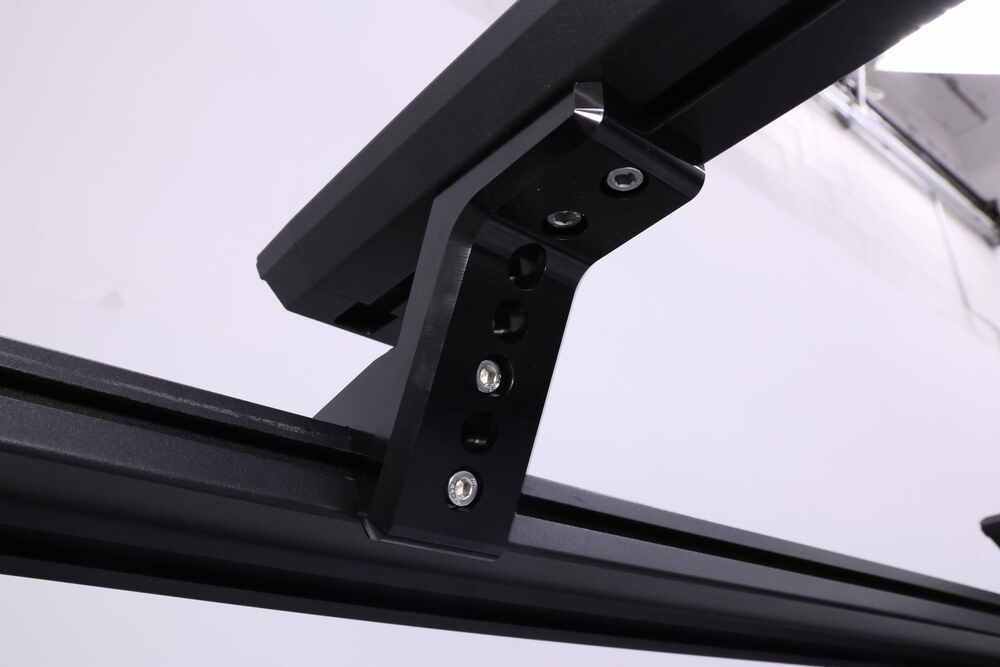
That's gonna basically take your crossbars and rather than having them level with the Ibex, it's gonna bring them up up to 4 1/2 inches taller. We've got it in the tallest position right now, so we are adding that extra 4 1/2 inches and it's more than enough to give us cab clearance for longer items say like a kayak or if we wanted to use this like a ladder rack and haul some lumber around with it to pick up for house projects, it would do that too. It's gonna installed mainly from these two blocks right here, the back one that will install to the Ibex and this front one which joins the crossbar to that bracket and offers you the height settings. Three in total so we've got it in the highest one here, middle one, and the lowest would be mounted up here. And since the crossbar that come on your Ibex are telescoping to adapt to different widths, we can just reuse them and expand them out to give us a little bit of overhang with this new crossbar riser set up.
And in my opinion, it makes it look a lot nicer with that bit of overhang. Now you'll notice that the MOLLE panel is tapered around the window here, so if you've got that sliding section on your Jeep, you can still use that function and pass something through here or reach through if you needed to. It's nice also that it's gonna help with visibility. Because of the extra visibility though, the actual usable space in the MOLLE panel will be quite small, so better suited for maybe some small pouches or first aid kits and maybe even some small tool mounts. Just like the crossbar risers, it's going to channel mount into existing channels on your Ibex, so it's a no drill installation.
But if you're wondering what that install process looks like, just follow along and we'll show you how we did it. It's not too bad overall, maybe tight clearances in the MOLLE panel sitting so close to your cab. And if you're a larger person like me, you might find that working around the Jeep bed here is just a little bit cramped at times, but it's really not too bad and you can get it installed pretty quickly. So follow along and we'll do it together. We're gonna start off with the front MOLLE panel.
It's gonna be in two halves and each half will have either a set of holes or some really long slots. And we're basically just gonna nest these two pieces together and we'll just do that on the tailgate here. The section with the large slotted holes is the thing that will be set on top. And your hardware is gonna consist of these longer screws with a flat washer. I'm gonna pass those from the bottom up through the top here and very carefully set this down. And on the other side, we'll have a flat washer and a lock nut. And that'll just get repeated for the other three mounting holes. Leave these pretty loose for now. And I'll probably go back through and tighten this up a little bit using the included wrench and Allen key on the other side, but leave it loose enough that I can still slide it back and forth and adjust this by hand. I just don't want it to be so loose like that. On each edge of the MOLLE panel, there's gonna be two mounting tabs. Ignore the bottom one for now. The top hole will get a shorter Allen screw with a flat washer going from the inside out and a T-nut with that small lip of the T facing in. This will eventually mount up into a channel and we need this done on both sides, leaving it pretty loose for now. On the front most upright of our Ibex, we'll find another channel that we can slide our bottom T-nut into. Gravity's gonna do the work for you and just let it sit at the bottom. We're gonna then take the assembled kit and line up that top block with the channel there. Mine's twisted right now, so I'm just gonna see if I can get the other side lined up first. It's a really snug fit it, but if you can get one side started, we should be able to get the other one to slide in and this might be easier with an extra set of hands if you have them. With the driver's side lined up, it's a little easier for me to come in here, keep that passenger side T-nut aligned properly and just drop it into place. I'll get that bottom screw lined up and tighten everything down. Those screws are a bit hard to reach, but you can get them most of the way with your Allen key before you need to give it that final bit on the other side and they tighten down fairly quick after that. Now as you go to raise your crossbars up, I'd recommend doing them one at a time so that the Ibex maintains some structure. I did the front one already and after I had it fully installed how I liked it, I removed my rear crossbar to start raising it. And what that process looks like starts with these kind of triangle-shaped blocks. These blocks will line up on the top of your rails and you'll notice two pairs of holes that line up perfectly with the present channels on the top inside of that rack. So what we need to add are T-nuts. We'll make sure that the T is facing up or out in the case of the side, two for each channel. I'm just gonna place them roughly about that far from one another. We can get that bit more precise later. I'd like to get them all in place first and I can line up my block. The hardware up top will be one of your screws with a flat washer. And you can get that lined up started by hand enough that this will hold itself in place. And that'll allow you to slide it back and forth to get lined up with the second T-nut. We'll do this on the top first and then the side. To make it easier to reach, you'll probably have to use the Allen key on these side ones. Again, just getting them loose for now. I don't want to tighten anything down fully yet. With both sides loosely in place, I'm going to measure them each to the same point right at the end of the channel since it's a good flat edge for me to measure to. And basically just make sure they're both lined up about where I want my crossbar to sit. And when I'm happy with it, I'll tighten both of those down fully. The height adjustment brackets have a couple different holes we can choose from for mounting. I'm gonna put ours in the highest position here rather than one of the middle or lowest. So that's gonna be the very bottom and the middle hole that will get a screw and flat washer. Same type of hardware we've been using for all the other points. You'll definitely want your Allen wrench to make these connections. And these, we can just tighten down fully since we already have our positioning set. And these are in just set intervals not slotted holes. When I removed our crossbars, I just loosened up the orange screw and opened this up to its max setting, because in the raised setting, I just like the look of the greater overhang, so that's already done for us. I'm gonna flip it upside down and add more of these T-nuts, two to each side of that under channel. Now I like to set this up right next to the places I'll actually be mounting it up. It just helps me get my whole spacing a little bit more true, but we can again just adjust this once we flip it right side up again. We can flip this back on top of those mounting points and you're gonna screw it from underneath. It's gonna be just the same screw and washer combination that we've been using, but there's a reason you wanna sit in the bed like this and that's because it's a little easier to see up and get the holes aligned. You can usually feel when that screw is actually threading in and it starts to tighten up. I want to leave these loose just so I can slide this back and forth if need be for that second mounting location. Once you've got your bar centered side to side, you can go back through and fully tighten down all of that hardware and repeat on the other side. Once you have both parts installed though, I like to just give everything a shake test and make sure that I didn't leave anything loose by accident. And that's really all there is to it. In hindsight, I probably would've done the crossbar risers first just to give myself a bit more head room when I did that MOLLE panel up front because I did hit my head a couple times just because the Gladiator is a pretty small truck and everything's pretty tight in there, but that's just a personal preference. My thought with doing the MOLLE panel first is that it would give the whole Ibex a bit more structure when putting those crossbar risers on, but I think if you do them one at a time like we talked about earlier, you'll be just fine. Overall, it's a really easy process to get both parts installed though. It's nice that you maintain the back window for your Gladiator if you've got that sliding feature and now you have cab clearance for longer items. But that'll do it for the look at and installation of the crossbar riser and MOLLE panel kit on the 2023 Jeep Gladiator. My name's Aidan and thanks for watching.
Info for this part was:
At etrailer we provide the best information available about the products we sell. We take the quality of our information seriously so that you can get the right part the first time.
























Thank you! Your comment has been submitted successfully. You should be able to view your question/comment here within a few days.
Error submitting comment. Please try again momentarily.