
EcoHitch Hidden Trailer Hitch Receiver - Custom Fit - Class III - 2"


To see if this custom-fit item will work for you please tell us what vehicle you'll use it with.


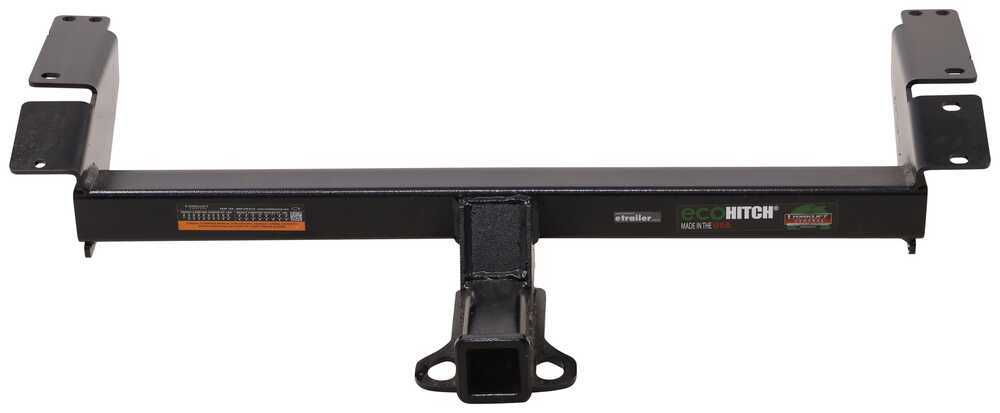


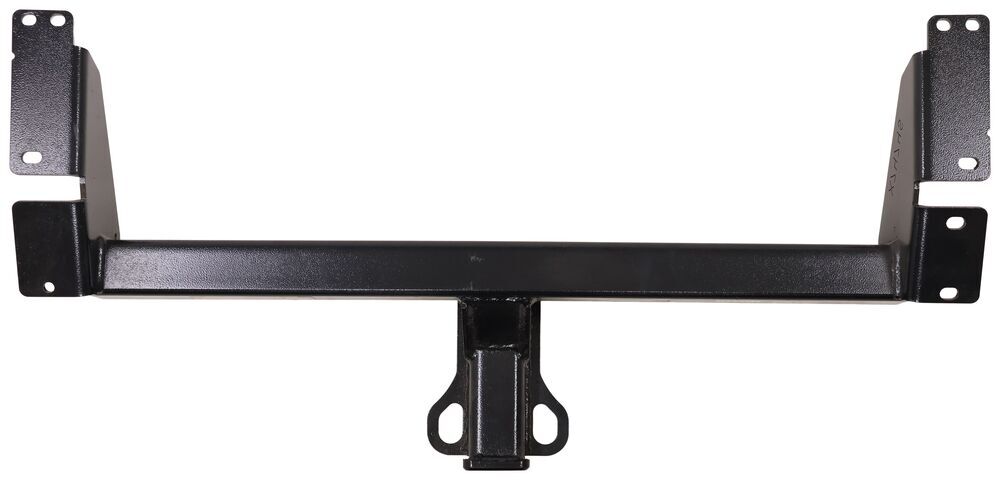




With a 3,500-lb maximum gross trailer weight and 525-lb tongue weight rating, this hitch delivers solid Class III performance for everyday towing and gear hauling. The 2" x 2" receiver opening works perfectly with bike racks, cargo carriers, and small trailers, so you can use it for road trips, weekend projects, or getting your bikes out to the trailhead. It’s built to handle regular use without adding unnecessary bulk or weight.
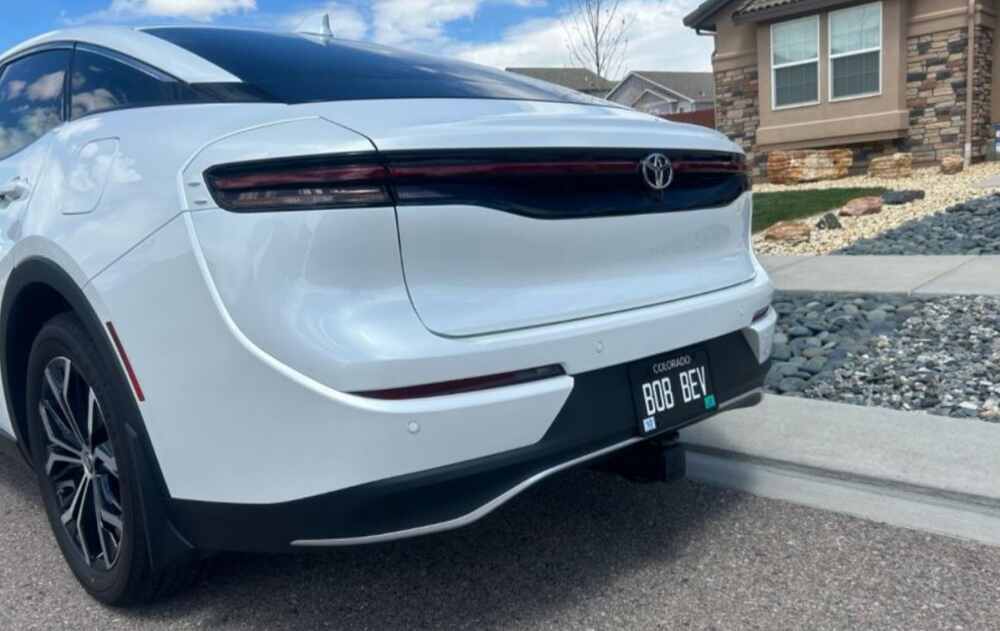
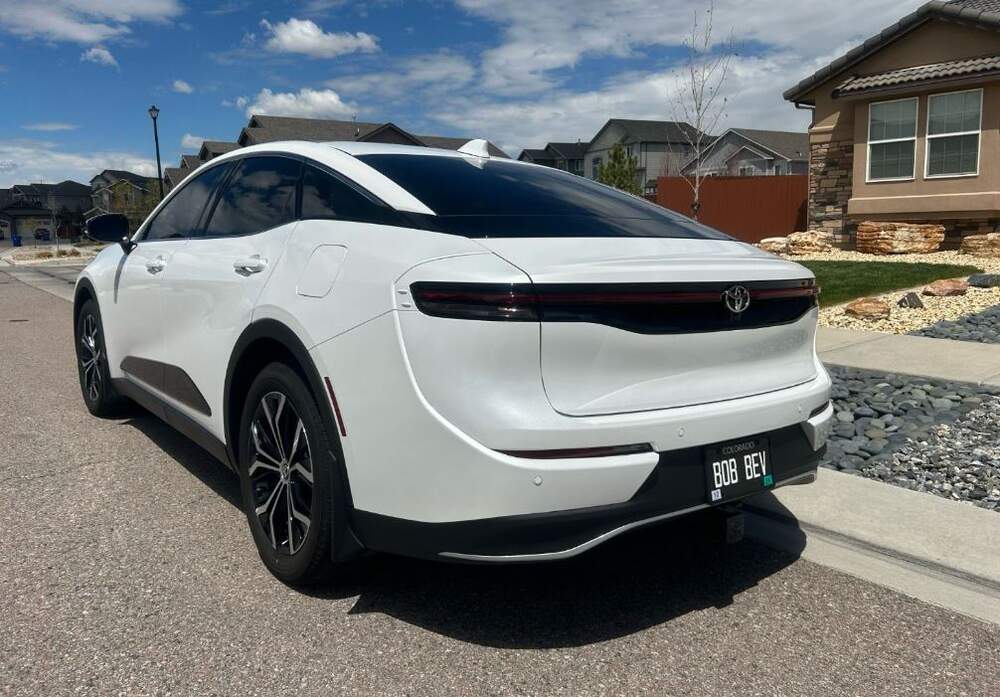
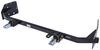
Nobody wants a bulky hitch hanging under the bumper. The concealed cross tube on this model mounts behind the rear bumper, leaving only the receiver visible below it. The result is a clean, from-the-factory appearance that keeps your vehicle’s lines intact while still giving you full utility. It’s an easy way to add function without giving up style.
The hitch body is made from a combination of aluminum, steel, and stainless steel that’s lightweight yet tough. The alloy is composed of recycled materials, so it’s not just durable—it’s eco-friendly too. A black powder coat finish adds superior rust resistance and helps it stand up to the elements season after season. Every unit meets SAE J684 towing safety regulations for tested strength and long-term reliability.
This hitch is designed for straightforward DIY installation with no drilling or welding required. It bolts directly into place using the included hardware, so most people can mount it in their driveway with common tools. The fitment is precise, making alignment simple and saving time when setting up for that first haul or ride.
Videos are provided as a guide only. Refer to manufacturer installation instructions and specs for complete information.
Hi everyone, Jesse here with etrailer. Today we'll be taking a look at and I'll show you how to install the EcoHitch Custom Fit Trailer Hitch Receiver on our 2024 Toyota Crown. Adding a hitch to a vehicle like the Toyota Crown really makes a ton of sense. It's gonna give you the ability to add on extra storage space to the back of the vehicle. Once you have this hitch installed, you can throw in accessories such as a bike rack or a cargo carrier, or you can even do some light duty towing with it. Just remember, if you plan on doing any kind of towing with your vehicle, you will need to add on trailer wiring to keep you safe and legal out there on the road.
The cross tubes are completely hidden behind the fascia so all you can see is this nice matte black receiver opening. That's gonna be your standard two inch by two inch receiver opening, so most of your accessories will slide right in there. And behind that we have another standard 5/8" pin hole. The pin and clip are not included with the hitch, however, we have many options available here at etrailer. Also, any accessory that you add on will most likely come with one included.
Underneath, we have a very sturdy safety cable loop here. It's also very easy to access with whatever style safety cable you might have. For example, an S style like this or even a large clevis like this. Now for some quick measurements, we'll start with our ground clearance. From the ground to the top of the inside of the collar here is right at 13-3/4 inches.
Then from the center of our pinhole to the edge of our bumper is about five inches. That's a number you'll want to keep in mind for any folding accessories that you add on to ensure they don't make contact with the vehicle. All in all, if you're looking to add a hitch to your Crown, you really can't go wrong with the EcoHitch. I honestly think it's the best looking hitch option for the Crown. If you have any questions or concerns about this hitch or anything else we offer here at etrailer, feel free to reach out to us.
We'd be happy to get you pointed in the right direction. As for the installation, it is quite a lengthy process. There's quite a few things that you have to take down and a lot of hardware involved. You also have to trim out the fascia to make it fit. So if it's not something that you're looking to get done yourself, check out our dealer locator. You can find someone local to you that would be happy to get you set up. If you are looking to see how this gets installed, and just follow along and I'll walk you through the process. We'll begin our installation underneath our vehicle here. We have two 10 millimeter bolts that are holding these covers up. We'll get those removed (tool buzzing) and these covers are just gonna flap out and that's gonna give us access to our heat shield. Next, we'll remove this recovery hook here. There's gonna be two 17 millimeter bolts holding it in place, (tool buzzing) and we'll set that aside. On both sides of our vehicle, we'll have some rubber plugs to remove and we can just take these out with a flathead screwdriver with that one large one and then these two small ones. Now on both sides, we have these rubber exhaust hangers. You wanna pop these out, but make sure you have something supporting the exhaust. I'm using a cam strap. If you're working on the ground, you could use a floor jack. So I did end up switching to a pry bar for this one that's on the inside. Get that popped up and spin it around so it doesn't try to hook back up. With those rubber hangers out of the way, we'll remove the bracket that holds it up. These are 12 millimeter bolts. (tool buzzing) (tool buzzing) Now we'll move on to taking off these two 10 millimeter nuts holding our heat shield up. It's going on both sides. That should give us enough room to get our hitch into place. Now on the driver's side, we need to make this hole just a bit larger, just enough to fit our hardware through it. So I'm using a burr bit on a drill. You could also use a file if you have. (tool buzzing) So now we'll take our smaller diameter fish wire, feed it the coiled end through the small hole and bring it out through our enlarged hole. It's really tricky to do. What I did was I finally got it to feed through and then use the magnet to pull it down. But once you get that set up, we'll take our spacer block and our lock washer, slide those up and through our fish wire and tuck them into the frame. And then we can thread on our shoulder bolt in our kit, push that up through the frame and then pull it down through. So fishing this through was pretty difficult. One trick is to just keep your star washer and your spacer block altogether on the bolt and then pull it through. It'll probably take you a few tries and we'll just do that same reverse fish wire for that hole. I'll move on to removing our heat shield brackets. So I'm just gonna kind of roll and hold the heat shield back so I can access the two 10 millimeter nuts, (tool buzzing) get those removed (tool buzzing) and do the same thing on the driver's side bracket. Now we need to cut into our bumper to make room for our hitch. So as it laid out in the instructions from this contoured part here, you wanna go an inch up, and then from there, you're just following the lines on these flaps here. I'm gonna use a reciprocating saw. You can use a dremmel or just whatever you have that'll cut through this plastic. (tool buzzing) So we'll pull this off and I'll come back through with a razor blade and clean up our edges. I'd recommend grabbing an extra set of hands. I had my good friend Tom here to help me out. We fed our fish wires through their corresponding holes, and now we'll just lift it up. It will take some maneuvering to get it sandwiched between our bumper and the heat sheet. Once you get it worked through, I'm just gonna pull my fish wire off and then this bolt will get a flat washer, then a split washer and a nut. If you want to, you can just thread the nut on by itself right now until you get the rest of the hardware on because that'll hold it up into place. Get that all in position, make sure you're not pushing up your bolt. Then thread our nut on. That's gonna hold it into place. Now for our front two holes, those are those same holes that had our exhaust hanger bracket. That's why we have these pretty long bolts. We're gonna slide that through the hole in our bracket and get those both threaded in. And we do have a flat washer and a split washer on these also. Now we'll start tightening down our larger nuts. They're gonna be 11/16". (tool buzzing) Now on the passenger side, our back nut will be a 9/16" and our two exhaust hanger bracket bolts are also 9/16". (tool buzzing) And the hardware on the passenger side is that same hardware that we removed when we took the recovery hook off. Just reinstall that into those holes. I'll take our torque wrench and torque all of our hardware. Just make sure you're checking the instructions because all of the different hardware has a different torque spec and you wanna make sure you're getting it right. Once you have everything torqued down, all that's left is to get all of our exhaust heat shield brackets and the heat shield itself up, then hang the exhaust up. Other than that, that's gonna do it for our look at and installation of the EcoHitch Custom Fit Trailer Hitch Receiver on our 2024 Toyota Crown.
Customer Satisfaction Score:
93% were satisfied with this product
7% of customers were not satisfied
Ratings & Reviews


Info for this part was:
At etrailer we provide the best information available about the products we sell. We take the quality of our information seriously so that you can get the right part the first time. Let us know if anything is missing or if you have any questions.

















Thank you! Your comment has been submitted successfully. You should be able to view your question/comment here within a few days.
Error submitting comment. Please try again momentarily.