


To see if this custom-fit item will work for you please tell us what vehicle you'll use it with.


Thank you! Your comment has been submitted successfully. You should be able to view your question/comment here within a few days.
Error submitting comment. Please try again momentarily.

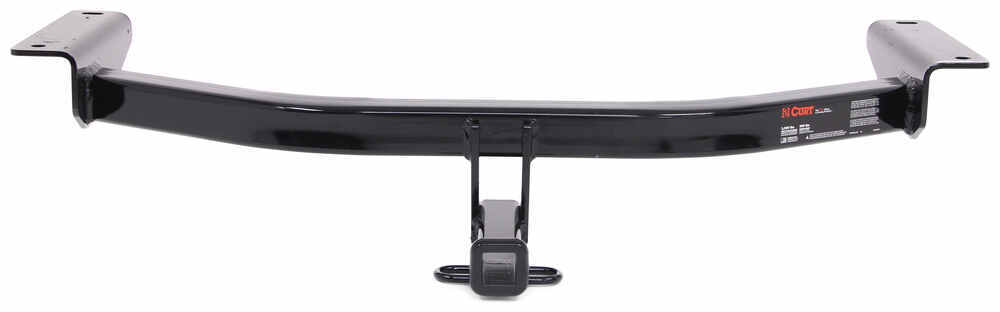
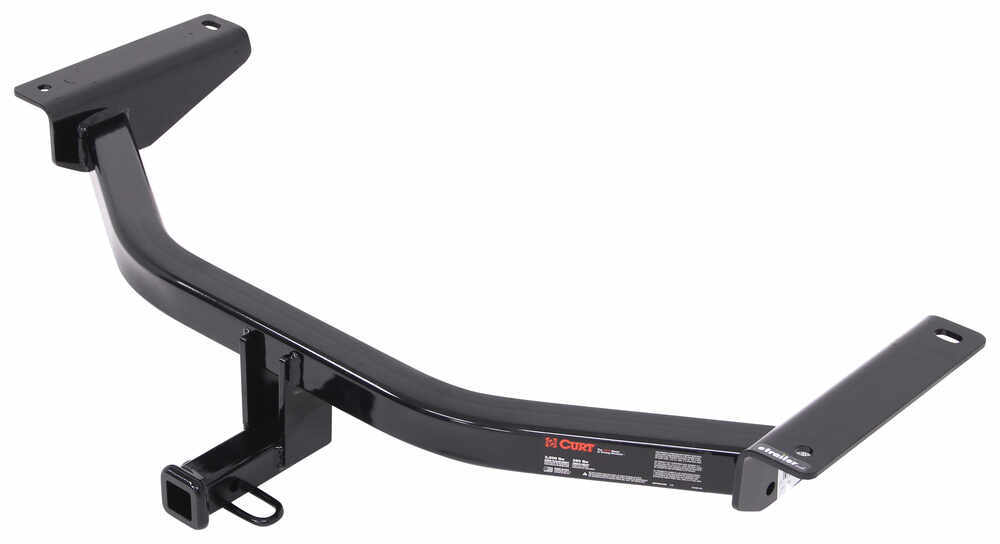
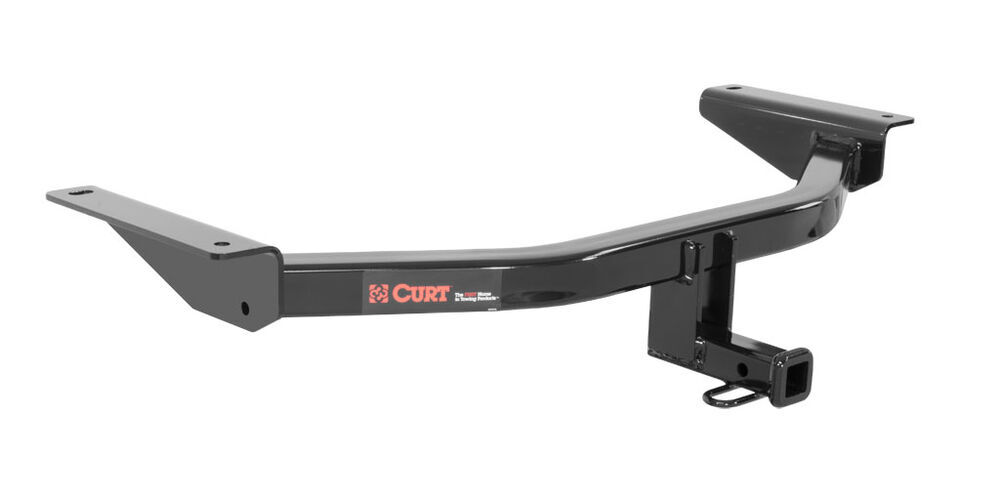
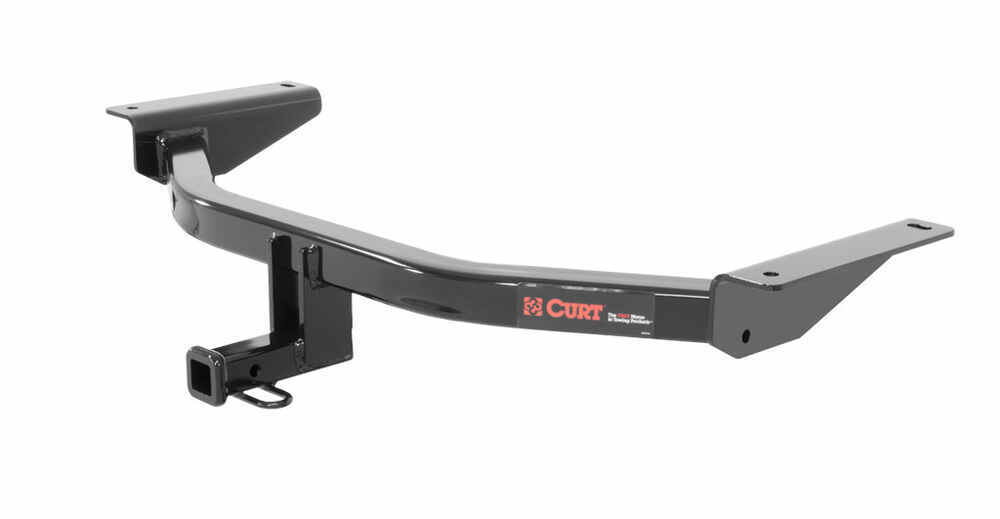
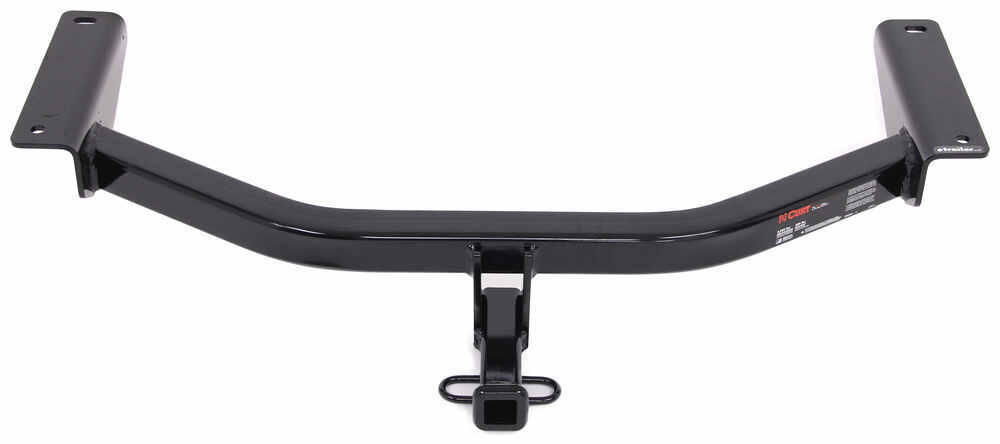
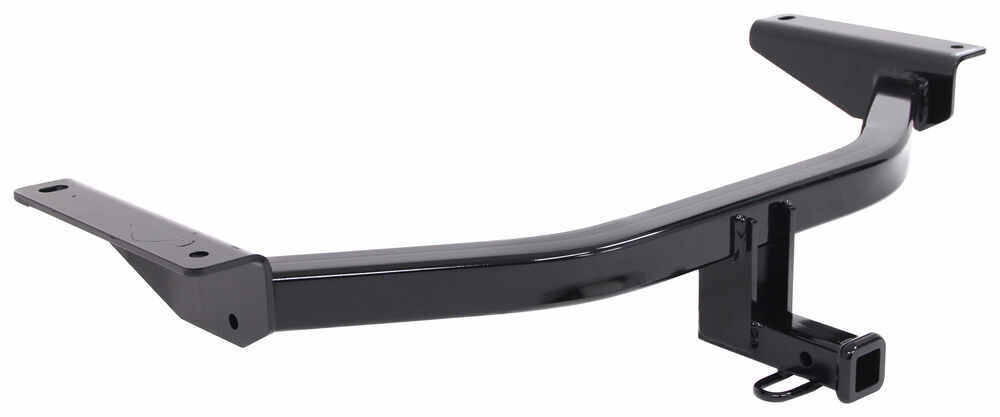
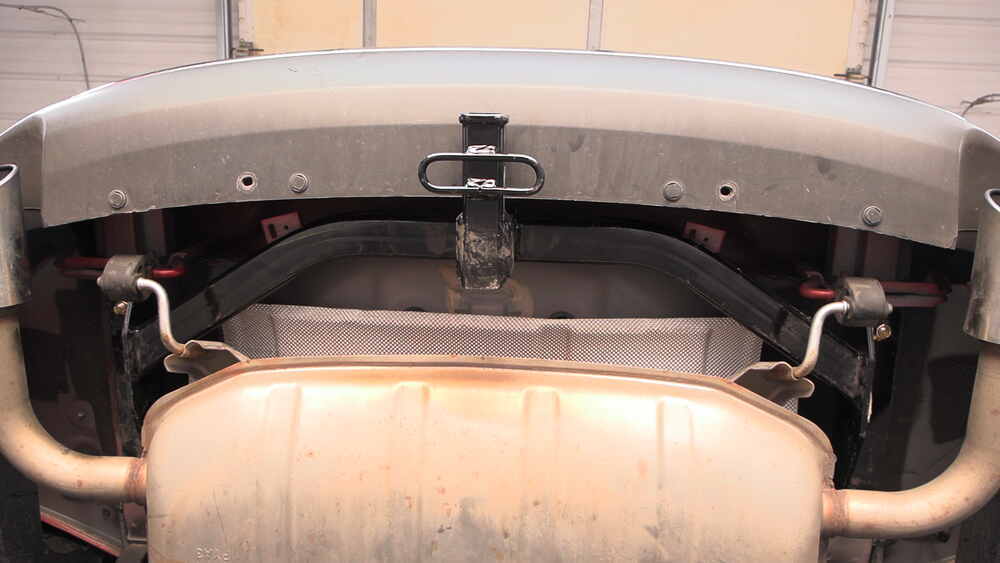
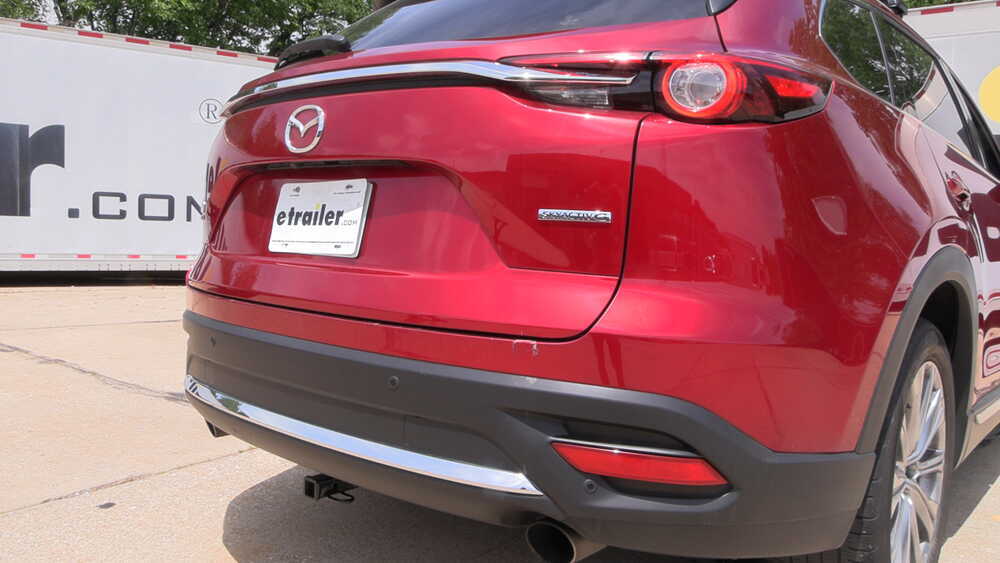

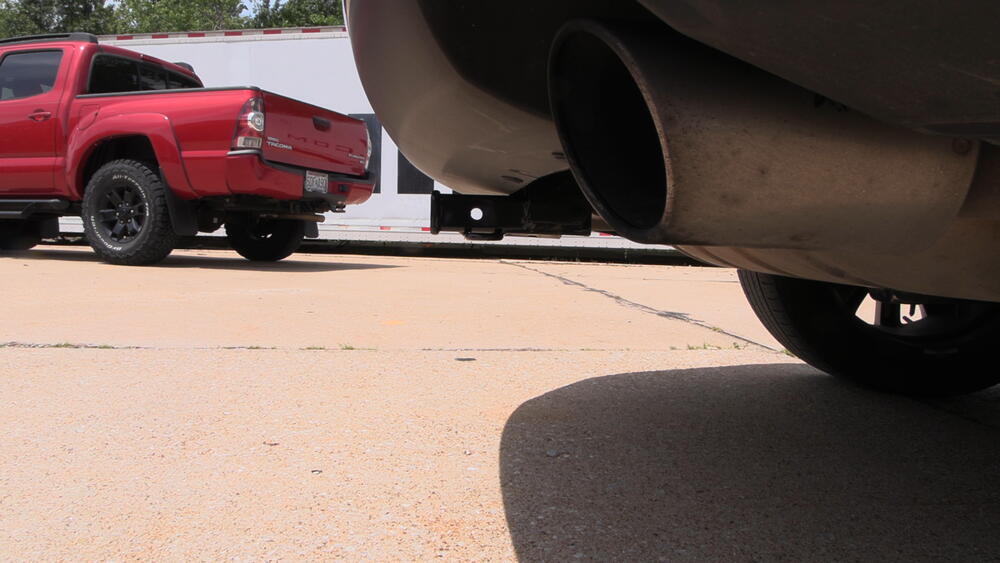
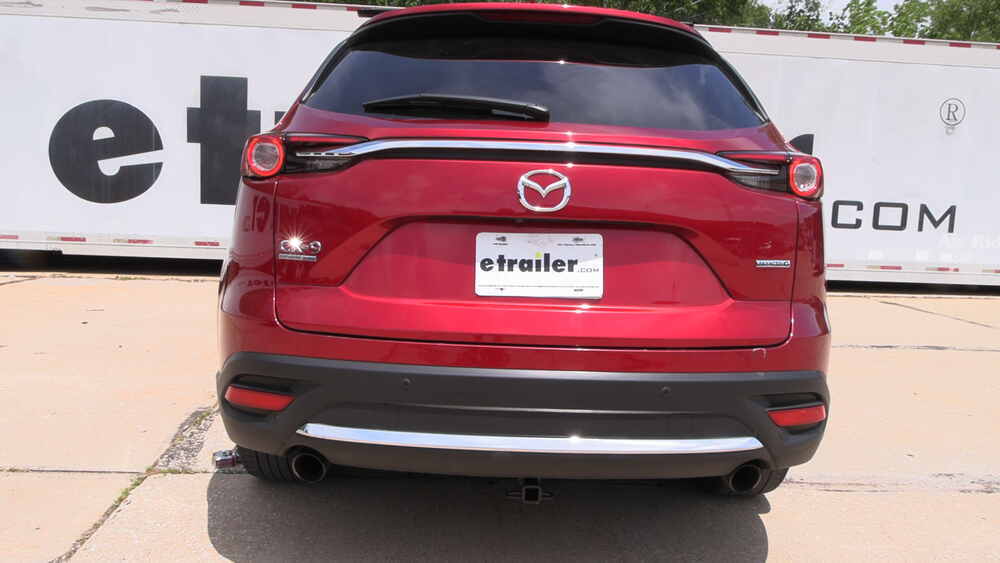


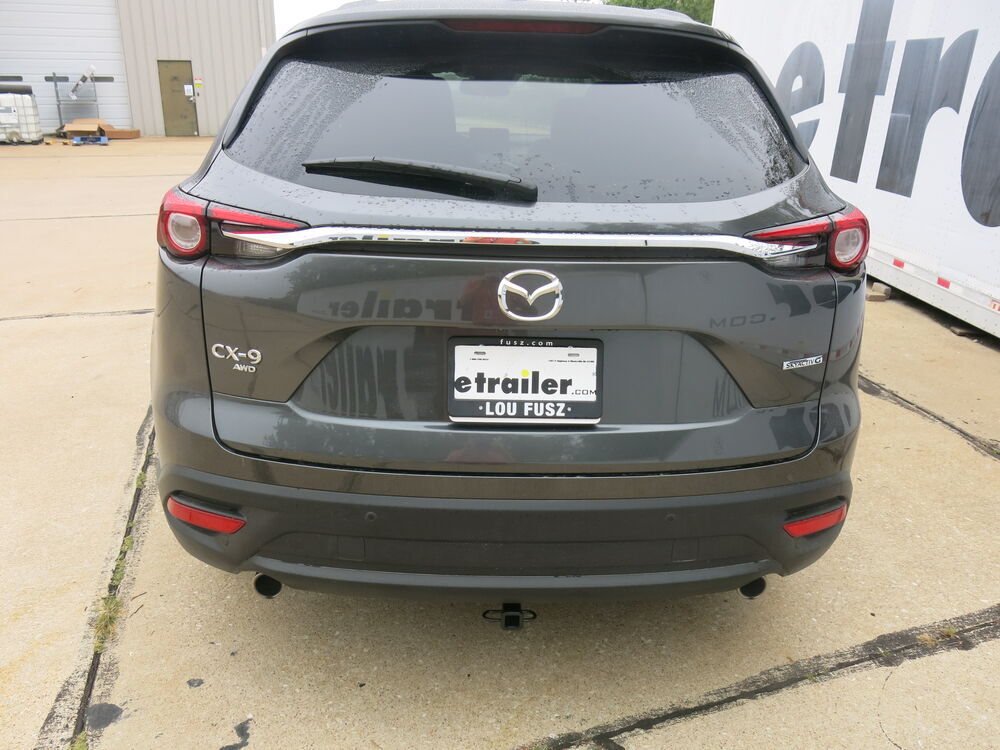


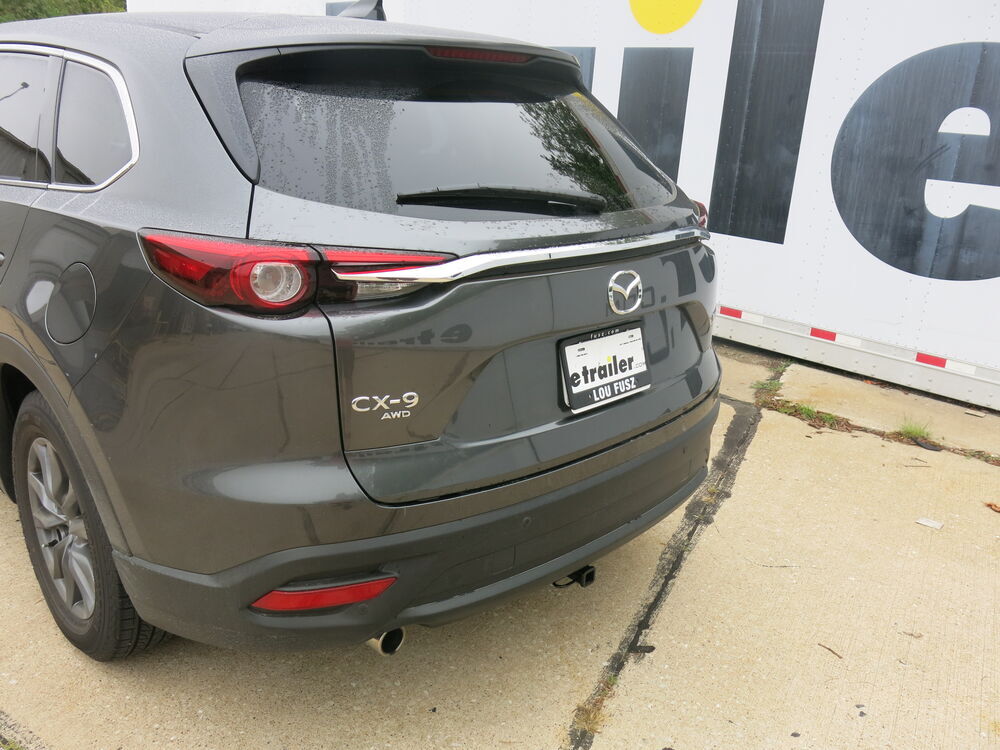
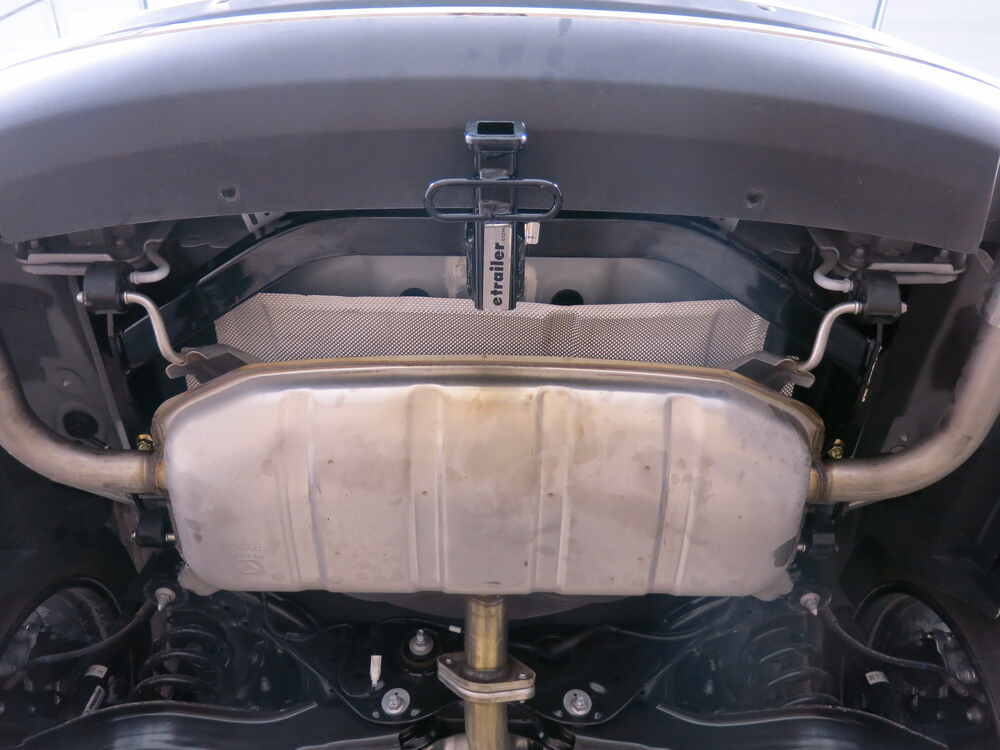
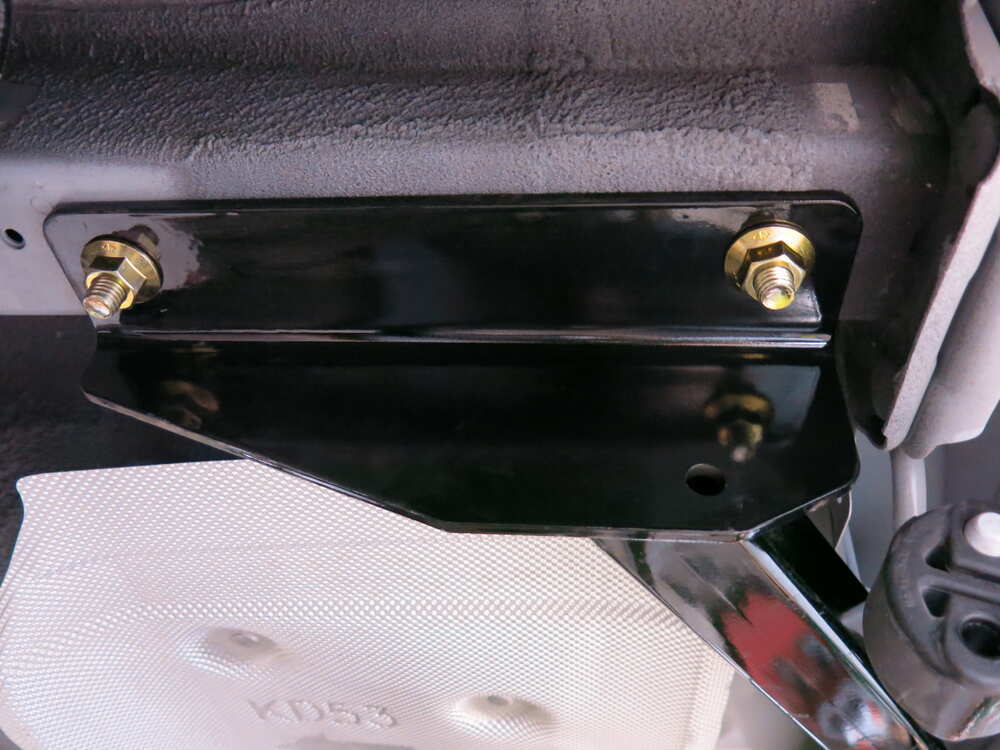


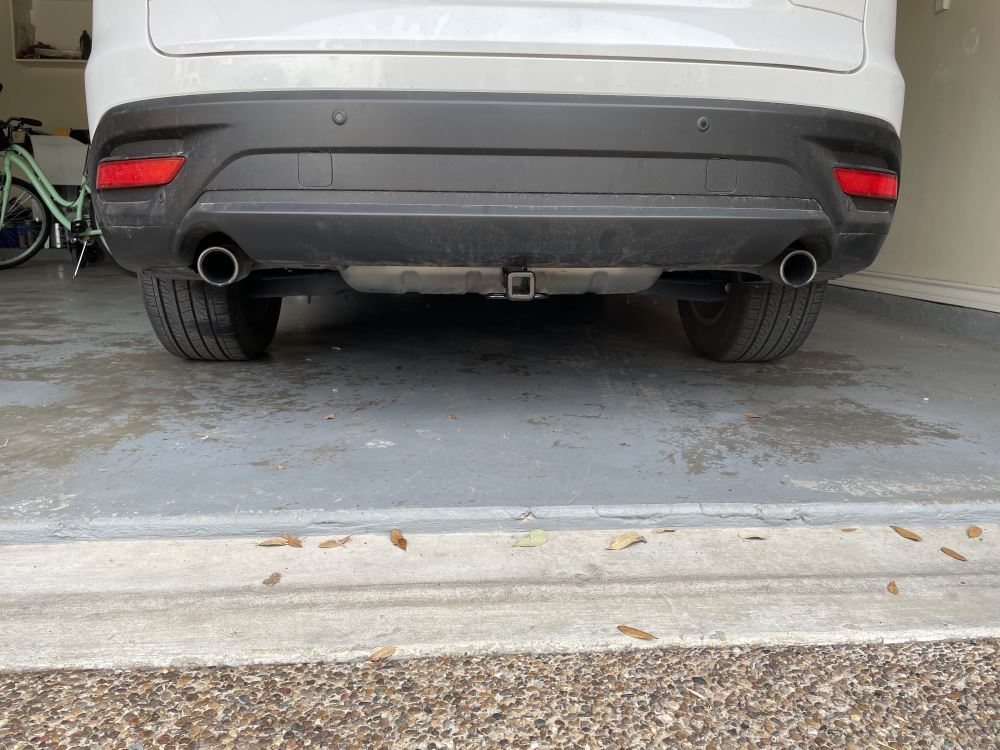
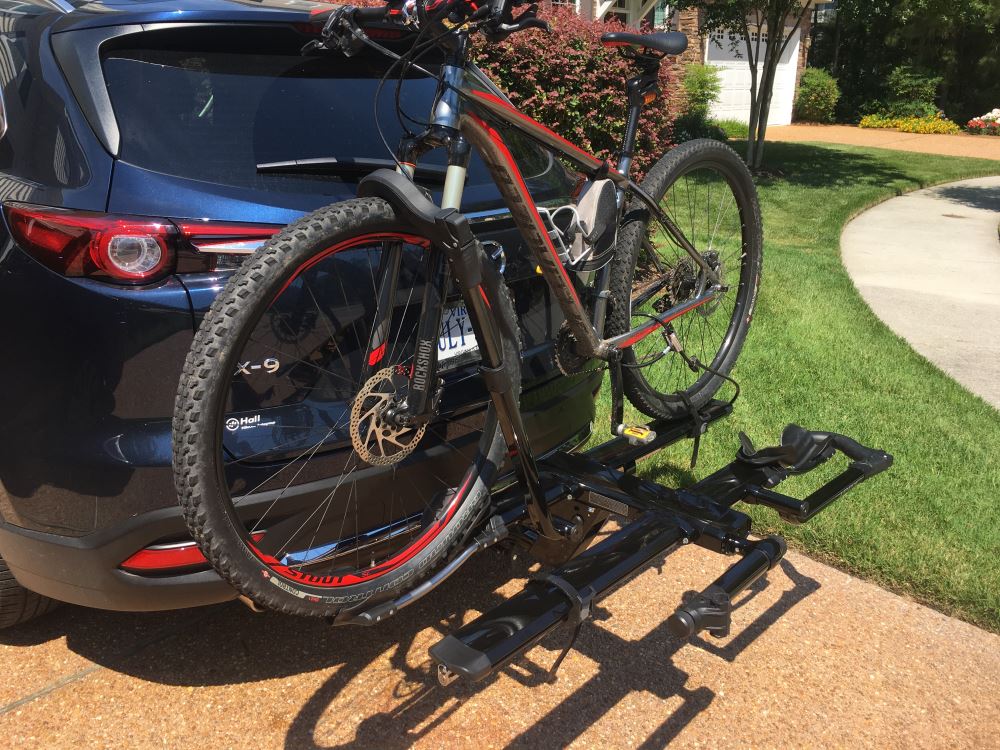
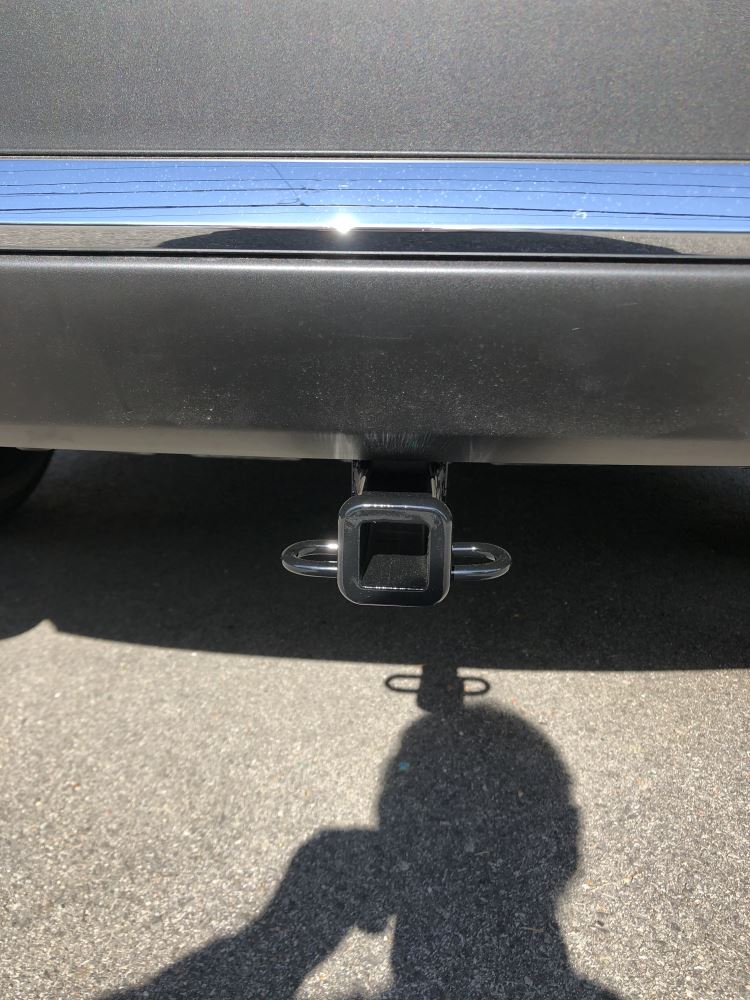

This hitch is built for small trailers, cargo carriers, and bike racks that keep your everyday adventures rolling. With a 1-1/4" x 1-1/4" receiver opening, it’s rated for 3,500 lbs gross trailer weight and 350 lbs tongue weight. That means it can handle a fully loaded utility trailer or a couple of bikes without breaking a sweat. The square-tube design gives it solid strength and stability for steady towing on the road.
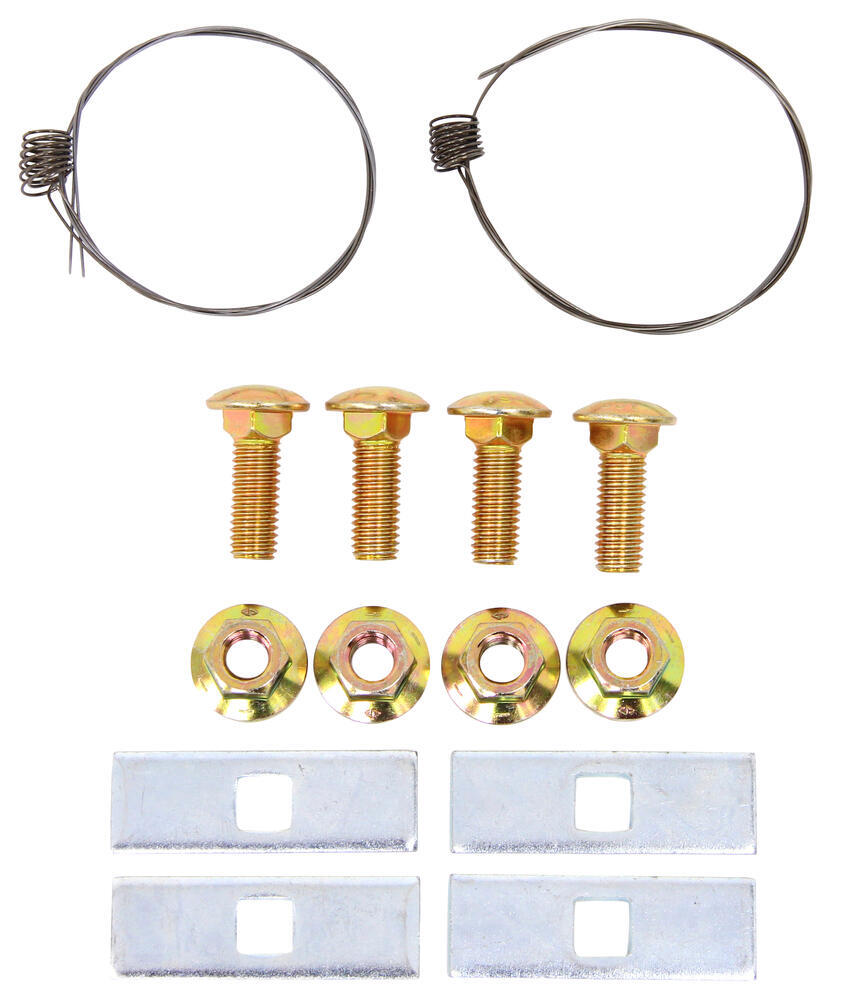
No need to weld or drill when installing this hitch. The bolt-on design lines up cleanly and goes on using the included hardware kit. Because the fit is custom, everything connects like it’s supposed to without forcing or fabricating parts. It’s the kind of setup that makes a DIY install possible right in your driveway with basic tools.
Rust can sneak up fast, especially in wet or salty conditions, but this hitch is ready to fight back. The gloss black powder coat finish sits over a protective base coat to help keep corrosion at bay. When paired with regular cleaning and touch-ups on any scratches using a rust-inhibiting spray, it stays looking clean and polished for years of towing and hauling.
Every weld on this hitch is done by precision robotics to ensure maximum strength and consistent alignment across the frame. That means no weak spots or uneven joints—just solid steel from end to end. It’s designed to stay secure under load so you can tow or mount accessories with peace of mind every time you head out.

Videos are provided as a guide only. Refer to manufacturer installation instructions and specs for complete information.
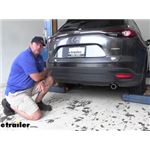
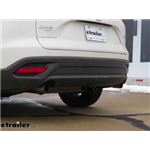
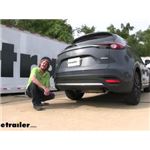
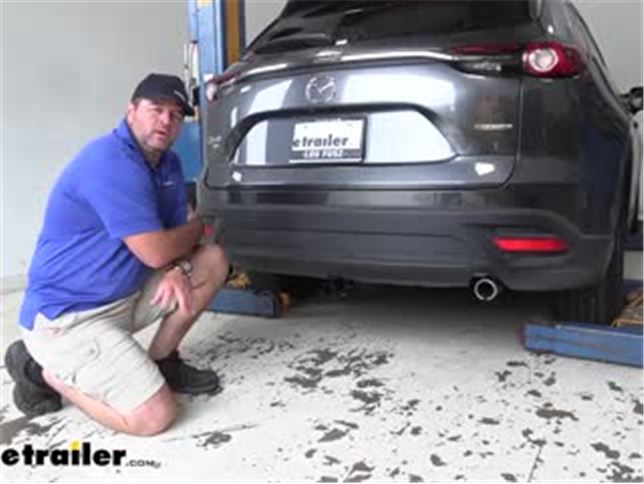
Shane: Hey everyone, Shane here with etrailer.com. Today I have a 2020 Mazda CX9 and I'm going to walk you through how to install the CURT class 2 trailer hitch receiver. This is what our hitch is going to look like once it's installed. The cross tube is completely hidden behind our bumper facia. One thing we really see is our receiver tube. So it's not really taken away from the look of the vehicle.
The hitch is going to be a steel construction, black powder coat finish.So it's going to stay looking nice for a very long time. There are a few other hitches available for this vehicle. There is a CURT Class 3. We're going to have an inch and a quarter by inch and a quarter receiver tube opening. A reinforced collar gives us a little extra stability there.
The hitch pin hole is going to be half-inch in diameter.It's going to take your standard half-inch hitch pin. Hitch pin and clip does not come with this hitch. However, it can be found here at etrailer.com. We're going to have rolled steel, safety chain loops, you're going to see a very large opening. It can accommodate different size safety chain hooks.
Having the inch and a quarter by inch and a quarter receiver tube opening, it is going to limit you on different hitch mount accessories.Although it is going to be great for your bike racks and cargo carriers, maybe a small ball mount for a trailer. Bike rack, we don't have to try to load our bikes inside the vehicle. We can load them on the bike rack on the outside and make more room for our passengers. Same goes for the cargo carrier. Maybe we want to put a cargo carrier on here and get some of that cargo from inside, make a little bit more room, we can put it on the cargo carrier on the outside.Now I'm going to give you a few measurements and weight capacities to help you when deciding on any of those hitch mount accessories.
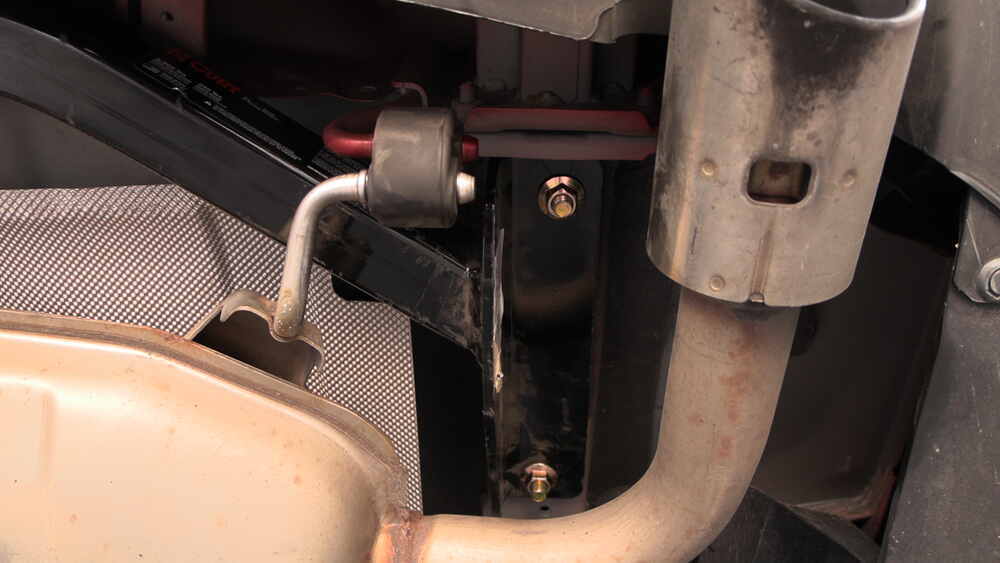
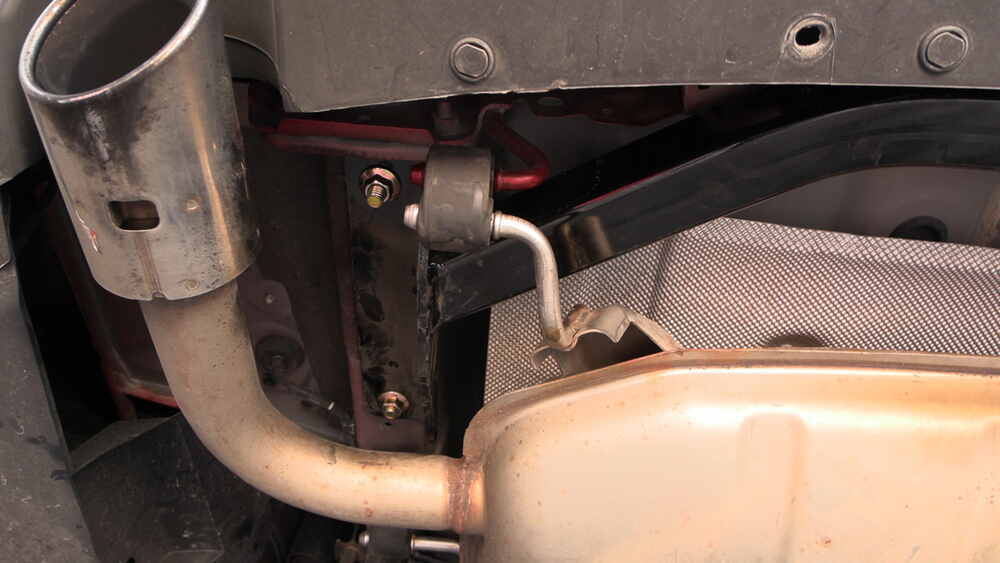
From the center of our hitch pin hole to the outer most part of our bumper is going to be about five inches. That number's important for any of your hitch mounted accessories like bike racks or cargo carriers that may fold up. You want to make sure they're not going to make contact.From the ground to the top innermost part of the receiver tube is going to be about 13 and a half inches. Keep that number in mind for any of those hitch mount accessories that may require a little bit more ground clearance. As far as weight capacities go, we're going to have a 350 pound max tongue weight, which is the downward pressure on the inside of the receiver tube.So when you're loading the cargo carrier or loading the bike rack, you want to make sure you're not exceeding that pressure. We're going to have a 3,500 pound gross trailer weight, which is the trailer plus the load included, that's going to be how much the hitch can pull. I always recommend checking the owner's manual of your Mazda. Make sure the vehicle can withstand that amount of weight. You're going to go with the lowest number between the vehicle and the hitch. Now that we've gone over some of the features, let's walk through how to get it installed.Start your installation. You take a support strap, you can hang it anywhere, I like to go from the Springs. It's a little easy. We're going to go underneath our exhausts. Singe that up. Then, what we're going to do is we're going to remove the rubber isolator from the exhaust where our exhaust will hang and allow us to get our hitch in place.We're going to have a hanger here, we'll spray it now with a little bit of lubrication, soapy water, anything to help that slide off there a little bit easier. We'll have one here on our driver's side. We'll have one towards the front on our driver's side, right in front of our muffler. And then we'll have a fourth one on the passenger side in front of our muffler.Next, we're going to take a pry bar and we're going to pry the the end of our rubber isolator off of the guidepost. And we're going to repeat that same thing for the three remaining hangers. Once we get all four of our isolators off we can use our strap to slowly lower our exhaust down. What we don't want to do is we don't want our exhaust to support itself because it will damage it up towards the front of the vehicle.Next, we need to remove this lower trim piece and the brackets that are holding it in place. You can see a little notch there, we're going to take a trim panel tool, flathead screwdriver, pry out the center, and then pull out the base. That'll allow you to move this panel. This will not be reinstalled.It's hard to see with the camera the two bolts that we have to remove. One's going to be up here and the other one's going to be on the other side. I'll use a 10 millimeter socket to remove those. We made a little clip right there, you can reach up on top, push that in and this will pop out. We're going to repeat that same process for the other one. This will not be reinstalled.Next, we need to install our hardware in our frame rail. We're going to take our pull wire spring side, we're going to start with the forward most hole, we're going to feed the spring in and it's going to come out here. You're going to take your spacer block, slide it on, slide it up into the frame. Take your carriage bolt, thread it onto the spring, pull it up into the hole, and then out there. For this one, it's going to be reverse pull. For the reverse pull, we'll take our spring in, we're going to put on our spacer block, we're going to thread on our carriage bolt. We're going to feed the carriage bolt up into the hole first, followed by the spacer block, and then back down. We're going to repeat that same process on the other frame rail.Now, with an extra set of hands we're going to raise our hitch up into position over the top of our exhaust. Take our pull wires, feed them over the corresponding holes, or feed them into the corresponding holes in the hitch. Removed one of our pull wires on each side, install a hex nut on each side that'll hold our hitch up into position while we install our remaining hardware. And with a three quarter inch socket, we're going to come back, we're going to tighten our hardware and then we're going to torque it to the specifications in the instructions.A good idea when raising your exhaust back up into place, spray the inside of your isolator, it will help just slide on the pin a little bit easier. Once you have your exhaust back up into place, you're going to remove your safety strap and you're ready to go.That's going to do it for the look at and installation on the CURT class 2 trailer hitch receiver on a 2020 Mazda CX9..
Customer Satisfaction Score:
94% were satisfied with this product
6% of customers were not satisfied
Ratings & Reviews

Perfect fit, good video, easy install
I have RARELY purchased a product that came with complete and accurate directions. It fit perfectly and was super easy.
Well-designed easy install no problems works very good
Great service.
Hitch works great. Install was super smooth thanks to the how-to videos that were sent to me. Great experience.
Shipping was fast. Instructions were helpful. I used the e-trailer youtube video and it helped out a lot. Took about 40 min to install. love the product.
Trailer hitch receiver arrived in a reasonable time. It was a perfect fit for my vehicle. Installation was quick and easy. Etrailer provided all needed installation instructions on-line, both written with diagrams and pictures and how to videos.
Price was reasonable.
Pretty straight forward install and everything fit as expected. I haven't towed anything with this but it did allow for a transfer hitch style bike carrier which is likely all I will use it for. It seems well built and met my expectations.
This is the second Curt hitch I've purchased and installed on a new vehicle. Both have been excellent quality. I also found the install video provided by etrailer to be very helpful. The install went very smoothly with no surprises. Although the instructions said I needed a helper, with a little creativity and muscle I was able to do it myself. I'm using this hitch primarily for my 1-up USA bike rack. A few months after installing it we took a 1-month 7,000 mile road trip and the hitch was solid as a rock. I'll definitely look to Curt and etrailer when I need my next hitch.
The online video was a great help. Hitch was pretty easy to install, even by myself.
Installed on a 2020 Mazda CX-9 Signature.
Fit is perfect. Thank you !
Straightforward installation, seems well designed and made, fits the vehicle well.
Since the CX-9 max allowed towing weight is 3,500 lb, I don't see the point of a class III hitch for this vehicle.
The fish-wire and reverse fish-wire assembly techniques were new and initially a bit intimidating to me, but they worked better than I expected. Key is to hold the protruding bolt with your finger(s) after disconnecting the fish-wire and while threading on the nut, so as to avoid pushing the bolt back into the frame.
I installed the hitch receiver by myself with no help with the use of a floor jack and a wooden fixture which I had for installing a diff.
Thread on one side at a time, then tighten all 4 nuts.
Get a long, high capacity torque wrench; 115 ft-lb is pretty high to apply horizontally without help from your body weight.
Fit and finish is super. Very easy to install. Great customer service! My bike rack is snug as a bug in this hitch! Very inexpensive for the quality.
Install is amazingly easy even without a lift. Fish wire makes install a breeze. I love the fact that no cutting or drilling is required kit makes use of existing frame rail mounting holes.
Product was OK but the hitch had protruded through the box.


Brooke M.
3/3/2025
Let us know if we can help anything or if anything turns up missing!
Info for this part was:
At etrailer we provide the best information available about the products we sell. We take the quality of our information seriously so that you can get the right part the first time.






























Sean
7/16/2022
Still working great…no rust!