


To see if this custom-fit item will work for you please tell us what vehicle you'll use it with.


Thank you! Your comment has been submitted successfully. You should be able to view your question/comment here within a few days.
Error submitting comment. Please try again momentarily.


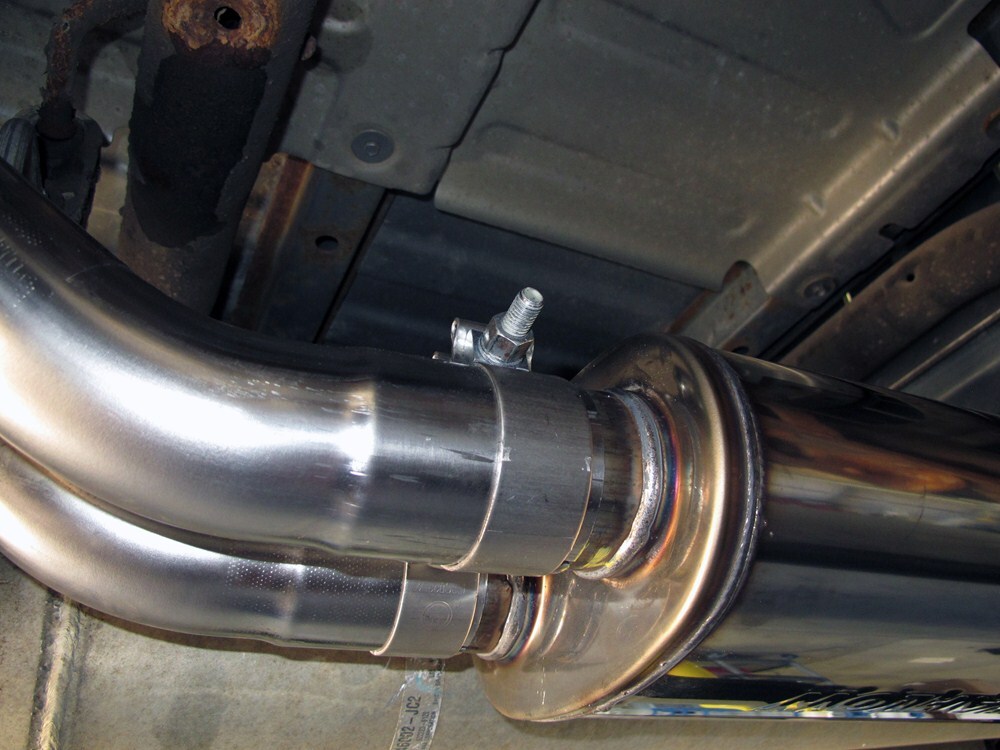


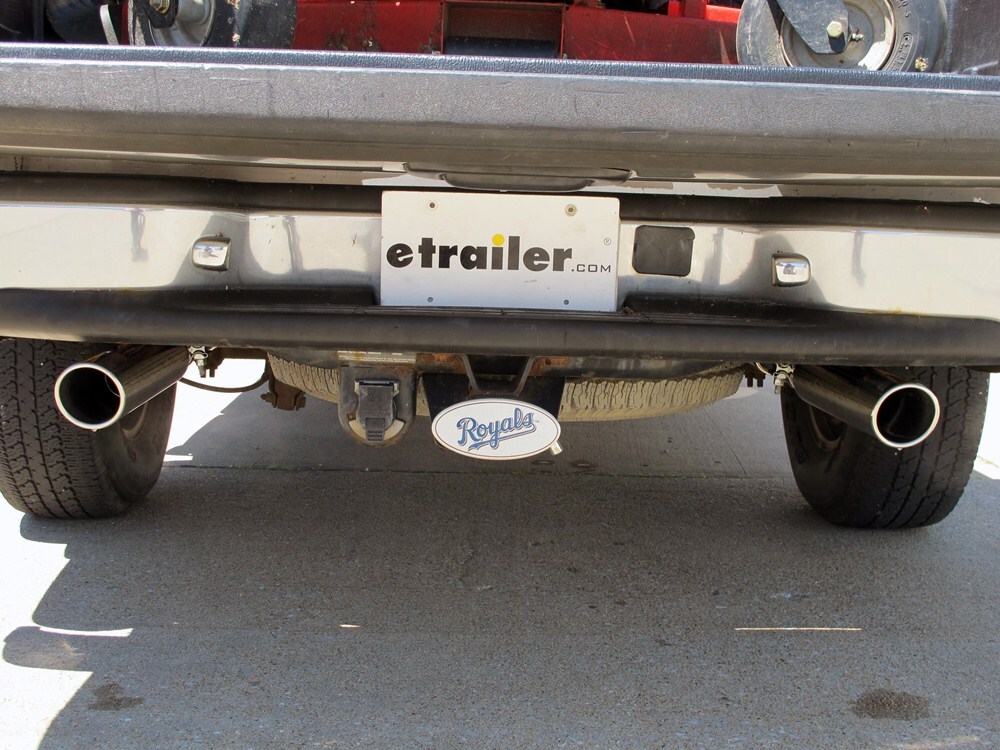


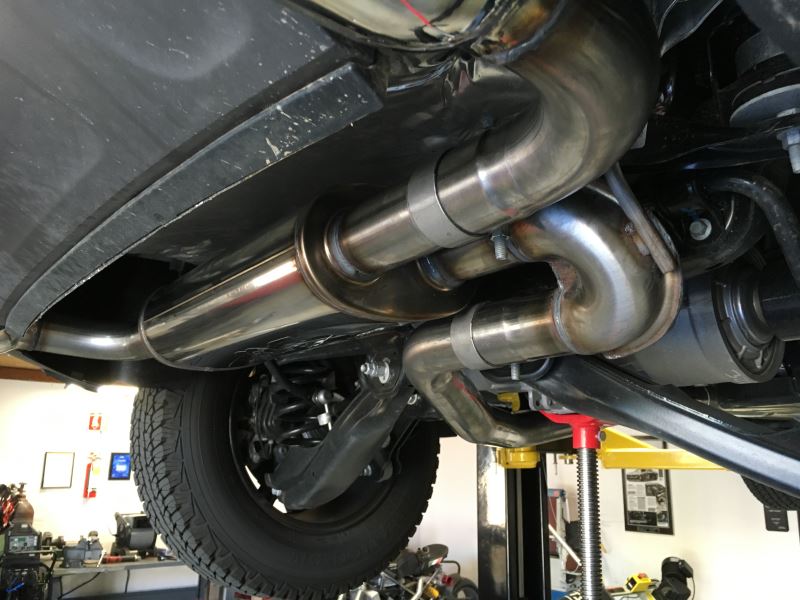
This cat-back exhaust system improves engine performance and durability by boosting horsepower and torque. Its technologically advanced, Mandrel bent tubing and straight-through muffler allow the exhaust to flow more freely through the system.
Features:
Specs:
The cat-back system is the portion of the exhaust system from the outlet of the catalytic converter to the tailpipe. MagnaFlow systems have Mandrel bent tubes that allow for unrestricted airflow by maintaining the same diameter throughout every curve. This curvature leads to decreased back pressure.
MagnaFlow mufflers have a stainless steel perforated core that runs straight through the muffler, end to end, with no baffles, chambers or louvers that restrict airflow. A layer of stainless steel wool insulates the perforated core to absorb noise, shield high exhaust temperatures and prevent blowouts.
Together, the Mandrel bent tubes and straight-through muffler increase horsepower, torque and fuel efficiency and decrease exhaust gas temperature. MagnaFlow's signature sound is deep and throaty on throttle but quiet inside vehicles. All materials are made with 100 percent stainless steel. Clamps and hangers are included for installation. It includes a lifetime warranty.

Videos are provided as a guide only. Refer to manufacturer installation instructions and specs for complete information.
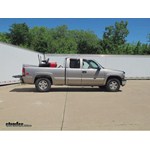
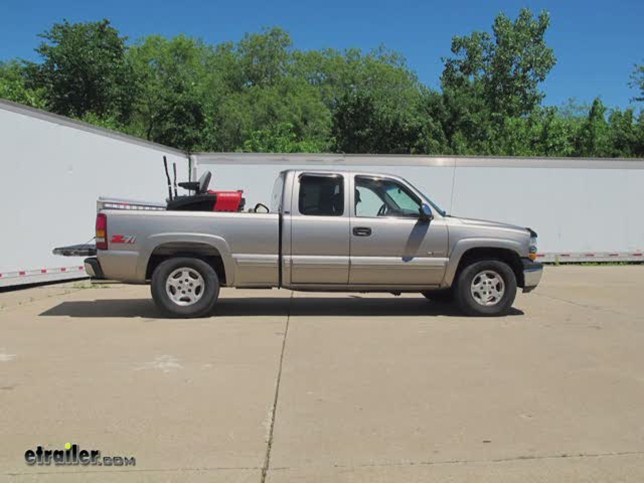
Today on our 2000 Chevy Silverado, we'll be installing the MagnaFlow Stainless Steel Cat-Back Exhaust System, part number MF15754. To begin our install we'll first need to remove the old or manufactures exhaust. Starting at the exhaust flange just behind the catalytic converter, we'll go ahead and remove the exhaust stud nuts. Note: over time those will become corroded with rust, dust, dirt and debris, so I recommend spraying them down with some spray lubricant. Now with the nuts sprayed down, we'll go ahead and remove the nuts from exhaust stud. With both those removed, we'll go ahead and set them aside for re-installation later.
Next we'll go ahead and lower the exhaust. To do this, we'll spray each one of the rubber isolators with some spray lubricant. Then using a pry bar and pliers, we can go ahead and remove the rubber isolator from the metal hanger. Now that we've got the three rubber isolators removed, we'll go ahead and let the exhaust hang as we're cutting it in half just behind the muffler. Now with our exhaust system cut in half, we can go ahead remove it from the vehicle and set it aside as it will not be reinstalled.
To begin the install of our new MagnaFlow exhaust system, we'll start with the exhaust pipe that matches up with the exhaust flange. Before you install the second exhaust pipe, you want to install the three inch clamp under the front pipe. We'll then have the intermediate exhaust pipe will go on behind it. Then we'll go ahead and install the second clamp under the intermediate pipe and slide the muffler into position. Note: at this time it may make it easier to install the exhaust system and keep it lined up by supporting the weight of the exhaust.
We're going to go ahead and use a jack, but a block of wood or anything to help support will suffice. Now we're ready to start assembling the tailpipes into the back of the muffler. First we'll slide the clamps into position and then we can start assembling the tailpipes. Each tailpipe will be a three piece. One piece to go up over the axle, a second piece to come out the back of the pickup bed and a third piece will be our stainless steel exhaust tips.
We'll go ahead and install the passenger side first and then the driver side. As we install the driver side, feeding it up over the axle between the spare tire and shock, we'll also install the metal hanger into the rubber isolator. Now with those in position, we'll go ahead and put on the second piece of our tailpipe for both sides. As we do this, we're also going to use some bungee cords to help support the weight of the tailpipes. Now that we've got that done, we'll need to install two new hangers. These hangers will be supplied with the install kit. The hanger will consist of a clamp and hanger along with a bolt, flat washer and nut to secure it to the tailpipe. The second portion of our hanger will be a hanger that's threaded, will come with two flange nuts and two flat washers. We'll install the flange nut onto the threaded portion of the hanger and then a flat washer and feed it through a pre drilled hole in the frame. We can then install the flat washer on the top and a flange nut and adjust the height as necessary for the rear tailpipes. Once we have both hangers in place, lets go ahead and snug them down so we can install the rubber isolator. As we install the exhaust system, I'm going to use a yellow marker to mark the depth of each pipe, this way as we install the system, if anything moves we'll be aware and be able to make the necessary adjustment. Next we're ready to go ahead and start tightening down the exhaust system. As we tighten it down, we'll work from the front towards the back starting with the exhaust studs and reusing the manufacturers nuts. Then we'll start tightening down the exhaust clamps. Keep in mind before we tighten down each clamp to check for the mark that we indicated earlier to make sure our exhaust system is lined up properly. Now that we got everything tightened down, we'll go ahead and remove the bungee cord supporting the rear tailpipes, make sure they're lined up and even from side to side and then tighten the rear portion of our tailpipe. Now with our exhaust system tightened down we're ready to go ahead and install the chrome tip. We'll slide the clamp onto the tailpipe and then the chrome tip in position. Once we have our position set, we can go ahead and tighten it down. Now we'll go ahead and repeat the same process on the opposite side. With both tips installed and our exhaust system secured, we'll go ahead and check for leaks by starting the engine and then checking each one of our connection points to make sure there's no air leaks. This will complete the installation of our new MagnaFlow Stainless Steel Cat-Back Exhaust System, part number MF15754 on our 2000 Chevy Silverado.
Ratings & Reviews


B. K.
8/16/2014
So during highway driving the drone is at a minimum? I have kids too and we take a lot of family trips. My concern is the drone. thanks,

Dave
8/18/2014
Response to B. Kallan~ Highway noise is quite bearable, unless youre knee deep in your pedal. Going uphill it will be much louder, as it will with any acceleration. Constant highway speeds will result in a nice, mellow sound. Hope this helps!
Ron L.
1/15/2021
The exhaust system has been awesome
John P.
7/23/2017
Love the sound and performance With exhaust and Volant cold air intake and Superchips programmer we get 20-22 miles per gallon on the hwy.

Ken Z.
7/8/2017
Sounds great, with added preformanc. Couldnt be happier.
Dale
12/24/2022
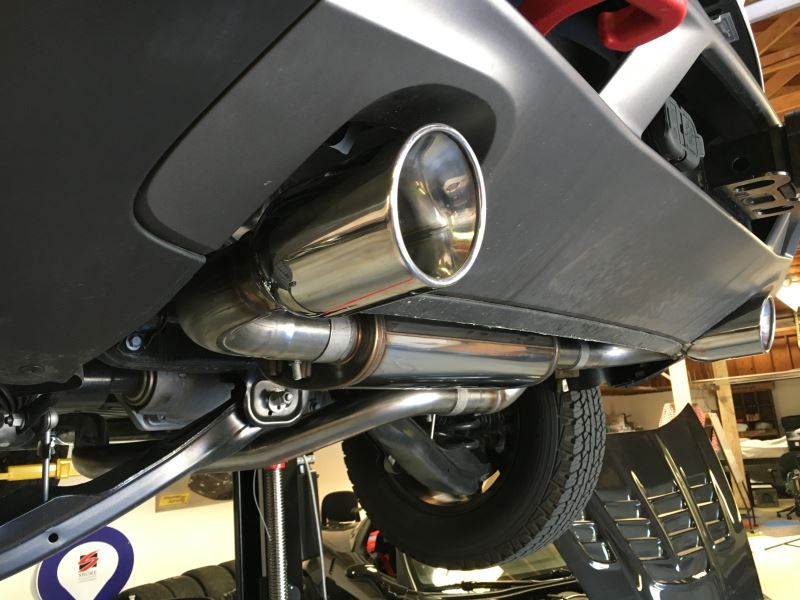
Easy install because it is tailored to the trailblazer ss. Sounds good from the start but gets better over time. A little louder than stock but still a quiet throaty tone in the cabin at cruising speeds. Would highly recommend.
Do you have a question about this Exhaust System?
Info for this part was:
At etrailer we provide the best information available about the products we sell. We take the quality of our information seriously so that you can get the right part the first time. Let us know if anything is missing or if you have any questions.















Bob
4/18/2019
All is very well. No problems of any kind. Still enjoying the sound and the look.