
Draw-Tite Max-Frame Trailer Hitch Receiver - Custom Fit - Class III - 2"


To see if this custom-fit item will work for you please tell us what vehicle you'll use it with.


Thank you! Your comment has been submitted successfully. You should be able to view your question/comment here within a few days.
Error submitting comment. Please try again momentarily.


This Draw-Tite Max-Frame Trailer Hitch Receiver is built for everyday use—whether you’re pulling a small trailer, loading up bikes, or hauling extra cargo. With a 2" x 2" receiver opening, it’s ready for most ball mounts, bike racks, and cargo carriers. It’s rated for 3,500 lbs maximum gross trailer weight and 350 lbs maximum tongue weight, or up to 5,000 lbs GTW and 500 lbs TW when used with weight distribution. That makes it a great fit for light to moderate towing without worrying about stability or strength.
The fully welded, steel construction gives this hitch serious durability. Draw-Tite’s Tested Tough guarantee means it’s been put through fatigue and static testing that goes beyond standard SAE requirements. The e-coat base and black powder coat finish work together to fight rust and corrosion, so it stays solid even after years of road exposure. The round-tube design looks clean under the bumper while keeping the strength you need for regular towing.
Installing this hitch is straightforward. It’s a custom-fit design that bolts directly to the frame—no welding required. The complete hardware kit and installation instructions come in the box, so you can handle the job in your own driveway with basic tools. Once it’s in place, you’ve got a reliable connection point ready for whatever gear you want to bring along.

Videos are provided as a guide only. Refer to manufacturer installation instructions and specs for complete information.
All right. Today on this 2007 Cadillac SRX, we're going to install Part Number 75174 from Draw-Tite. All right. Now, this is what the hitch looks like once installed on the vehicle. Next, we'll give you some measurements that will help you out in selecting some accessories such as a ball mount, a bicycle rack or a cargo carrier. From the center of the hitch pin opening to the edge of the bumper is going to be 1-3/4 inches and from the top of the receiver opening down to the ground, will be 15-3/4 inches.
Now, we'll go ahead and show you how the hitch is installed. Our first step is we need to go ahead and lower the spare tire and get it out of our way. We'll also use the strap to help support the exhaust while we're doing our work. Then we'll go ahead and disconnect the exhaust from the rubber hangers, we'll spray them down with some lubricant and then go ahead and remove them. All right.
Now, we'll go ahead and remove the rearmost hanger exhaust brackets from the end of the frame. To remove the brackets, there will be three nuts that secure the hanger brackets to the frame. Remove those three, so with the hardware gone, we'll go ahead and remove the exhaust hanger brackets. Now, on the lowest stud closest to the ground, we'll have to use a grinder to remove it to cut it off. (Repeat exhaust removal steps on the opposite side).
Okay. Next, we'll go ahead and modify the heat shields. Starting from the rounded edge from the bumper working our way back, we'll follow it down until it goes to where it curves down. And then just before the next plastic rivet, we'll go ahead and draw a line straight down. We'll cut up that straight line and then fold the heat shields out of our way.
We're done with the passenger's side, we'll repeat the same process over on the driver's side. Now, we'll go ahead and re-install the exhaust hanger brackets using the two out of three nuts removed and we must make sure that the hanger bracket must be oriented so that this hole in the bracket aligns with the retaining clip on the vehicle. Now before we can install our hitch, you'll notice there are three threaded holes on each side of the frame. We'll take a moment to clean them out with some lubricant then we'll use the tube brush to help clean up the threads and that will be Part Number 814092. Now the older the vehicle is, the more work this will take. Eventually, you may have to use a thread tap to clean out the threads. We'll clean up the threads as best as we can and then run a bolt in there to test it out. Once we can install the bolt, we can go ahead and start installing the hitch. It's a good idea to have an extra set of hands to help lift up the hitch in position and when we install the hardware, we'll use a bolt and a conical tooth washers. Now, we'll install the conical tooth washers, we'll make sure the teeth are pointing towards the hitch. With all the hardware loosely installed, we can go ahead and tighten down the bolts then torque them down as specified in instructions, and then we can go ahead and re-attach the exhaust and raise the spare tire. With that, that will finish it for install Part Number 75174 from Draw-Tite on our 2007 Cadillac SRX.
Ratings & Reviews


Erik F.
7/2/2014
Troy, What year is your SRX and how difficult is it to install the wiring kit? Did the video come with the hitch?Any additional insight would be great. Thanks!

Daniel

7/9/2019
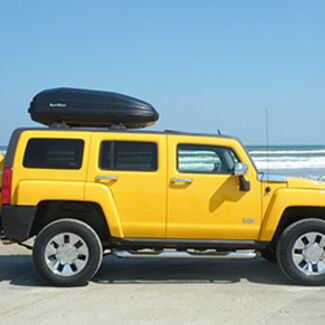
Very nice product. Completely satisfied. Doesn’t stick our far from the rear bumper.

Kenny D.
6/15/2019
The hitch is perfect. Good, solid product.
Darrell M.
8/2/2019
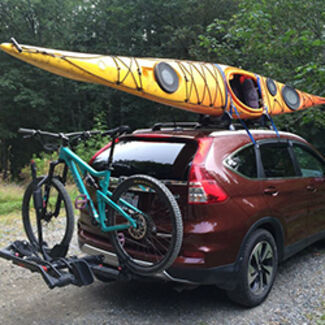
I LIKE !!! works great
Thomas
3/19/2019
Wonderful
Do you have a question about this Trailer Hitch?
Info for this part was:
At etrailer we provide the best information available about the products we sell. We take the quality of our information seriously so that you can get the right part the first time. Let us know if anything is missing or if you have any questions.
























Tommy
2/17/2020
The hitch is mechanically fine, but the areas where the paint was chipped off during shipping are rusting and need some work.