


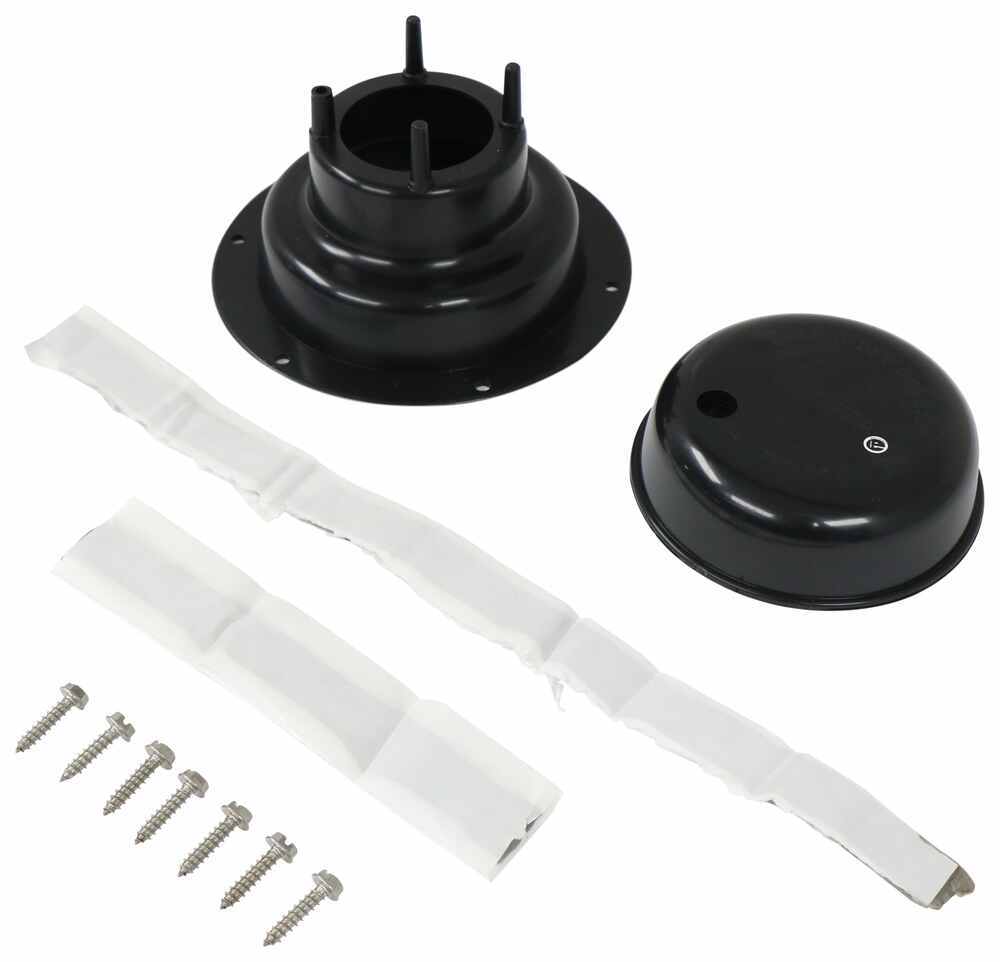
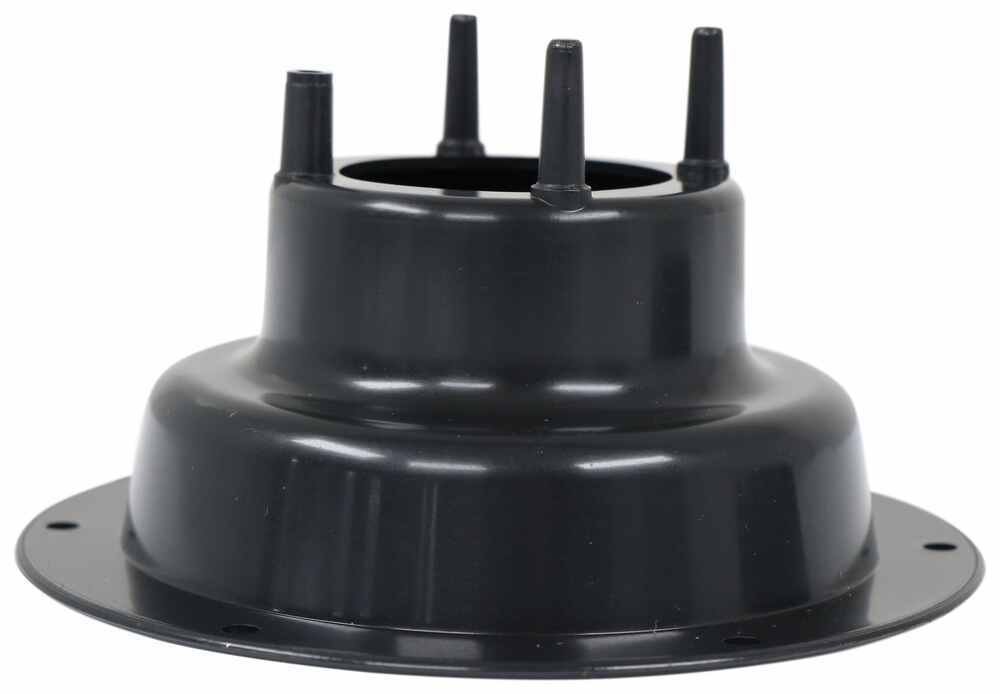
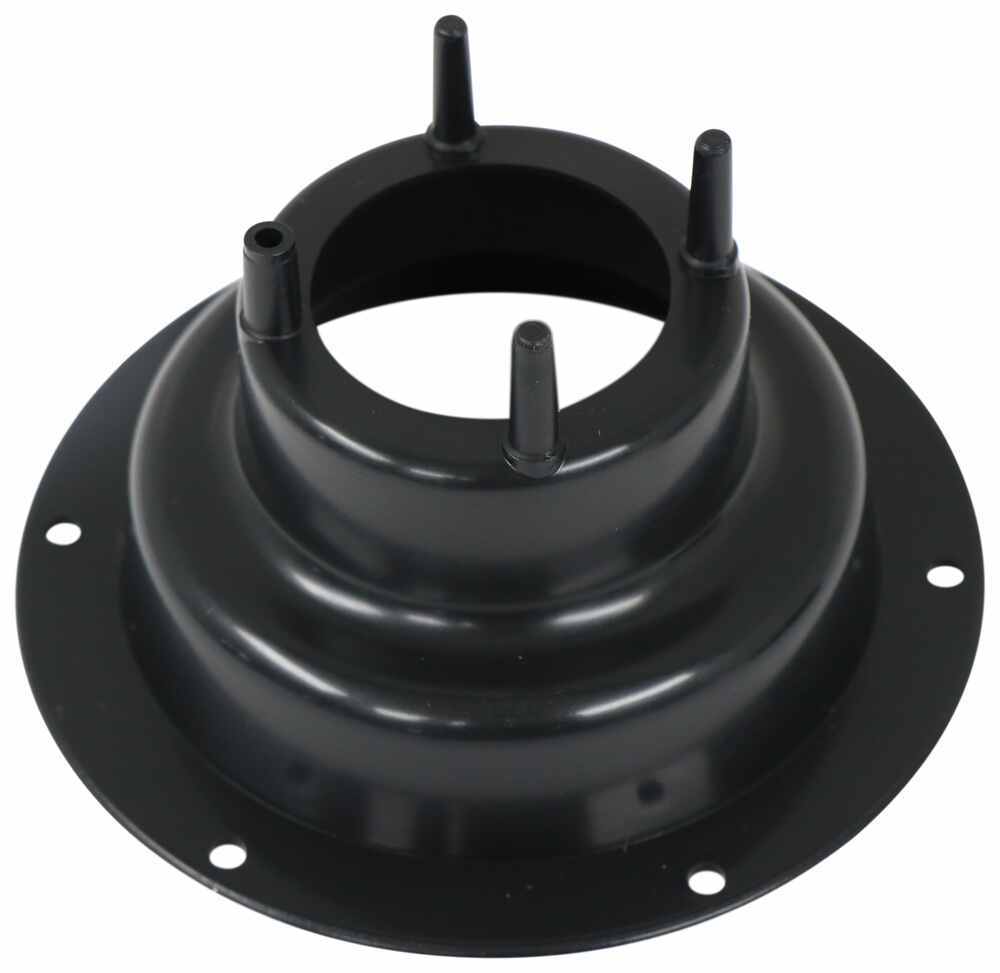
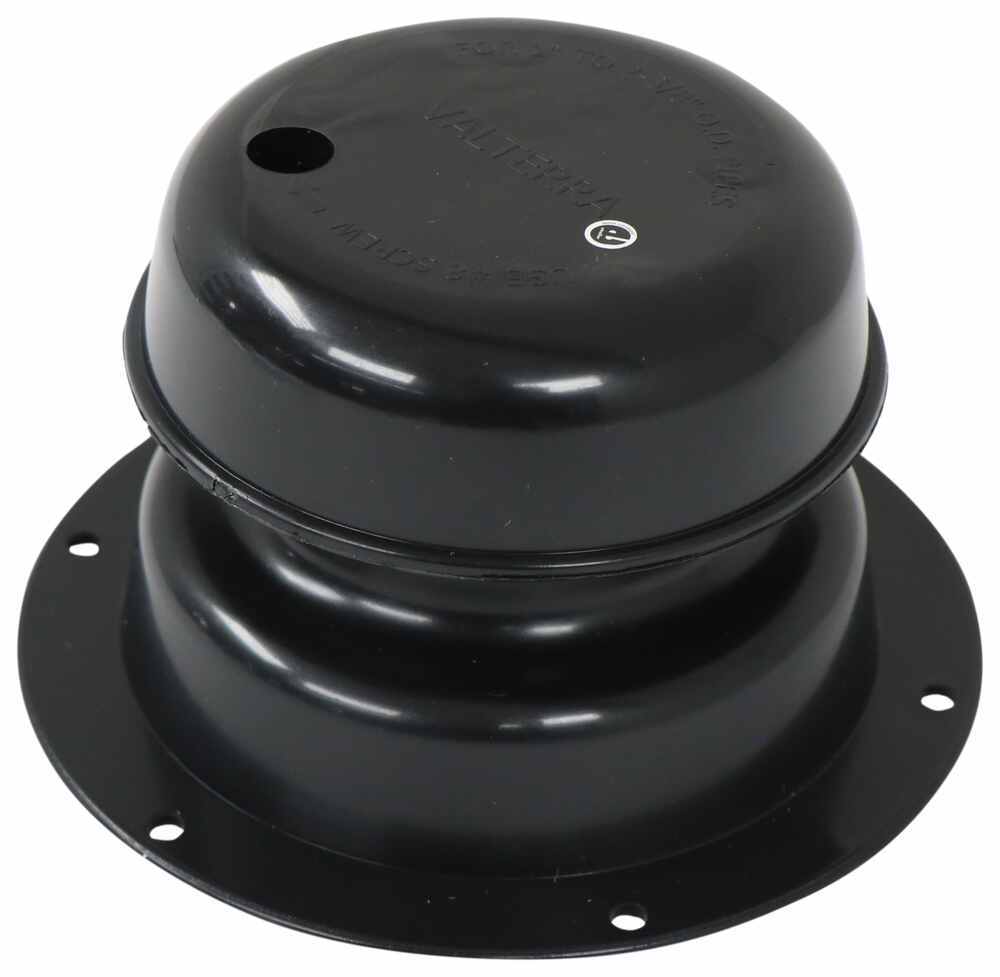
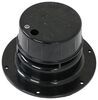
This roof vent keeps your plumbing system breathing right so those unpleasant sewer smells don’t drift back inside. It releases pressure and lets air circulate through the pipes, which helps prevent clogs and stoppages. By venting gases out through the roof, it keeps the living space fresher and more comfortable.
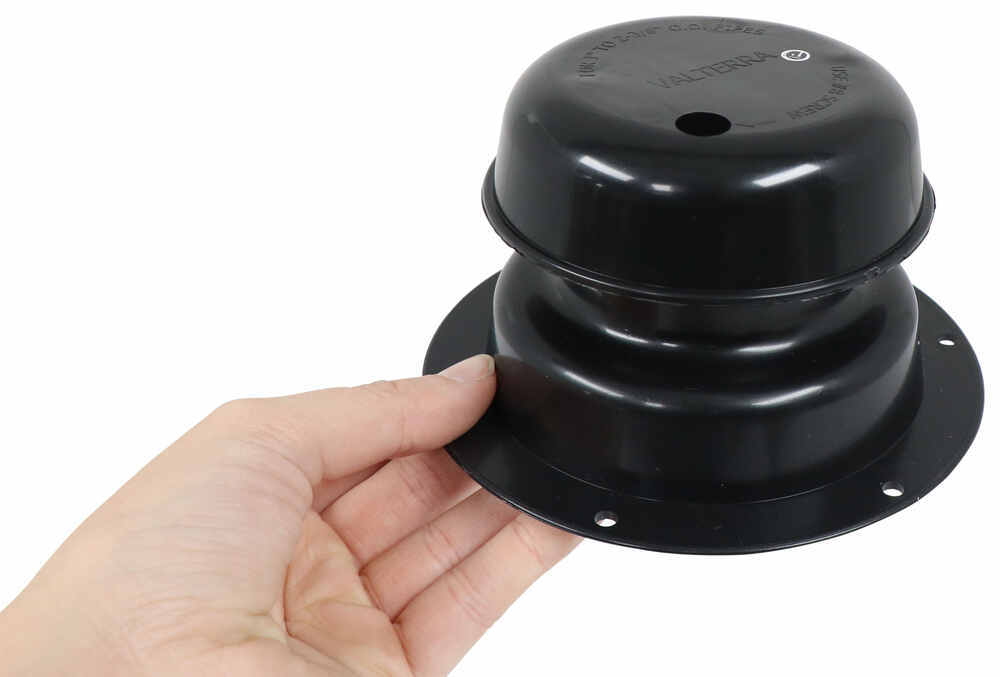
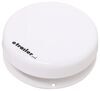
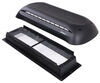
The vent includes a fitted cap that shields the opening from rain, leaves, and other debris. That means the airflow stays steady without blockages from the outside. It’s a simple design that does exactly what it should—keeps the vent clear and dry so it can do its job.
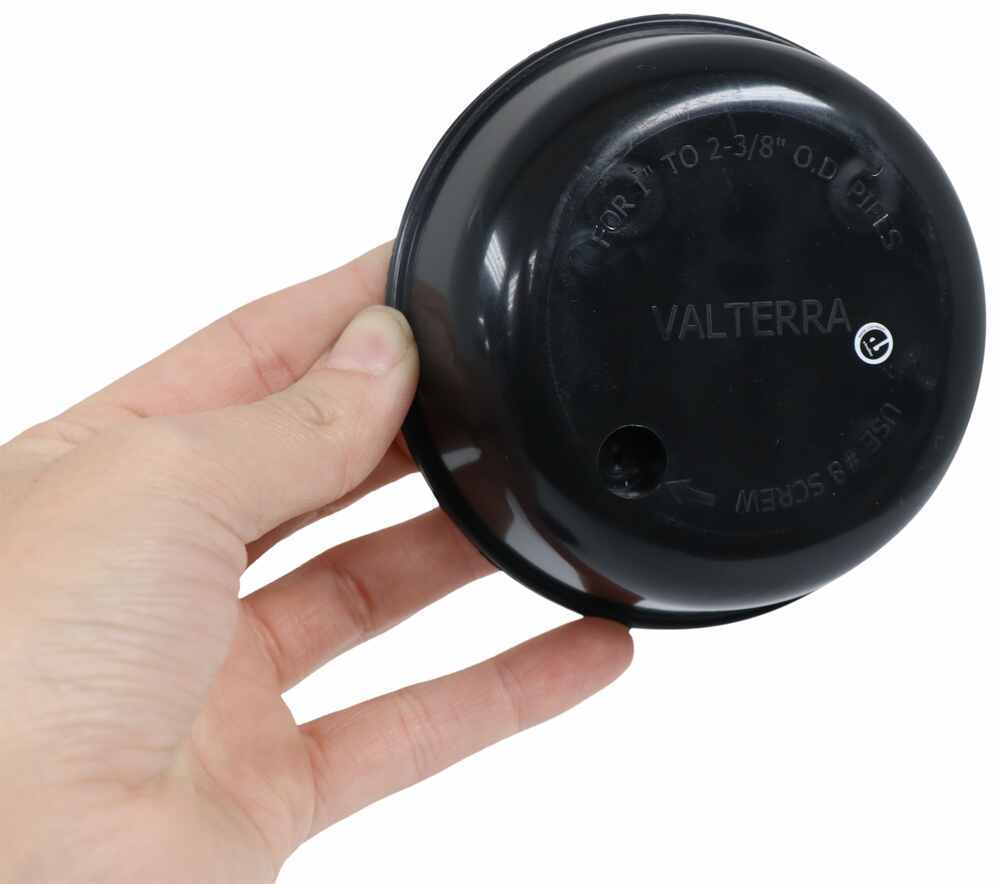
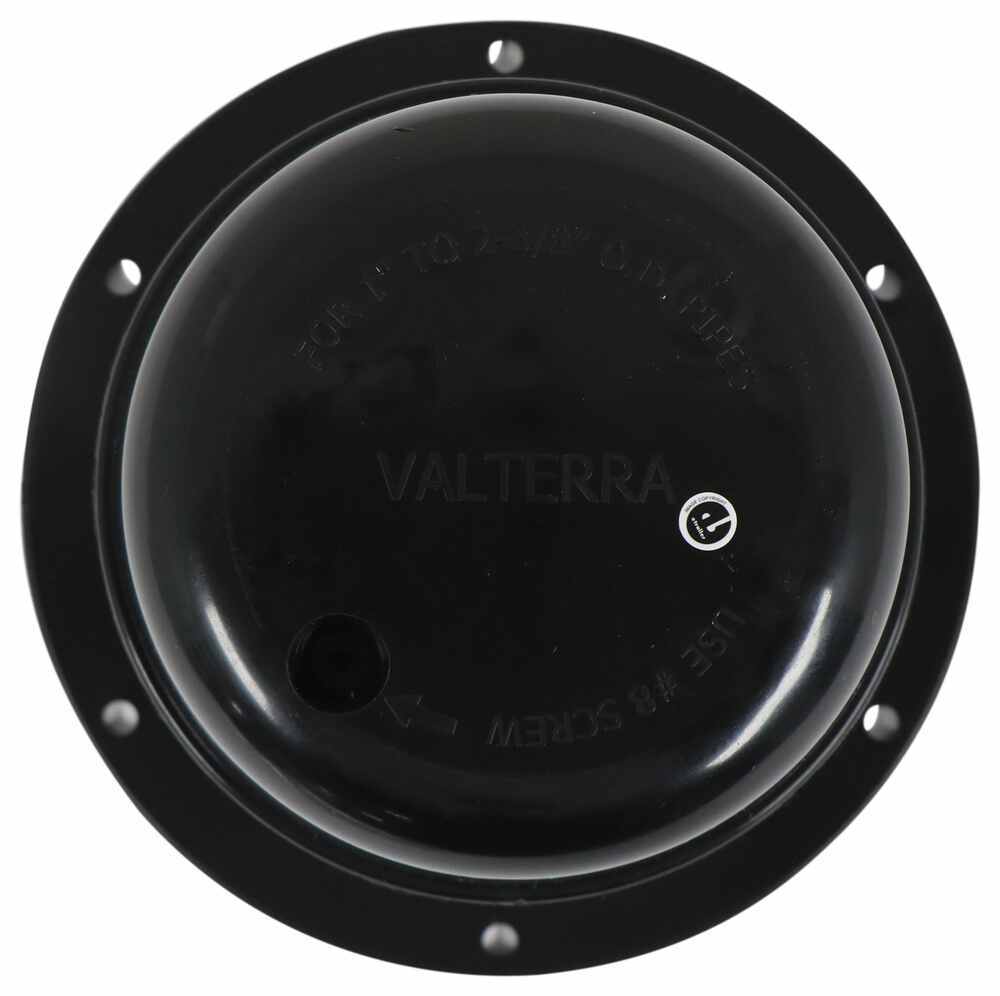
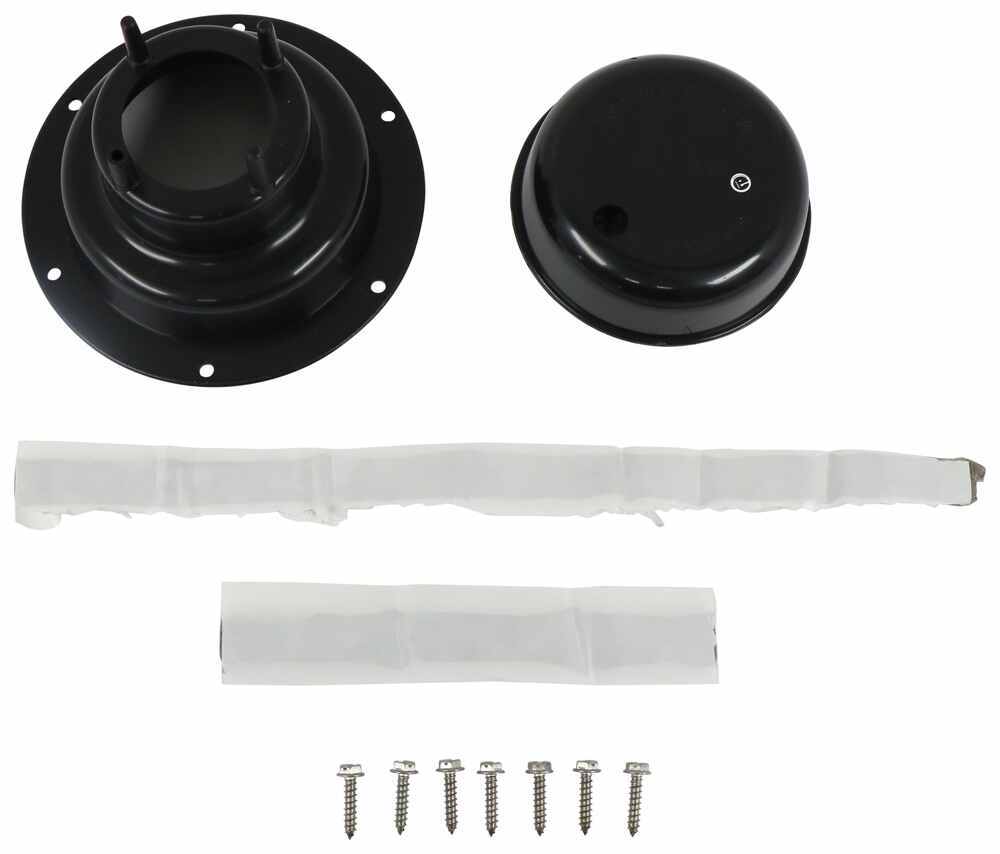
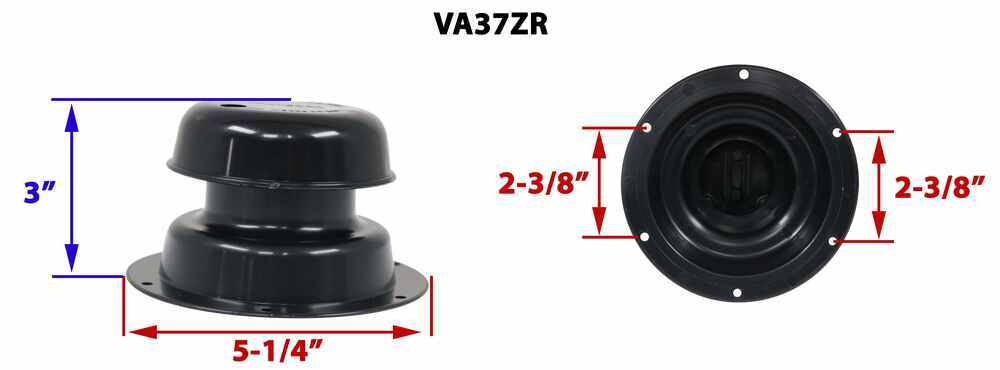
This vent mounts on top of a ventilation pipe and fits openings from 1" to 2-3/8" in diameter. It comes with butyl tape and screws for a secure, leak-resistant install. The flange measures 4" across with mounting holes 2-3/8" center-to-center, so it lines up easily for a quick DIY replacement or upgrade.
Made from durable plastic, the vent stands up to moisture and weather without rusting. It’s strong enough to handle normal exhaust heat—like the 110° to 120°F range from a propane water heater—and keeps its shape and finish over time. The black color blends in cleanly on most roofs for a finished look.

Videos are provided as a guide only. Refer to manufacturer installation instructions and specs for complete information.
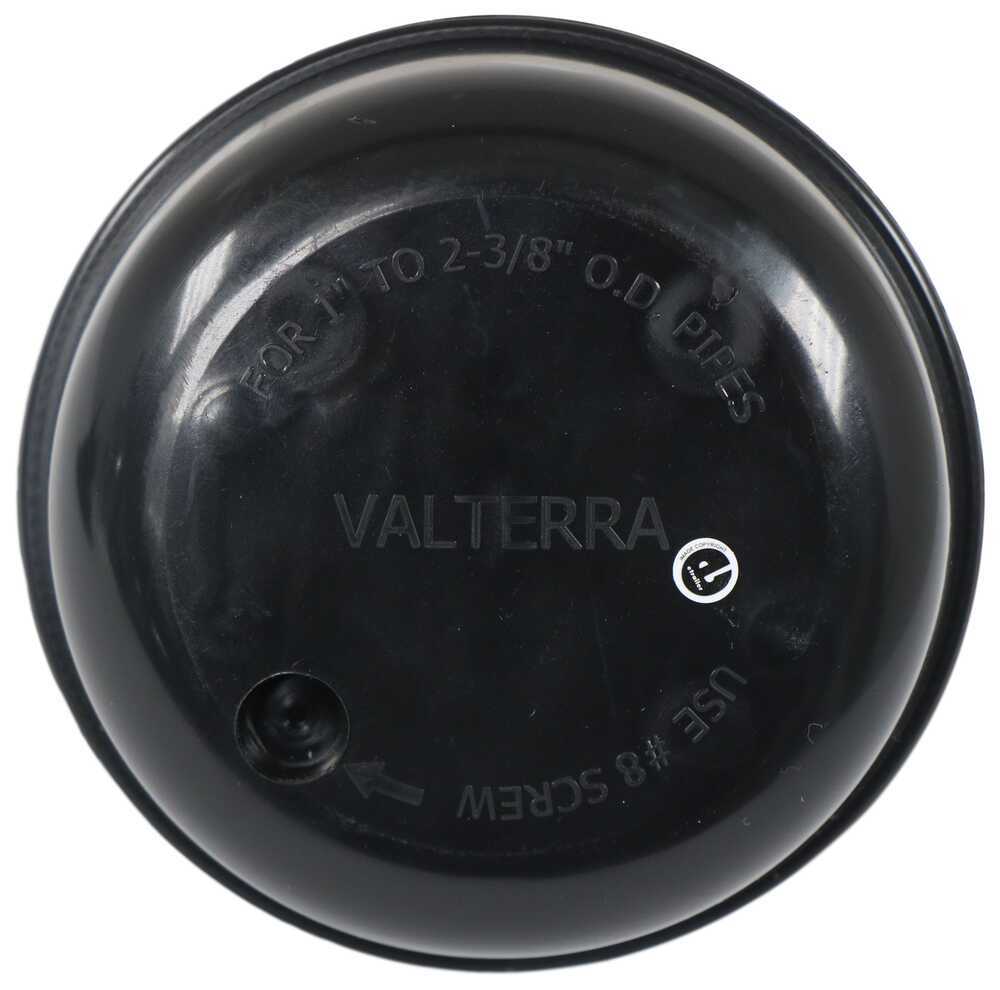
Hi everybody. Andy here with "etrailer.com" and today we're gonna take a look at this Valterra Black RV Plumbing Roof Vent with cap. This plastic roof vent is going to let sewer gases escape to prevent unpleasant odors from entering your RV or camper through your plumbing. It's going to release pressure and keep air circulating to limit clogs and stoppages. And this is going to install on top of the ventilation pipe on your RV's roof. And this is going to fit one inch to two and 3/8 inch outer diameter vent pipes.
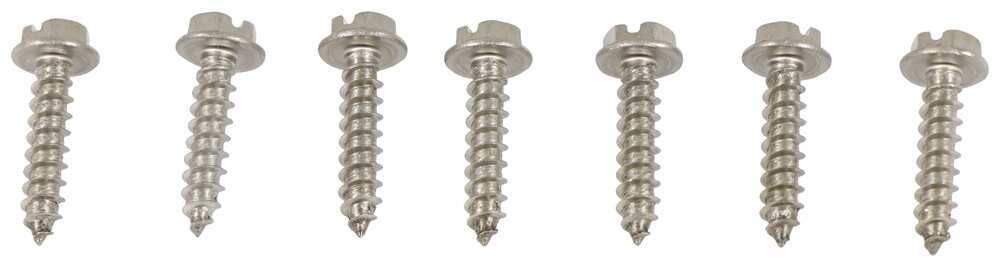
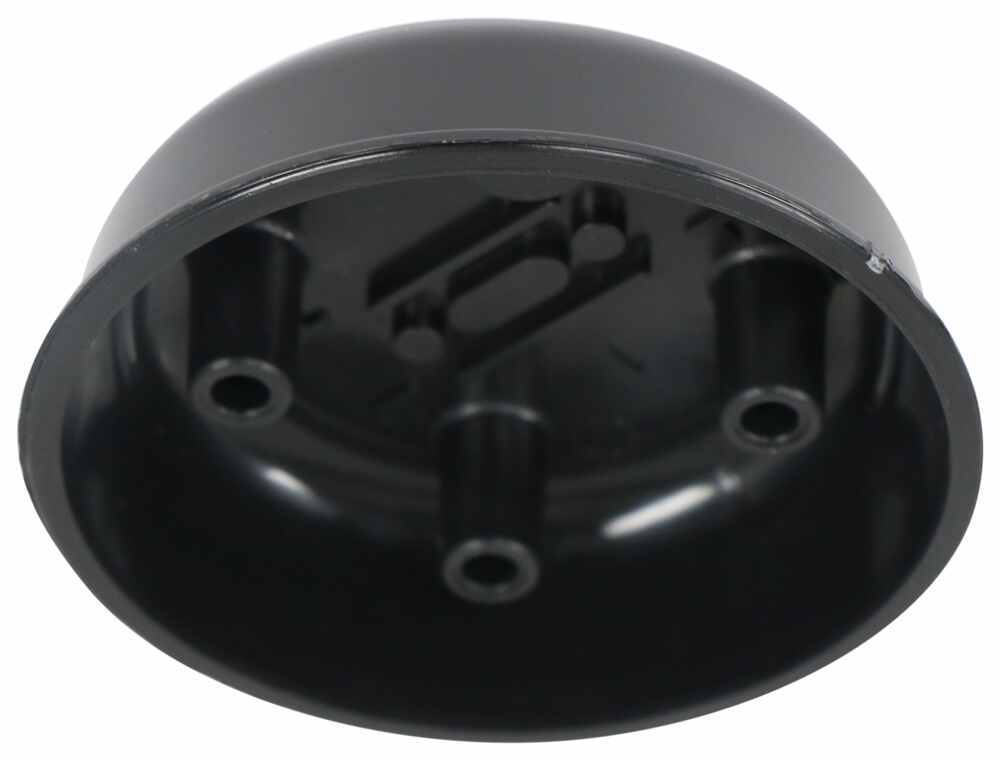
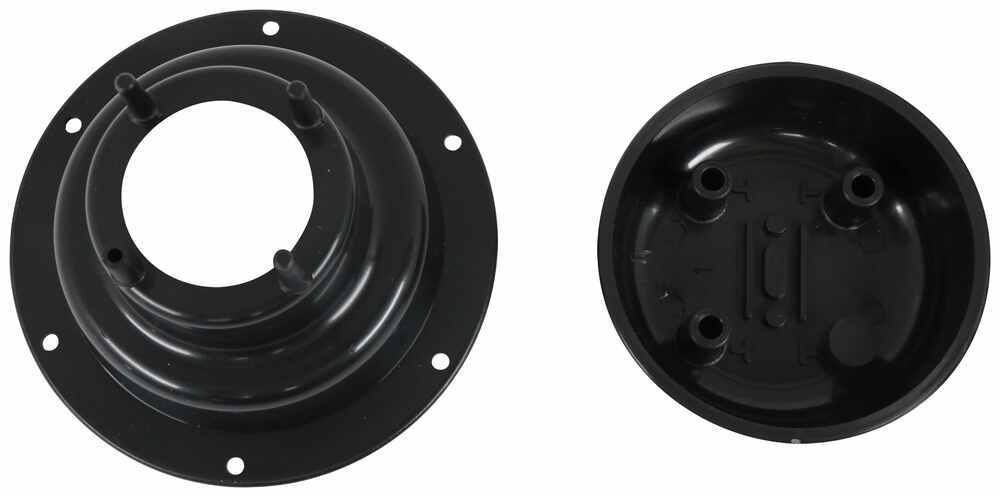
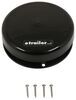
As you can see here it does include butyl tape and mounting hardware. You're gonna get a total of seven screws. Six of those screws are going to be used to mount this vent on your roof of your RV or camper. But then that seventh screw is gonna be used here to secure the cap to the vent itself. Now this cap is going to cover the top of the vent obviously to prevent rain or debris from entering in.
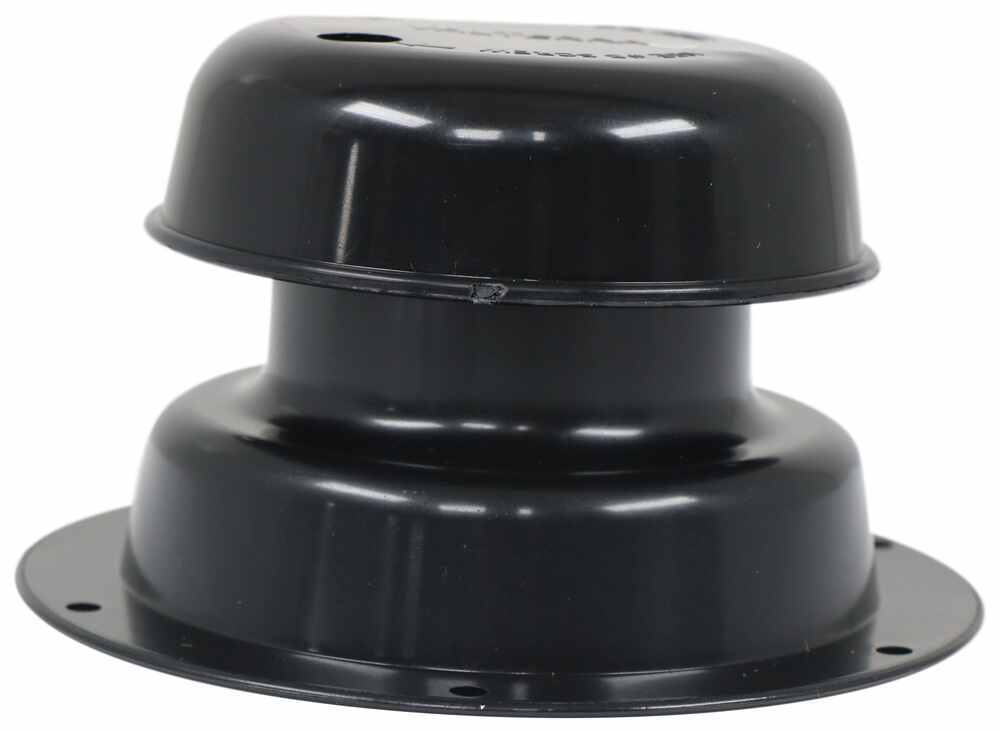
And lemme go ahead and put this cap back on real quick and just give you some overall dimensions so you have an idea of just how big this is. The overall height with the cap on we're sitting right at three inches tall. And then the overall diameter we are sitting right at, looks like right about five and a quarter inches in diameter. Now if I remove the cap, the overall height we're gonna be sitting right at about two inches. And then the mounting flange opening we're sitting right at four inches.
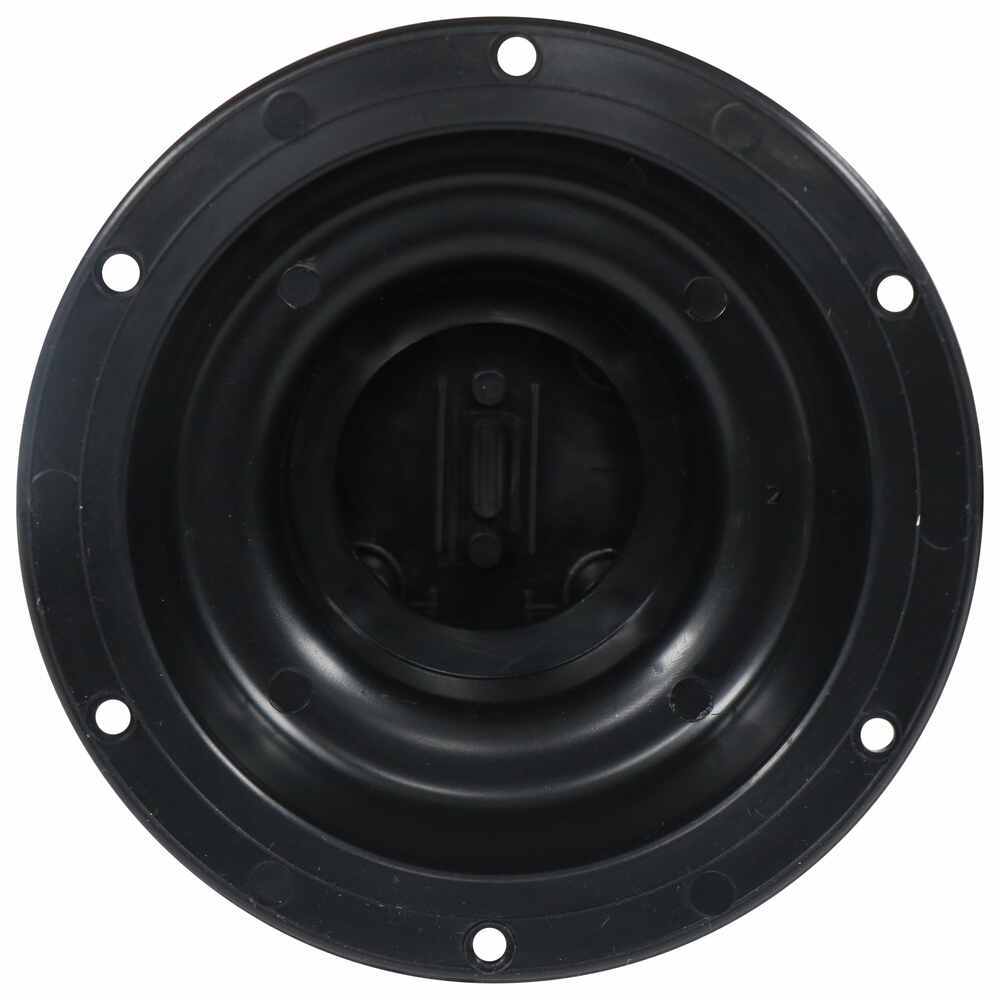
And then these mounting holes, let me see if I can line my ruler up here so you can see that. Measuring center to center, we are sitting right at two, right about two and 3/8 inches. Center to center. And this is really going to be an easy install. You're just going to obviously remove the existing vent that you need to replace.
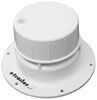
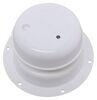
Just remove that. And you wanna make sure that you remove any ceiling residue from the roof that was underneath your vent that you're replacing. And then you're going to apply the included butyl tape to the bottom perimeter of this new vent. And then center the vent over the pipe that you are putting this on. I'm gonna make sure that my cap is on correctly here. So center of the vent over the vent pipe. And then you're just going to press down using your fingers and press down firmly around the screw hole perimeter and then use the included screws to secure the vent to your roof. You do want to be careful not to over tighten the screws. And then once again use that final screw to secure your cap to the vent. So again, this is a black plastic vent and feels very durable and looks like I feel like it's going to last you quite a long time but if black is not going to match the rest of the things that you have up there on your roof. The good news is we also carry this in white and on your screen I am including the item number for the white vent. It's completely identical. All of the measurements are the same. It also includes the butyl tape and the screws. It's just white instead of black. Just take the item number that you see there on the screen put it in the search field of our website and it'll take you to the white version of this vent. Well that's gonna conclude our brief look today. I do hope that it was helpful for you. Again, my name is Andy. Thank you for joining me..
Customer Satisfaction Score:
98% were satisfied with this product
2% of customers were not satisfied
Ratings & Reviews

I've never had to worry about my orders from etrailer. Always packaged great and on time! You have a customer for life.
Exact match to the originals on my rv. Only needed the cap. It fit perfectly. Will keep the rest in case I ever need to replace the rest of the vent cover.
The plumbing roof vent installed easily and was a perfect fit for my horse trailer. Shipping and packaging were excellent.
Perfect replacement that was easy to in stall.
Extremely easy to install, ample mounting tape, mounting holes lined up with factory holes.
This fit perfectly. The plastic was more heavy-duty than I thought it would be. Very pleased!
Roof vent installed easily, per instructions. All good fit. For added bug prevention, I would suggest as I did placing a small screen above the vent pipe (below the inside cap, using the existing pins and cap screw to hold in place), even if just a piece of scrap window screening.
This cap was needed due to a missing cover over the pipe, that caused side-panel rust issue, resolved by hiring Maaco to fix that rustout. All is good now. (note: I did have to build up the confidence drilling the vent kit holes in the roof for the screws, but the included putty is heavy duty and will harden nicely.)
as advertised
Reasonable price quick shipping
good product and a great price
A++++++
Easy to install and put Dicor all around the vent to seal it.
Great product, quick delivery. We like doing business with e-trailer!
Perfect fit for a 2011 4 star horse tra iler.
This is a much better product than many I have see that lead to leaking and water damage. (Poor design) I am looking forward to finishing the roof and installing these vent caps.
Nice fit, easy install but seemed a little flimsy. It says to just seal it with the enclosed butyl tape but you also have to put self leveling sealer over the screws and around the base. We will see.
George j youre following up and said you people have great customer service on the contrary check out the better weigh product i bought from you and stuck me with something that does not work on my application and nobody there wants to take care of said problem I think your customer service really doesn’t care about the negative in fact you won’t publish this bad review only the good ones just didn’t prove to me that you were a grest company to do business with

Do you have a question about this RV Vents and Fan?
Info for this part was:
At etrailer we provide the best information available about the products we sell. We take the quality of our information seriously so that you can get the right part the first time. Let us know if anything is missing or if you have any questions.



















Thank you! Your comment has been submitted successfully. You should be able to view your question/comment here within a few days.
Error submitting comment. Please try again momentarily.