


To see if this custom-fit item will work for you please tell us what vehicle you'll use it with.


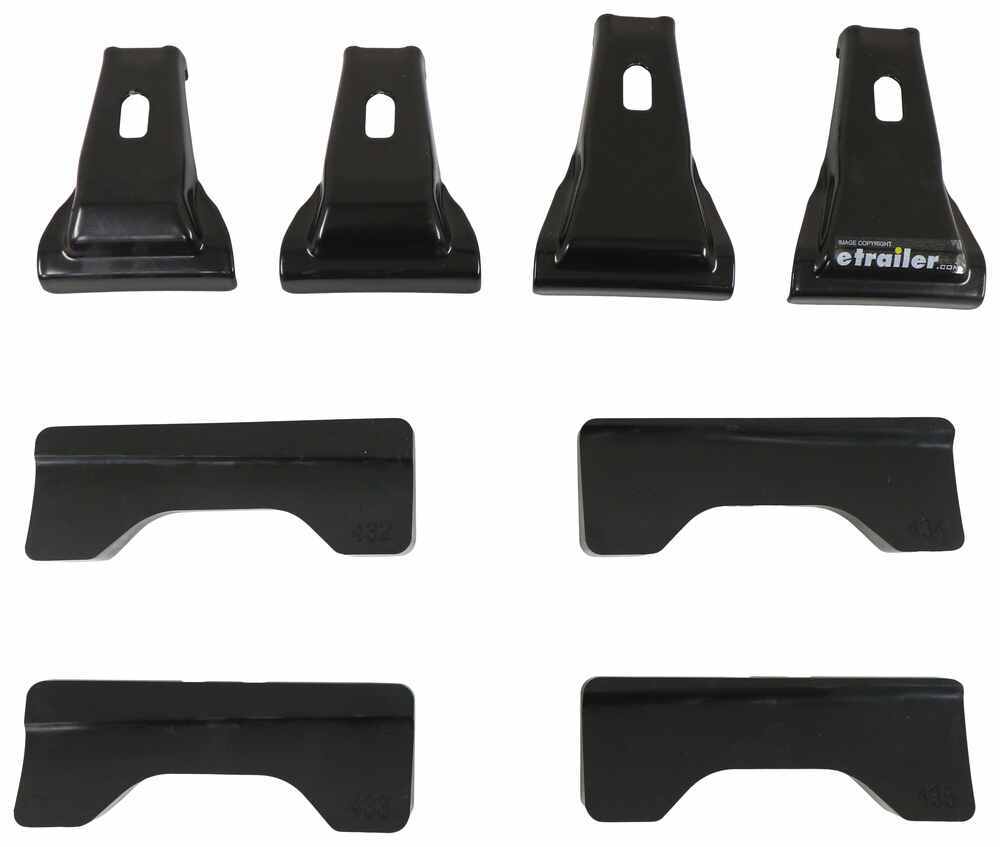
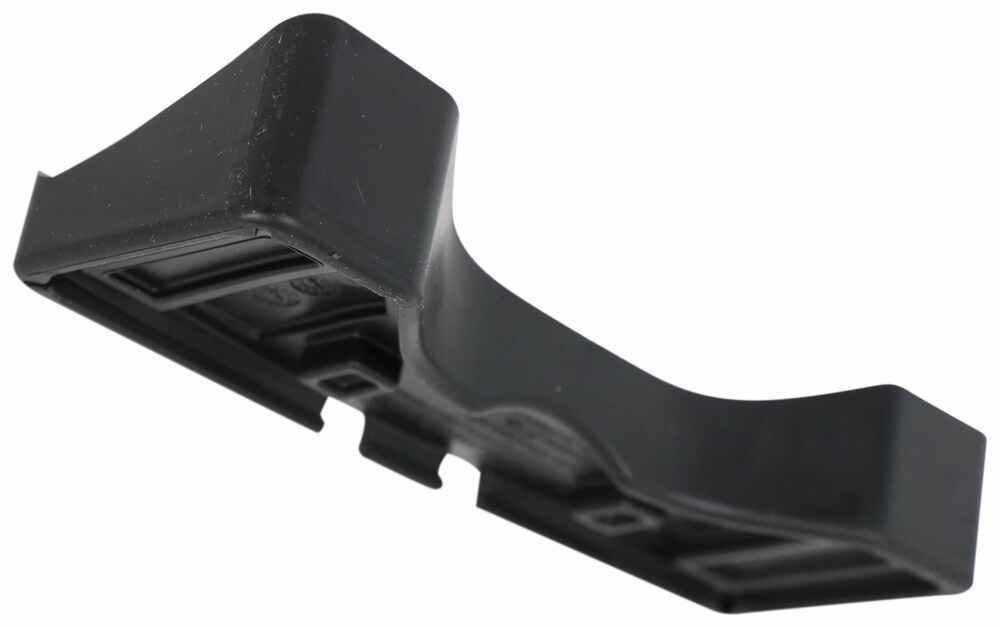
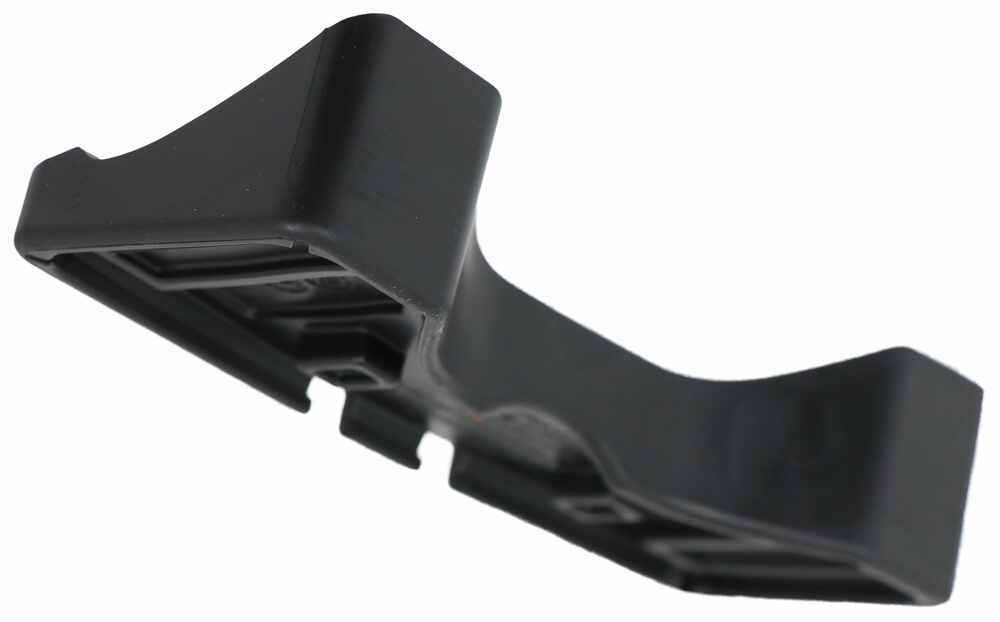
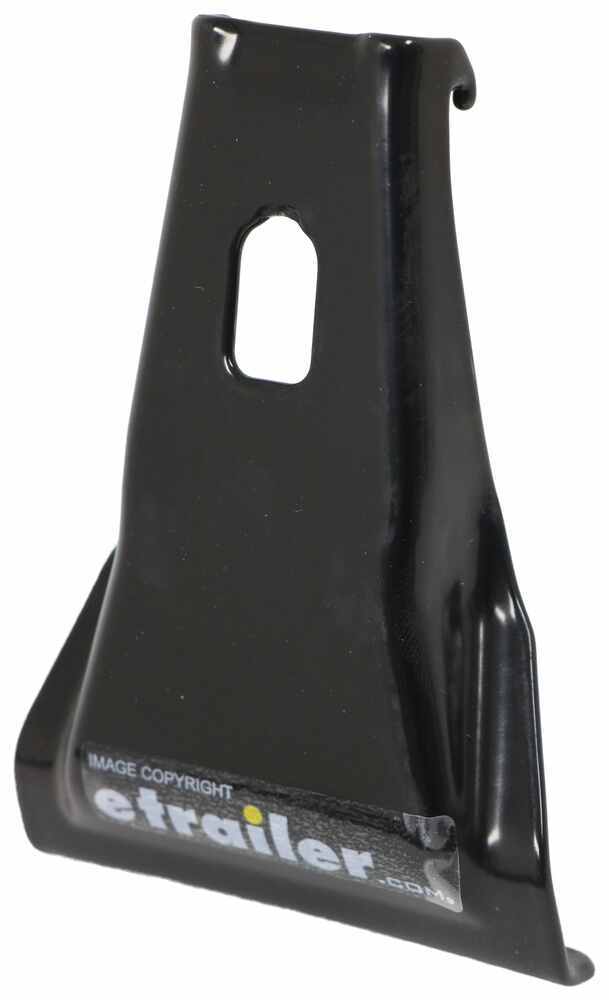
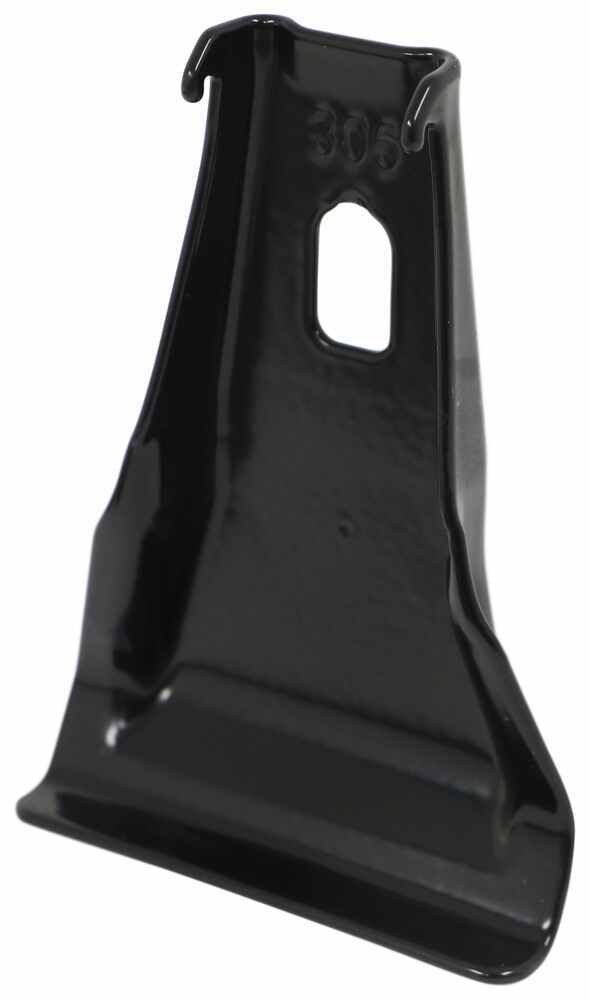
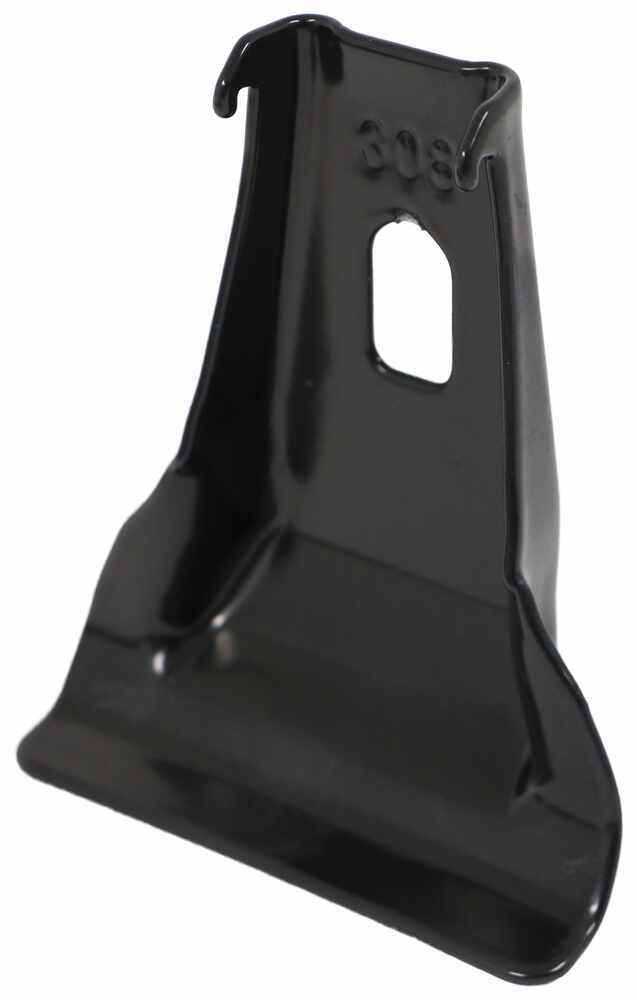
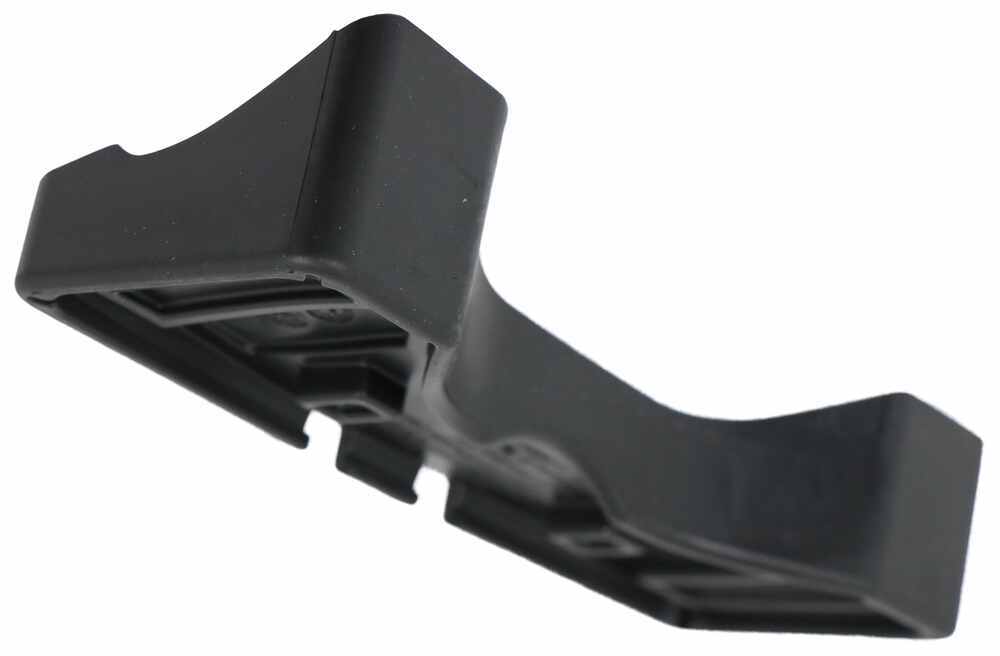
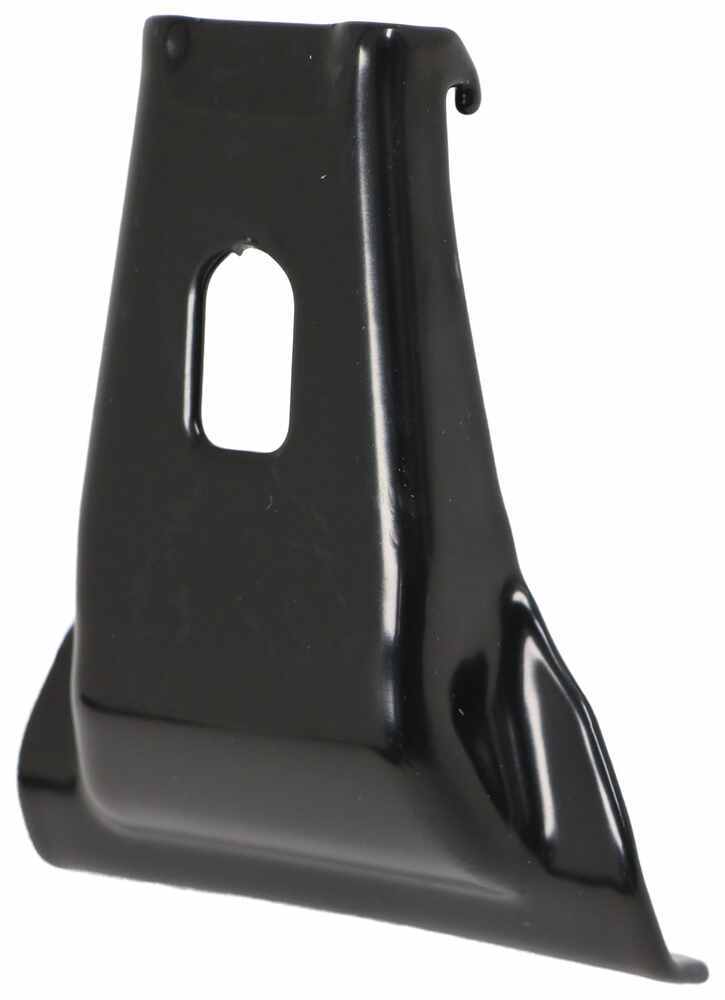
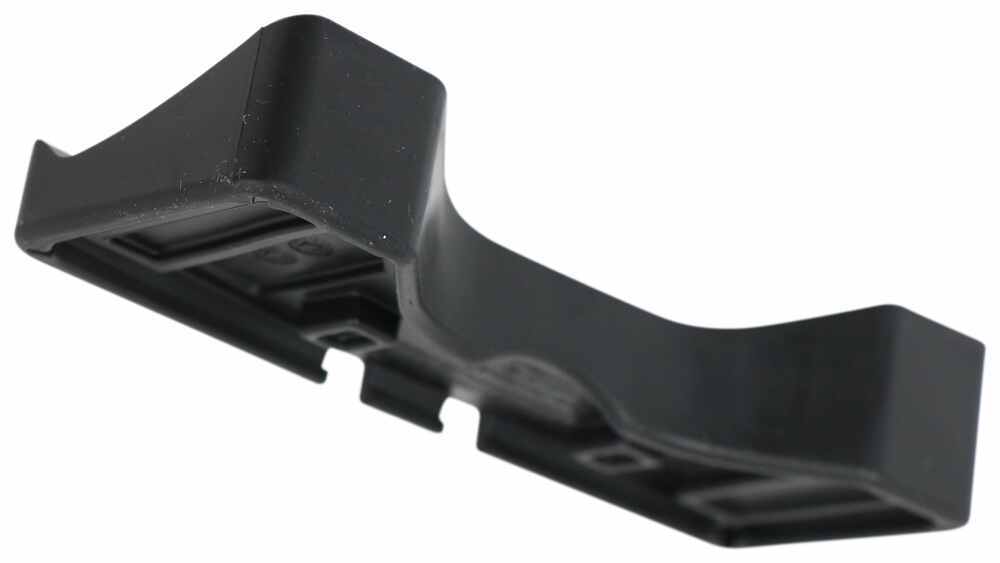
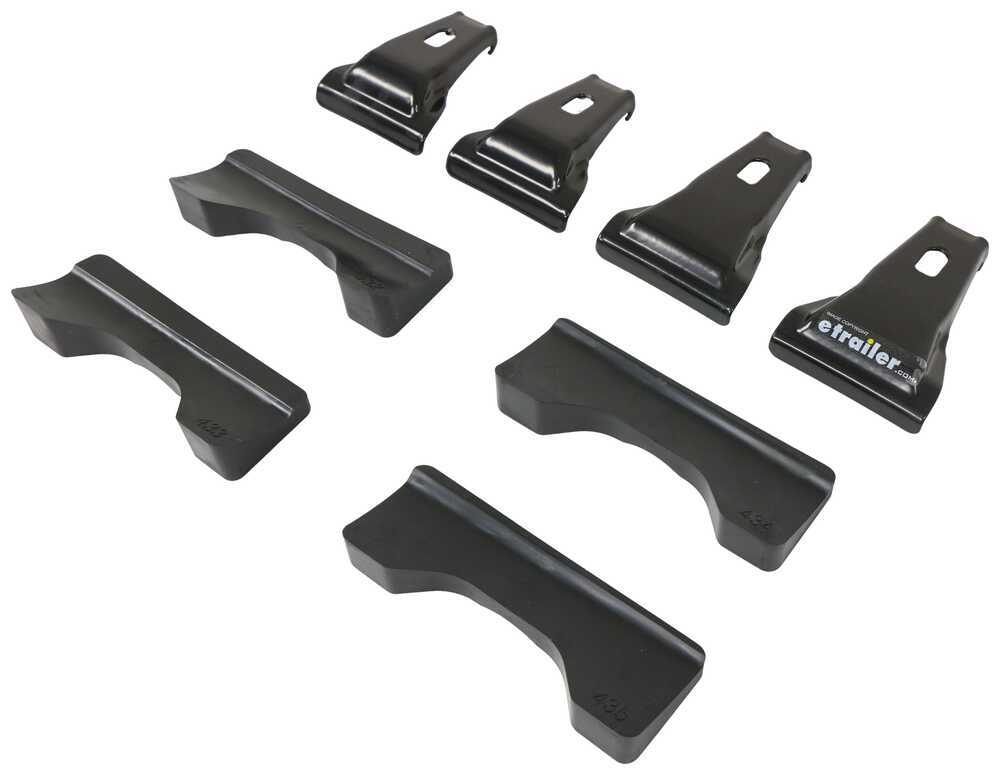
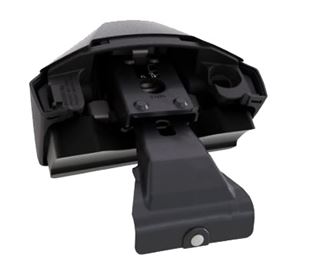
These custom clips and pads let you mount Thule Evo Clamp or Edge Clamp feet on your vehicle with a naked roof. The clips are easy to install - just slide them into the feet until they click. Rubber pads help protect your roof from scratches.
Features:
Specs:
Secure, Click-In Installation
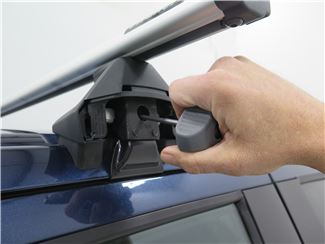
To complete installation, place the fully assembled rack on your roof at the location specified in the fit kit manual. Tighten the rack in place with the torque tool included with the feet. The single attachment point bolt lets you quickly secure the crossbars to the feet and the feet to your door jambs simultaneously. An audible click from the torque tool indicates the rack is secured properly.
Protection for Your Roof
The rubber-coated steel clips and molded rubber pads protect your vehicle's paint from scratches and abrasions. The pads easily slide onto the bottom of each foot, and they are specifically designed to fit the shape and contour of your roof.

Videos are provided as a guide only. Refer to manufacturer installation instructions and specs for complete information.
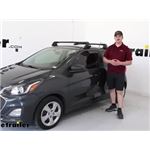
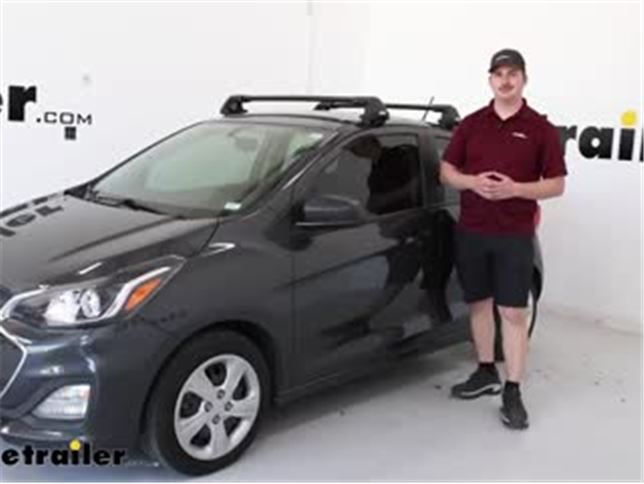
Hi everyone, Aidan here at etrailer. Today we're gonna be taking a look at and showing you how to install this Thule Edge roof rack system on our 2020 Chevrolet Spark. With a roof rack, you've got a lot of options for mounting up accessories and really expanding the cargo space of your vehicle. So with your Spark being a smaller car, if you do need to get some extra stuff with you on your trips because you don't have room in the back, you can put a basket or a box up top. And especially comparing this to other options for your car like a hitch, the Spark doesn't have many options in the world of hitches. And for the ones that do have options, you're not gonna have as many accessories to choose from because it's only gonna be inch and a quarter hitches.
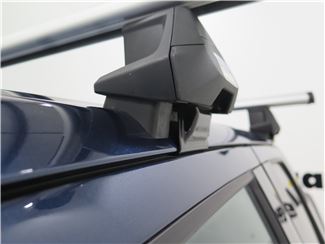
So my recommendation for expanding the function of your vehicle would be a roof rack. And this option from Thule is a great fit. So if your vehicle has the naked roof, no raised bars or anything preexisting, this is gonna be the one for you. And this one's nice because it's a flush mounted system which means that these crossbars end in the foot packs over here. So nothing extends out, you don't have any risk of hitting your head as you're getting in and out of the vehicle and I think it gives it a much cleaner look.
Now with all that being said, you are still gonna have limitations. Your roof has its own weight capacity. The roof rack system here it has a weight capacity of 165 pounds, but that doesn't mean that your Spark can handle that on the roof. So check your owner's manual, figure out what that weight capacity of your Spark is, and if it's lower than that 165 rating for the roof rack go by the lowest rated component only follow that measurement and don't overload your roof. Aside from that though, you're gonna have a wide range of accessories to choose from.
And these bars, the aero bars, are gonna be very accepting of most clamp around accessories or in some cases if you want to a T-track accessory where you can actually slide that into the top channel here for a nice clean mounting solution. You can access that T-track by popping these covers off. And you can see right in here, this is the channel where your T-track accessories will slide in. It'll go between these two weatherstrips here that's going to help reduce wind noise when you're going down the road and they'll just conform around whatever accessories you add in. So no extra trimming required.
Then when you pop the cover back on it blocks that T-track in so no one can access it. And your kit does come with the plastic cores to add a little bit of security. Realistically, anyone with a quarter or a flathead screwdriver can turn it, but you can upgrade these to proper locking cores after the fact. And you can find those here at etrailer if you're interested in them. The crossbars up top are aluminum with a black powdercoat finish. It gives it a nice clean look. And the aluminum's lightweight and you don't have to worry about rust and corrosion. This is designed to be mounted exactly where it is. Your kit comes with the fit kit, these rubber pads that are custom-shaped to mold and fit around the contours of your roof and clamp into the door jamb. So where we haven't mounted up is where it's gonna live. And because of that we've got to get some measurements. Things like crossbar spread. That's gonna be the distance between one crossbar and the other. And that's going to be 29 1/2 inches. That's gonna be an important measurement when picking out accessories because certain baskets and boxes and bike racks will only work with certain crossbar spreads. Most of those have adjustments built in, so it'll work with a range anywhere from 20 to 32 per se. But you just wanna make sure that what you're picking out is compatible with that measurement because you're not moving the crossbars. As far as height measurements go, you're going to have about 2 1/4 of an inch of space underneath the crossbars between it and the roof. That's plenty of room, I'd say for most clamp around accessories to attach down here and still be able to clear the roof. And then from that roof to the top of the crossbar it's about 3 1/2 inches. So pretty low profile. And coming back to the antenna here, it doesn't stick up any higher than that, so you shouldn't have to worry about any garage clearances or things like that. One thing I would point out though is accessory mounting. Depending on the accessories you choose, if it extends far from the back crossbar, maybe like a large box or a larger box, you're probably not gonna be putting two larger box on top of your Spark. You just wanna watch out for it because depending on the accessory it might hit that antenna. And in that case you might need to remove the antenna when that accessory is mounted. Or you can look for an aftermarket solution to shorten the antenna. There's some options out there, but personally I'd just remove it if you need to, or with certain accessories like bike racks, you'll be able to work around it just fine. And with all that in mind, one thing that I like to think about is the install process because if it's a pain to work with, then you're probably not going to get a really solid fit. But this one fits perfectly and the install process is very straightforward. So we'll walk you through how we got ours installed right now. Starting off the installation on the ground, we're gonna set out everything and make sure that you've got all the pieces in your kit. Now's a good time to separate the pieces as well because this is a bit more of a custom fit. So you're gonna have two crossbars and they're gonna be different lengths. The shorter one will be for your rear and the longer one will be for the front crossbar. The feet here are gonna be the same all throughout but there are going to be specific sides. So I'll turn these to you. And you can see that on the inside edges here, they flare out a little bit. That's going to match up with the shape of the crossbar. So this will be towards the rear of the vehicle. This end will be towards the front. And as we turn them, we can see that now this will be driver's side, this will be passenger side, and it'll match up to the crossbar. For the fit kit, these pads are gonna have different numbers for all four locations. You can look at the instructions that come with it and know that 435 will be for your rear passenger side, 434 will be for your rear driver's side, so on and so forth. And then these clamps here that go in our door jambs, these are going to be a bit longer and these will go for the rear. So once you've got all that sorted out, you can start by taking your crossbar and your first foot and attaching them. Just separate the cover from the main body of the tower here. And on the top there's going to be a series of lines and letter codes. Your instructions will also have different letter codes to match up for the distance we have these set at. And we'll show you that in just a second. But for now, make sure that this bolt with this block and the tab are facing up. Slide that into the side of your crossbar. And once it hits, just push down on the bolt a little bit so that tab slides in. And as we push it you'll see it pop out right here. Once it's locked in, we can take the included tool and tighten down this bolt on the end until the line and letter code lines up with the end of the crossbar here. For our rear crossbar on the Spark we're shooting for letter G. (tool squeaking) And as we approach that line, we can just repeat this process on the other side once it's lined up right about there. With that done on both sides, you can flip your crossbar over and attach the bases of the fit kit to the feet. We'll do this side over here first and it's pretty easy to get that lined up with the shape on the bottom of the foot and just pop it in. There's little bits like right here where this lip will grab onto that one. So just make sure it's fully seated down and press it into place. And on the top side, we can install our weather strip. That's going to come in one single piece, but you can tear it down the middle pretty easily once you get it started and pop this into the channel on top of your crossbar. Now they are side specific. This one side that has little arrows is actually going to have the arrows pointing towards the front of the crossbar. So that's the thicker edge. Get that lined up and start just pushing it into place, going down the whole length of the crossbar and repeat that process on the other side here. And with all that in place, we can take our full assembled crossbar and move it over to the vehicle. Now over here it can help to have an extra set of hands on the other side of the vehicle to guide that rubber pad into place, but it's definitely doable on your own. And right now I'm just loosely setting it in. Your instructions are gonna have a measurement sheet which tells you measurements for the front crossbar, giving you a distance from the windshield to that front of the crossbar. And then once you've got the front one in place, you can measure from that to the rear. Find that measurement on both sides to make sure they're running parallel. And make sure that that rubber pad is seated properly along the lip of the roof here and you can clamp it in. Your kit does come with a strip of paper with measurements on it so you don't have to worry about scratching up your roof with a regular tape measure. And the spread that we're going for measured from the front of one crossbar to the front of the other is 29 1/2 inches. So I've got a little bit more to go on this side just about half an inch. And like I mentioned before, I'll get this same measurement on the other side to make sure the bars are running parallel to each other. With your door open and your crossbar position set, go to the end of the foot and we'll see this moving piece right here where we can slide our clamp in. You'll notice there's some teeth. So just pop that up into place. And I found that out of the box you might even have to go in with that provided tool and loosen this up a bit just to give it some more movement. But you should hear a click and feel this hook snap into place. And then after we repeat that on both sides, we can evenly tighten them down. (metal clanging) (tool clicks) Right, there is that click. We can feel that that clamp isn't coming down and I actually do need to loosen it up a little bit more so that the hook at the end of it can slide down into the door jamb like this. We want this on both sides and we wanna just tighten it a little bit going back and forth so that we don't pull it all the way to one side before getting it torqued down using the included built-in torque setting on the tool. It's pretty minor to see, but as I'm tightening down the one side, you'll notice that pad right there sit down a little more flush with the roof. That's why I want to go back and forth a little bit at a time to make sure I don't unevenly tighten it. So once it makes contact, I feel a little bit of resistance, I'm gonna switch over to the other side, back and forth until this tool clicks And towards this last little bit, I can feel the resistance and, (tool clicks) right there, once we hear that click we know it's torqued down. Get that on both sides and you're done tightening. Make sure that all the contours and everything are sitting flush with no gaps. This one is looking great, so we know it's seated properly and it's torqued. Our covers will slide onto the ends of those feet, making sure to get them lined up, no gaps. And your kit does come with plastic cores. These can just pop into place and go into the locked position using a screwdriver. Now if you chose to upgrade to actual locking cores at this point, you'd pop in the lock cores, and use the key provided to lock it up. Once the install is done, I always like to give it a good shake test. Because if there's anything loose or not sitting right, you'll see movement. But everything on here is rock solid, so I'd say we're good to go. I think it's gonna be a really solid roof rack system, really clean look, and you're not gonna have to worry about hitting your head getting in and out of the Spark. And now you've got some room to attach accessories and expand the function of your vehicle. But that'll do it for our look at installation of this Thule roof rack system on our 2020 Chevy Spark.
Ratings & Reviews

I bought the Thule Evo Roof Rack to transport my kayak on my Lexus 300H. Thule will advise you on their website that his particular rack is not right for a Lexus 300H (i.e., they don't make a roof rack for a Lexus 300H); it is really for a Camry, but etrailer told me that is worked, I trusted them and they were correct. After all, a Lexus sedan is really a fancy Camry, but Thule will not acknowledge this point. It works great. Thule makes a solid product.
Car: 4 door Civic Sedan
Ordering process was easy as I was able to search for the set that matched with my vehicle. I originally had ordered locks along with my set, but they were out of stock. But they were very flexible in allowing me to cancel that item and have my rack set processed and shipped right away. Fairly fast delivery, I believe it took about a week or so.
Assembling it was very simple with the instruction manual if you read it carefully, there is also a helpful video if you need it. Had a little bit of a struggle with spacing out the cross bars in order for it to fit my ski carriers that I already had (but I did expect this).
The final product is actually fantastic. Immediately slapped my snowboard into it and ran it out for a drive. Peaked at 70 MPH with no issues of it falling off or wind whistling.
Definitely worth it to spend the extra money to buy quality like this. Even better when the folks selling it do a great job handling your order and shipping!
Everything I've purchased from etrailer has been excellent, including this product. Great products, great service.
I wished locks were included. The packaging was damage, the product was not. It took just one hour to install from box to roof.
It feels very sturdy. I received it promptly.
Great product. Will was awesome. Knowledgeable and helpful. Ultra fast shipping. He under promised by saying it could be middle of this coming week to arrive but it got here in one day!
This fits perfect on my 2015 WRX STI. The instructions list the width between the bars as wider than they should be. I had to move the front and the rear in. This wasn’t a problem because I waited until I was done to cut the rubber underside trim. I have no noise with this setup.
Thule makes great products, install is straight forward, and secure on my truck. I used it for carrying long fishing rods for beach fishing.
I think the fit and finish are near perfect. Easy Installation and all tools included installing. You also need some scissors or craft knives to trim excess bar weatherstrip or bar trim. I did it in about 30 minutes start to finish and I am a Disabled Combat Veteran. Thanks for the fast and accurate delivery of my product.
Fast shipping thank you
I sold my Nissan frontier and bought these for my 2014 civic, fit perfect and easy to swap out with legible instructions, order came promptly.
I love my new roof rack! It looks good, works great, and the video link attached to the email made installation a breeze! I highly recommend this rack.
Two things.
This part let me re-use my existing evo bars and move my setup from my Dodge Ram to my Ford F-150. Thule has done an excellent job designing these parts and the change was very simple.
E-trailer has been a go to for me to buy parts like this in the past and will continue to be a go to for me because the site is well designed, it’s easy to discover the correct parts I need and most importantly they have a responsive staff for any support.
So far so good! The ease of installation was incredible. Pop the fit kit together, put it on the bar and install. Everything is straight forward with the directions. Its even easier if you find a video of the installation. The rack definitely has a little bit of a whistle to it but its kinda expected when you disrupt the airflow. I'm going to pick up my new kayak tomorrow and couldn't be happier! Not the best photo but its all i got at the moment lol.
I used these for a 3K trip to Cabo San Lucas from Northern California. We even traveled over a 100 mile stretch of the Baja 1000 off road course with our F-250 Super Duty loaded to the hilt with gear.
On top of our Cab. Truly amazing products from Thule & delivered on time from etrailer
Is ok is working very nice product
Simple Thule es lo mejor
Very thorough shopping e-commerce provided by vendor to help selecting the best options to fit my truck. However the Oder updates are a bit slow and due to the time lags between changes , confirmations are confusing.
Telephone assistant was great but took long time to resolve issues by the first respondent. The second one was much better.
Items needed to support the whole set up have to be doubled checked by myself otherwise one item was missed accidentally and the answer was vendor assumed buyer’s decision is correct.
Product delivered extremely fast once all issues are cleared, this is marvelous especially the shipping is free under this promotional period.
Installation is user friendly, spent about two hours and satisfactorily completed by myself.
All looks cool and good!!
I'm so glad I decided to buy the entire kit for the Wingbar Evo!! It looks incredibly slick on my 2016 Ford Fusion. The clamp feet made specifically for my model of car fit perfectly, which makes me feel assured. The aerodynamic design of the Wingbar means no road noise, even at highway speeds.
Big shout-out to Tim M. Who was very helpful in my purchasing process when I needed to change my shipping address. Another shout-out to Linda H. Who helped me via email. You guys rock!
Great Rack ! I have put canoes, lumber, and so many other things on top of my car. I love my rack!!!
Excellent website, great videos to assist with the installation and quick responses to questions. This was important since Honda doesn't offer a roof rack solution for our Honda Fit. After my concerns were addressed, I felt confident etrailer and Thule had the solution. The roof rack arrived on time and etrailer reached out asking if everything arrived in good condition and did I have any questions. Lastly, the assembly and installation process was smooth, just trust the measurements, minimal wind noise at 70 mph and etrailer staff sent an online warranty registration that made the final step fast and easy. A first class business with people who care.
The feet are very sturdy and nice to put a strap around. The instructions didn't match the picture of what I was buying because they had a 28in gap between the front and the back feet but I actually needed more like 4 ft. so you can see I used something more like what the picture of a Leaf setup was on the etrailer website. The instructions were a little bit unclear about how the ridge on the bottom of the feet are to sit in the channels on top of the car but on the back rail I had to set the feet way outside the channels anyway. Still seems to be pretty solid
Great quality products! Easy installation with properly guided instructions. One of the best tracking information, from ordering to delivery. Would strongly recommend etrailer to anyone looking for roof or hitch bike racks.
My THULE roof racks arrived as expected according to the delivery schedule. The box of the cross bars kit was open upon arrival and the one bar had a slight blemish and a little dint almost in the middle of the bar. The other box which contains the two pair of the J-Bars were closed and everything in it were fine. All the parts came altogether and nothing was missing. I purchased this product to install onto our KIA Sportage for loading our new Vanhunks Orca 13’-footer fishing Kayak. The THULE cross bar roof rack system is an excellent engineering design and very sturdy. I loaded and transported our new 81 pounder Kayak and the THULE roof racks maintained our cargo solidly and securely on top of the SUV. Drove to the Lake for almost two hours and two hours back and everything stayed intact until we got home and to the storage area.
I’ll let you know after I get new crossbars to put them on.
Very pleased with this item (as always I trust Thule on my roof and have across multiple vehicles!) and with the entire transaction. Knowing that we have the right fit kit for our vehicle’s Thule was very important and e-trailer made this easy to accomplish.
A combination of well-reviewed products with quality customer service, fast shipping, and an endless array of educational content makes buying from e-trailer a no-brainer!
Info for this part was:
At etrailer we provide the best information available about the products we sell. We take the quality of our information seriously so that you can get the right part the first time. Let us know if anything is missing or if you have any questions.























Thank you! Your comment has been submitted successfully. You should be able to view your question/comment here within a few days.
Error submitting comment. Please try again momentarily.