
Custom DK Fit Kit for 4 Rhino-Rack 2500 Series Roof Rack Legs - Naked Roof


To see if this custom-fit item will work for you please tell us what vehicle you'll use it with.


Thank you! Your comment has been submitted successfully. You should be able to view your question/comment here within a few days.
Error submitting comment. Please try again momentarily.
This custom fit kit lets you mount 4 Rhino-Rack 2500 legs to your vehicle with a naked roof. Clamps mount to legs with bolts. Includes 4 clamps and 4 pads.
Features:
Specs:

Videos are provided as a guide only. Refer to manufacturer installation instructions and specs for complete information.
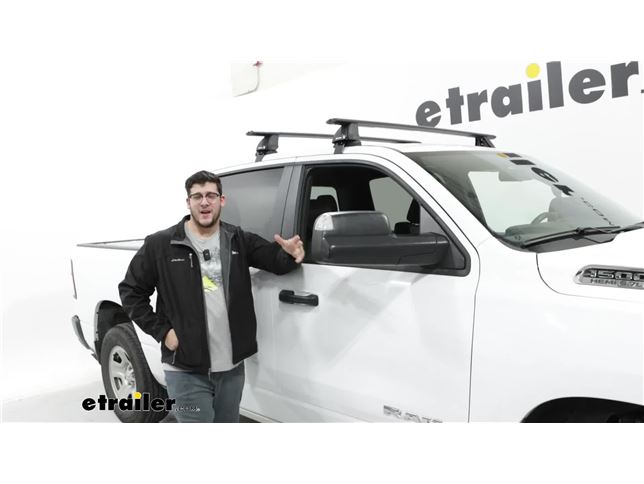
Hi, Matt with Etrailer. And today we're gonna be talking about our Rhino Rack roof rack system, on top of our 2022 RAM 1500. Now this gonna be a great option for ya, if you're running outta space in the bed of your truck, or if you wanna use this in conjunction with the ladder rack, maybe you have some really long ladders or kayaks, and you need that extra support, this is gonna be the fit for you. This system is gonna be comprised of three parts. That first part is gonna be our 59-inch crossbars. We're gonna have this weather strip at the top of it, and that's gonna protect your T channel from any debris.
And it's also gonna help reduce that wind noise too. We're gonna have this end cap, and it's gonna have this anti-theft device at the very end, so no one can come by and take these towers off. And speaking about taking your towers off, or your crossbars off, we also have this lock core built into your tower. So that's gonna be additional security for your crossbars. And at the very bottom, we're gonna have the fit kit that attaches to your roof.
It's nice that we have this rubber piece at the bottom, 'cause that's gonna prevent any scratching from occurring. Now we can get some measurements on how it's gonna sit up here. So the first measurement I'm gonna get is gonna be a crossbar spread, since this is a fixed mounting position for it. And that's gonna be slightly under 25 inches. So that's not a crazy wide crossbar spread, so make sure your accessories will accommodate that.
Next up, I'm gonna get our distance between our roof and the crossbar, and that's gonna be 3.5 inches. So if you have any clamp-on accessories, they should fit under here. Now if you have anything with taller bindings, make sure you have something to accommodate that too. And for the overall height it's gonna add, we're gonna have about 4.25 inches. So what I recommend doing is taking the total height of your car, plus the crossbars, and if you have any accessories on top of that, add that too so you know what areas you can make it under.
We're also gonna have a little bit of overhang. It's nothing crazy, you're not gonna hit your head on it because it's pretty close. Ya might be able to get some accessories at the very end of here. If you have any smaller ski carriers, I think they'll fit great right here, especially if they have those thinner straps. And that's gonna be great because, you don't wanna reach really far into your vehicle to grab those accessories. So something I do like about this fit today, is the way these bases are designed. So as you can see, they're not flat, they actually have a rise to 'em. And that's designed to accommodate this curvature we have on our roof, so your crossbars sit level. And finally, what you'll be able to put up here is, you're gonna be able to put up to 165 pounds. Now just make sure your roof can handle that, you can find that in your owner's manual, and then go from the lowest component. You're also gonna be able to put on clamp-on accessories and T track accessories too. Overall, I think this is gonna be a great fit today, because how level those crossbars do sit, thanks to those bases and fit kits. It's also gonna be great if you've run outta space in your bed, like I said earlier, or, you want to use it with your ladder rack, so things sit more even up top. So it'll be great for that too. As far as the installation, it was pretty straightforward. But if you need a hand with it, just stay tuned and we'll help you with it. Let's start off the installation, we're just gonna lay everything out. So we're gonna have our crossbars in the front, and then the towers along with their end caps too. You have a key that goes with it, so you can lock and unlock them. Then we're gonna have our clamps and bases for a fit kit. And then you'll have some included tools, an Allen key, a tool to take off the end caps of your crossbar, and this other Allen key that's gonna have this torque device at the very end of it. And what I recommend is just grabbing a tape measure to make this a lot easier. We're gonna move over to our crossbar, and grab that end cap remover. Just go to the end of it, twist it, and you remove your end cap. Then we're gonna flip over the crossbar. You'll be able to tell because we have this channel that's revealed now. And I wanna grab one of our towers and put it on, just by lining up this middle block with this channel. Now in some cases, that block might be on there too tight, and if it is, what you can do is grab your included Allen key, and just loosen it up a bit. And now, you should be able to slide it right on. And once you have this side complete, I just recommend tightening it just lightly so it's not gonna be sliding all over the place. And then you can repeat the same process on the other side. Now we're gonna get the distance from one tower to the other tower. And what I like to do before I get that measurement is to make sure each tower is the same distance away from the end of your crossbar. And just make sure they both match. After when they both match, then we can get that measurement. You can find that measurement in your instructions. And just go from the inside of the tower, to the other inside of the tower, and make sure that measurement matches what your instructions have. Now we're gonna start putting together our base, and we wanna make sure we grab our M281. That's gonna go on the front left of your vehicle. And we wanna make sure when we grab this base part, that will attach to your tower, that's gonna face this direction. Gotta make sure that fatter side is on the left side of where the arrow is facing. And you're just gonna press down on this so it locks into place. You might have to maneuver it just a little bit. And when everything's locked on, then we can just line up these two channels, with this metal rod, until it clicks into place. Then we're repeat that process on the other side. We're gonna take our crossbar now and put it on top of our roof. Now, make sure that that fatter side of the fit kit is facing forward. And when it looks like that, we're just gonna roughly place it up here, and make our adjustments afterwards. Now we're gonna reference our instructions to see where this is gonna sit up here. And I'm gonna get that measurement. Make sure I adjust for that. And once I've adjusted for that, I'm gonna see how it's sitting. If you notice, we're not making contact with this groove, so, I know I'm gonna have to extend my towers. And another thing is, you wanna make sure that you have this groove underneath this base. And the way this should fit is, it should grab around this ridge up here. If yours isn't grabbing around that ridge, you'll probably have to flip this rubber base around. But what we're gonna do is change the distance of our towers. Now that we've made our adjustments, our towers are gonna sit 48.5 inches from each other. But that's on our specific vehicle. But now that we got that outta the way, we can go on to the next step, and that's gonna be putting our clamps on. So after when you've tightened these towers the rest of the way down, you're gonna remove this bolt at the very end. And with this out, we're gonna open our door. And take out our clamp. The way we wanna put this on, is line it up like so, we're gonna grab our bolt, push it through here, and thread it back in where we took it out of. Once you've started threading it, you can let this drop. And we can start tightening this down. We wanna tighten this down until it's making contact with our gutter, and then we'll go to the other side, and do the same thing. And when it's making contact on both sides, then you can tighten it down the rest of the way, with your included tool. And the way you'll notice tightened all the way is when you're turning it, and this rubber piece at the back is becoming completely straight. And if it is, then you can stop, and close your door. And now we can start putting our end caps back on. And when you put on the tower's end cap, just make sure you lock it in place too, with the included key. And we yell the end caps back on, give it a good shake test. Make sure everything's feeling nice and tight. And if it is, then you load it up with whatever accessories you have and take it on the road. Well if you liked everything you saw today, that's just a look at the Rhino Rack Roof Rack System, on top of our 2022 RAM 1500.
Customer Satisfaction Score:
92% were satisfied with this product
8% of customers were not satisfied
Ratings & Reviews




Lazer S.
3/24/2026
Glad we had what you were looking for, Keith! I will let Alex know everything fit as well! Where you headed for your road trip?

Jerry B.
8/17/2026
Awesome! Any big plans with your roof rack now?

Kate F.
5/6/2026
Install looks great Raymond! Great work with making your own deflector as well. Glad we had the right parts for transporting your ladders =)

Pete

6/28/2025
After a year, holding up strong. I carry 13 foot aluminum foldout ladders.

Brooke M.
5/20/2025
You aren't the only ones who have just jumped in without reading first. That's basically a way of life for me, too. Ready, fire, aim, haha! So glad you got it done and now have that much more room for storage! Where will you be headed in July??
Brooke M.
4/26/2025
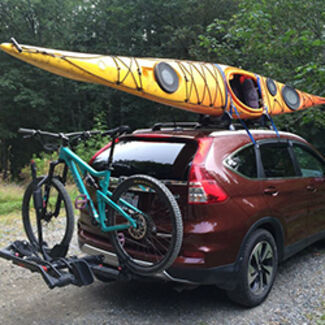
Man, looks like a lot of fun having a kayak! I see lots of gear aboard - do you use it for fishing?
Jason R.
7/19/2021
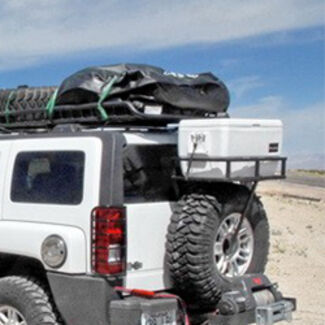
The racks are still working well, a year later. Ive used them to haul small loads of lumber and other items from the local big box hardware store.
Tony K.
9/15/2020
The rack works fine. I reach up and check it now and then and I have never had to tighten it after the initial installation. Completely satisfied.

D R.
3/24/2018
Great system, etrailer provides great service. I recommend whenever possible.
Ben. N.
9/16/2020
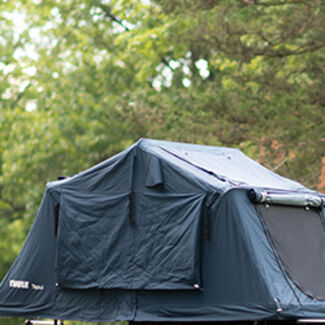
Used about 2 times a month. Very secure and easy to installremove. Only complaint is the rear mounting clamps should have been designed longer to allow more adjustment due to sloping rear window.
Mark T.
8/20/2020
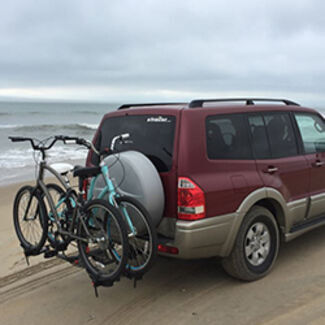
Still rock solid after one year. Very happy with the Rack. My daughter has put things on it from time to time over the past year that wouldnt fit in her car.
Jerry P.
5/18/2024
These roof racks have been fantastic! They have held up well over a year now. I get great compliment about from other people.

A.c
8/10/2020
Still running strong and no problem
Do you have a question about this Accessories and Part?
Info for this part was:
At etrailer we provide the best information available about the products we sell. We take the quality of our information seriously so that you can get the right part the first time. Let us know if anything is missing or if you have any questions.









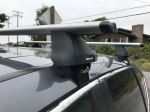

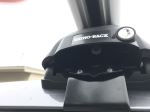


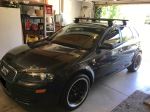

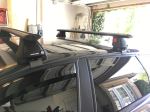









Kate F.
7/21/2026
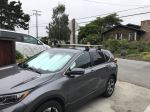
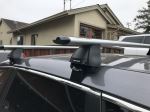
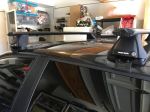
Glad we could deliver the right fit for you Ellen! What body of water do you like to take your canoe out on? If you are feeling really adventuress, we have the MR340 here in Missouri. It is a 340 mile paddle from Kansas City, MO to ST Charles every summer.