
To see if this custom-fit item will work for you please tell us what vehicle you'll use it with.
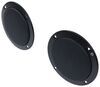
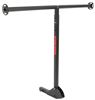
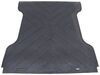
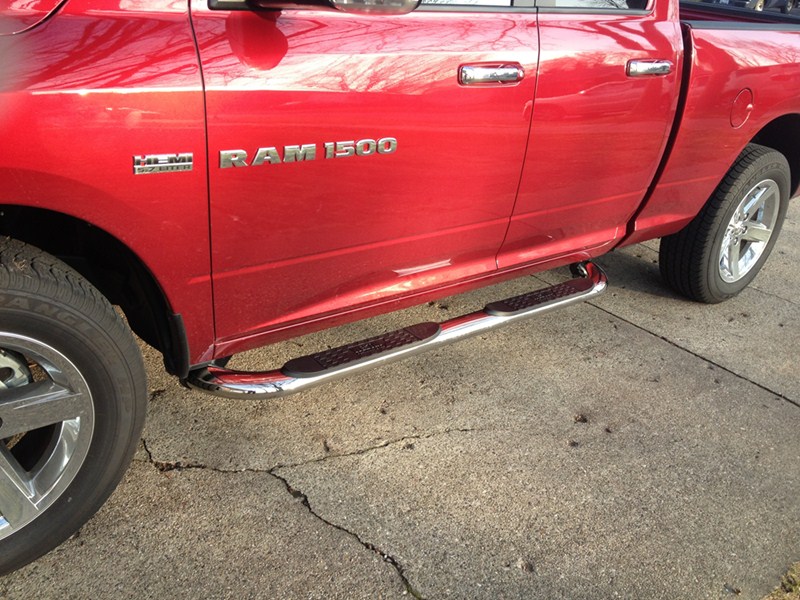
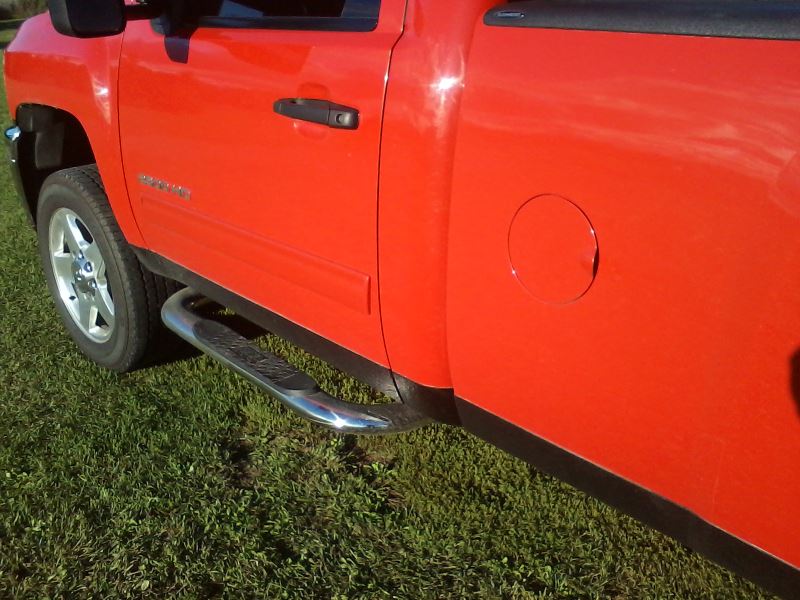
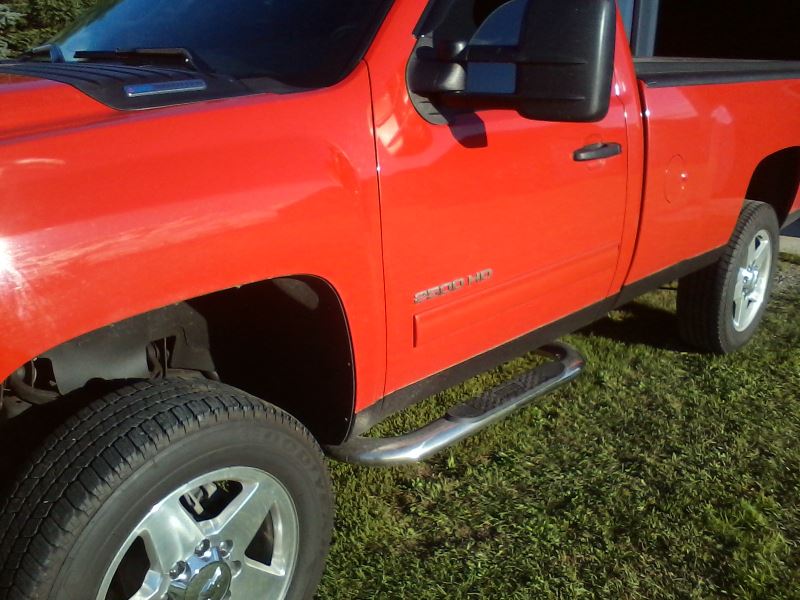
The curved ends on these polished stainless steel step bars give your Ram 2500 a streamlined look. Footpad areas are recessed, rather than cut out, preserving the strength of the steel and providing a solid, rustproof step into your truck.
Features:
Specs:
The step pad areas in Westin's Platinum Series oval nerf bars are indented instead of cut out, maintaining the structural integrity of the stainless steel tubing and preventing internal corrosion. 90-Degree mandrel bending at the corners means that there are no creases in the bars. This minimizes the chances of chips and rust at the bends and makes for sleeker, better-looking step bars.
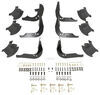
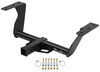
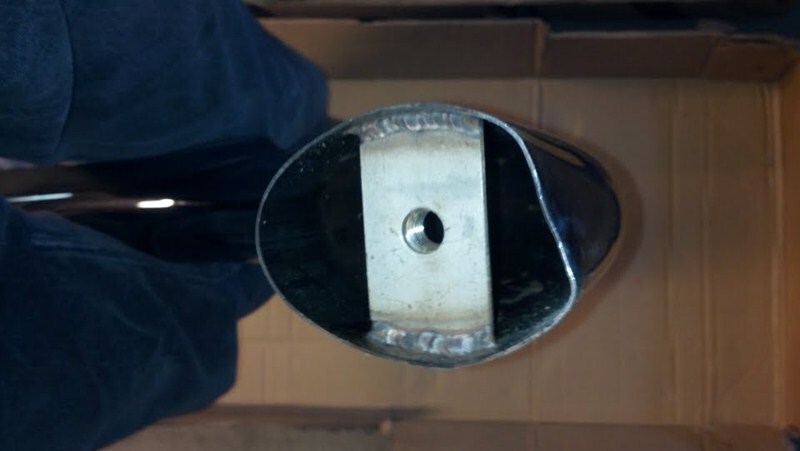
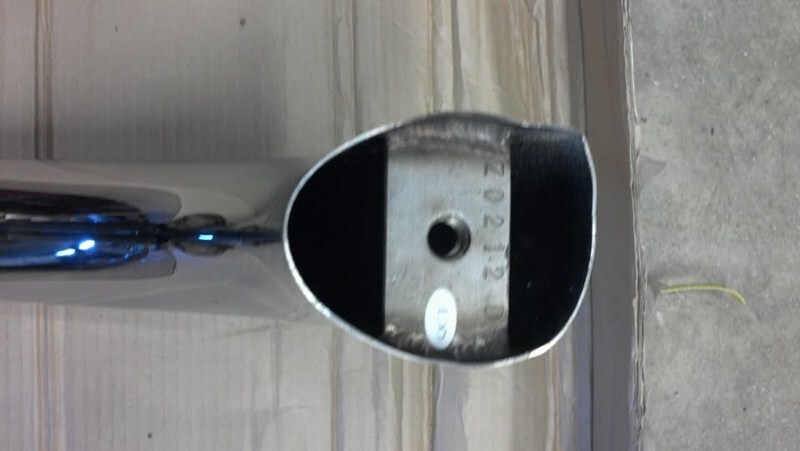
As shown in the image above, these step bars have a U-style tubing, which ensures that each bar conforms perfectly to your vehicle. Installation is quick and simple - just bolt the mounting brackets to existing holes in your truck's frame. No drilling is required.

California residents: click here
Videos are provided as a guide only. Refer to manufacturer installation instructions and specs for complete information.
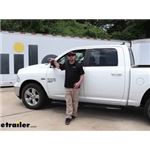
Ryan: Hey everybody, Ryan here at etrailer. Today on our 2019 RAM 1500 classic. We're going to be taking a look at and showing you how to install the Westin Platinum Series Oval Nerf Bars. So right off the bat, I think these Nerf Bars actually have a pretty good look and add a nice touch of style to the RAM. It's not really overkill but does help it look a little bit more rugged, and they're actually going to function really well as far as helping us in and out of our pickup.Now a little bit of extra footing that these are going to give us are really going to come in handy, especially in times of bad weather. Whether it be snowing outside or maybe raining, you have somewhere to put your foot and kind of get a hold of it before you just step onto an icy driveway.
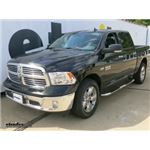
It's a little more predictable, a little more safe. And not to mention it's going to be great too for people with mobility issues, maybe children that have a hard time getting in and out easily, and that's because today's trucks do tend to sit up a little bit higher than older ones. So these are going to drop down a little bit and provide us with a little more surface area. So these are available in two different colors. Today we have the black one on our truck, but they're also available in stainless steel if you prefer that to match the color of your truck better.But with that being said, these are made from steel.
So they're really heavy duty, they're going to last a long time. They're going to be four inches wide, so as I said earlier, really give us a lot of room to put a foot, and these pads are pretty neat too. They're kind of concaved almost, so really should provide us with that traction we need. There is some patterns in here too, which I could see coming in handy especially when your boots are muddy or snowy, anything like. It gives you that little bit more of a sure footing.
If we move to the corners, the bends are actually Mandrel bent, so they're going to be stronger, they're going to look a lot better, and because of their Mandrel bent, they're not going to have any creases in it from the tubing being bent.So without those creases, we're not going to have to worry about water pulling up and potentially creating any corrosion issues. So one of the reasons too I like these on the RAM classic, and it's something not a lot of people think about, is the fact that we're going to have this opening here. Some of the running boards kind of come up nice and tight and sit flush, and sometimes those can look a little bit better but you really do lose some functionality, especially for those of you that have larger feet. And that's because when they sit flush, you're not going to have a whole lot of room to put your foot, your toe's can going to end up hitting that. With these, you can slide your foot pretty far in.
So I wear a size 11 shoe, just to give you an example, and you can see I can get pretty much the middle of my foot onto the running board.So it's really going to provide us with a safe way to hop in and out of the truck. So these will actually come in handy too at other times, say if you have some roof mounted accessories, maybe you got a ladder up there or something. It makes it a little bit easier to get up here and do what you need to do. Even when you're washing your truck, you can really get your arm across there and get it nice and clean. And since they do come back all the way to the edge of the back door here, you can even kind of get on the corner and potentially get something in and out of the bed very quickly. So at the end of the day, a Nerf Bar you really can't go wrong with the RAM in my opinion. They're going to look good, be really functional and make your life that much easier.Now as far as the installation goes, it's really not too bad. Everything's right there, easy to get to, and easy to understand. To begin our install, we're going to be here at the front of our truck. We're going to be working in this area just behind our front tire, and we're going to come to the inside here and locate our attachment points for our bracket. So underneath the truck, if we look right here we're going to have a piece of tape kind of just along the side of our body mount here. We're going to use that as an attachment point, so remove that tape. And this tape may get in the way too right here, so we'll just pull it off as well, to be on the safe side. So what we're going to do is take this hardware, which is the M10 bolt plate and get that inside of the frame. So the way we're going to do that is by using a fish wire.So you take the coiled end, push it towards the back of the truck, and we actually want it to come out of this hole here. You may have to kind of reach your finger in there and help guide it out. Once you have it out though, pretty straight forward, you take that hardware and thread it on to the pull wire. You could feed it into that hole, it's a little tight so you might have to find that sweet spot to get it in there. If you pull on the other end of your fish wire, it'll come out. Now at this point what you want to do is carefully remove the wire. You don't want this to fall back into the frame. So it may help to kind of put your finger on it, put a little pressure on it there. We're going to take the little plastic retainer and actually thread that on, and that's going to prevent that bolt from falling into the opening there.Going to try to hem that all the way down so it's nice and tight, just like that. Now so our other attachment point will be right here, so it's going to be a smaller hole and it's actually a factory weld nut, so there's threads inside of it. I do really suggest cleaning them threads out so you can spray down with some penetrating oil. Take a toothbrush or something like that and really just work that hole to get any potential dirt, debris, surfaced rust, whatever may be inside of there out. Now we can take our driver's side front bracket, now these brackets are side specific so make sure to pay attention to the labels on them. If I flip this around, you can see this one actually has a Stamping DF, so driver front. That being said, this is how it's going to go on. That hole there, we're going to slide that over that bolt that we put in, and then we're going to take a M10 flat washer, slide that on.And before we put a nut or anything like that on, I do suggest putting a little bit of Anti-Seize on the threads, and we'll do that for all the hardware that will hold our running boards in place. Slide on a split lock washer, and a hex nut. I'm just going to get this hand-tight for now. Now for the other opening for this hole here, we're going to take a M8 bolt, followed by the M8 split lock washer, and an M8 flat washer, put on your Anti-Seize, and this is just going to thread in as well. Let's get that hand-tight for now. Now we can get our little support bracket in place, so this is going to connect to the body mount here so we are going to have to take this bolt out. I'm going grab a 18 millimeter socket and completely remove it.These are pretty tight, so I suggest getting a longer ratchet like I have or maybe even a breaker bar, will make it a lot easier. Once we have that pulled out, we can take this bracket, again it's side specific so make sure you have the correct one. The part here that's angled, this flat side, that's going to face towards the back of the truck, inaudible 00:09:52 like that, take your bolt and just thread it back down. Again we don't have to tighten it completely, we just want to get it hand-tight. Now here at the rear, we're going to get our other bracket set up. So we're just in front of our back tire here, at the very end of the cab. You have another piece of tape, peel that off, and what we're going to do is take this M10 nut plate and install it in there. So if you look on this end of that weld plate, we're going to have a M10 nut, and we want this end of it to line up with this hole here in the body.So it makes it a little easier to put this in, take a M10 bolt, thread that in. Now that kind of gives you a little handle, it's where you can take the retainer, the little plastic piece, and thread that onto this portion. Put that retainer on there, we're not going to have to worry about this dropping back into the body so we're able to pull this bolt back out. Now we can take our driver rear bracket, and again, pay attention because they are side specific. This slot here at the top it's going to go over that bolt, I put Anti-Seize on it, and we're going to take a flat washer, split lock washer, and a nut, and get that going hand-tight. Then what we can do is grab a M10 bolt, put on a split lock washer, flat washer, and your Anti-Seize, and then this is going to go through this opening here and line up with that weld nut. So you may have to readjust it a little bit and make sure it threads in, once it does, we'll just run it down hand-tight.At this point we can go ahead and grab our tube step and loosely install it. They're side specific again, so pay attention to that. Ours does have a little label here that says, driver's side. What I like to do is just kind of peel off the bubble wrap at the ends, leaving the rest on until we're done. It just kind of keeps it a little protected if we happen to drop it, or set it down, what have you. But the way they're going to work, super simple, on the ends there's going to be some threads. So that's going to line up with the slots in our bracket, and we're going to take a half inch bolt, flat washer and split lock washer, coming from underneath the truck outside. Simple, it's going to line up there, and we're going to thread it on. So we'll get it hand-tight on one side, and we can move over to the front and do the same thing.Now we have it loosely installed, we can just unwrap the protective covering. That way we can kind of have a better look at the step itself, making sure that it's level and where we want it to be before we tighten everything down. I kind of took a step back and looked at it, and it actually is pretty centered exactly how we have it. So if yours isn't, you can adjust it, you can kind of just push one way or another on the tube step and get it how you want it. Once you do, now we can fully tighten down all the hardware. I like to start tightening down the hardware that hold the brackets on first, so up here I use a 19 millimeter. You don't need to crank down on these, you want to get them nice and tight though. And for the bolt that's attaching the tube step to the bracket, I'll put that 19 millimeter back on.So for this nut back here, in the front I use a 5/8" socket. The smaller one, we can grab a 13 millimeter to snug that down. Our body bolt here, I grab the 18 again, get that one tight. Once this one's tight, we can actually come back to the bolt that connects the tube step to the bracket. And that's all there is to it to get one side of the truck done. Now the other side of the truck is set up the exact same way, so we're just going to repeat the same process over there. And that'll finish up our look at and our installation of the Westin Platinum Series Oval Nerf Bars on our 2019 RAM 1500 classic.


Good product
Great product easy install
They fit great! look good and really help shorter people get into the truck.
Bolted on quickly and looks good
I liked how quick the nerf bars mounted on the truck
Solid when stepping on it and finished chrome looks as new
Shipping & communication were fast & great! However, the product did not fit on my 2011 Toyota Tundra 4 dr as stated. We are having to pay a mechanic to install them - or will have to send back. :-(
The videos were very helpful. The instructions were easy to understand, and it took about an hour for both to be installed.
The only concern was as I reached the specified torque value on the bar 55 ft. lbs there was some popping and cracking. I believe this was due to the settling of the bar to bracket and bolt to body re-alignment. Overall pretty good
Satisfied purchaserI had to return a product because my son sold his truck before the steps arrrived. I made arrangements with Cortney, who was extremely pleasant to deal with, to return the steps (running board) first ordered to exchange for ones that would fit the new truck my son purchased. Thanks etrailer and Cortney for you assistance and standing behind the product purchase procedures. I'll let you know what we think of the new steps after they are installed.
Great product - just what I was looking for. Not many wheel to wheel offerings out there. etrailer did not offer this product, but since I like dealing with etrailer, I asked them to put this item in the order system.
Finally got the running boards installed. My wife loves them. They look good and are very functional. Great service from etrailer, couldn't be more pleased. Thanks for the great service.
Everything was as expected. The installation was a little lengthy but it's a good product and this company does a great job. I would highly recommend them and the products they sell.
Went on easily. Well designed product. Fast shipping! Thank you eTrailer!
Excellent product. Looks great on my vintage 2004 Silverado. Easy installation once I CAREFULLY removed the body mount bolts. Only suggestion would be to include the torque specs for the body mounting bolts for reinstallation.
Fit and fastener alignment was good. Easy installation. Pleased with product quality.
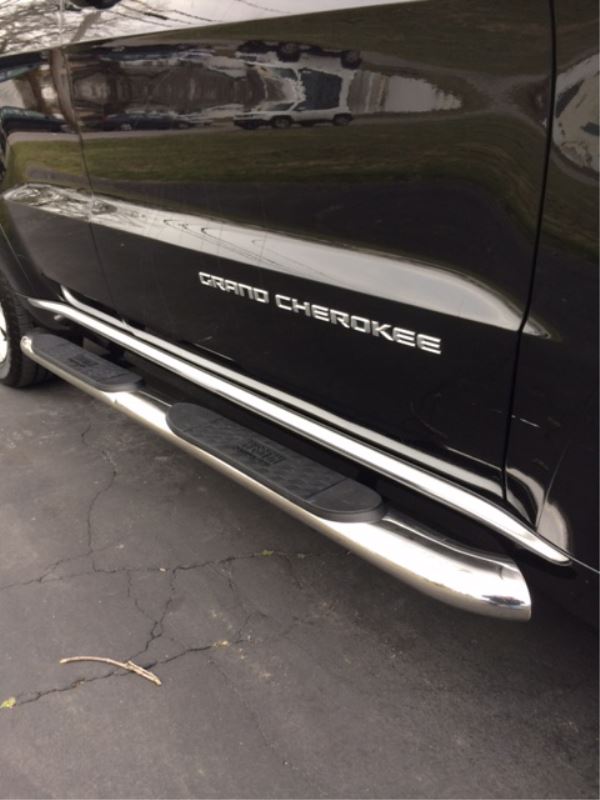
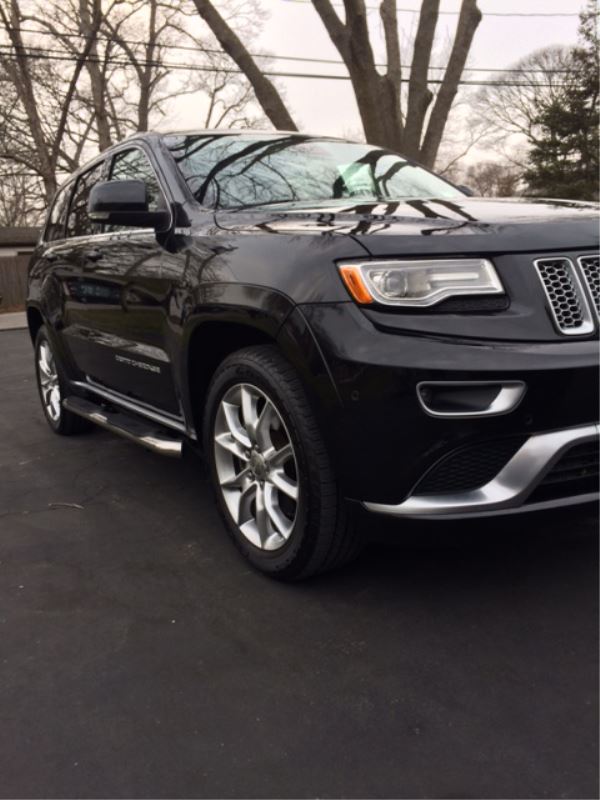
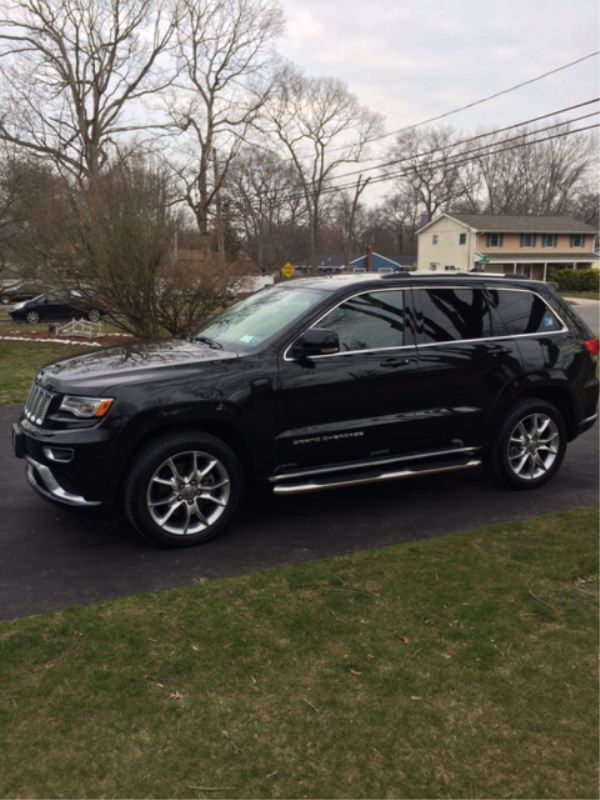
Installed the Westin 21-3610 4 in oval SS step bars on my 2015 Jeep GC Summit.Hemi California edition - perfect fit. See photos. After 2014 Jeep uses 12 mil plastic stickers instead of the rubber plug caps for the oval cutouts as called out in the Westin install procedure - use a small wood chisel to remove the cover stickers carefully.
These Western tube steps fit my 2013 Silverado Reg. cab perfect, even with the DEF tank.
Installed quickly, and look great.
Thanks Chris W. at etrailer.com
The step/bars look good.
Install wasn't tough but Westin's instructions are poor- I just figured it out on my own.
While the packaging looked stout, 3 of the 4 open bar ends were bent in, like someone dropped the box on both ends. I did a decent job of banging the dents out and installed them. Those ends aren't seen once installed. Someone needs to look at a better way to protect them during shipping.
Overall I'm just satisfied with the product.
Very knowledgeable of what I needed even though my vehicle was not listed on your website. Your shipping was amazing.
They sure looks good. Just got them this afternoon and it started raining about 15 minutes after I started the installation. After reading the installation instructions, I do believe an hour or two and they should be on the truck.
Do you have a question about this Nerf Bars - Running Board?
Info for this part was:
At etrailer.com we provide the best information available about the products we sell. We take the quality of our information seriously so that you can get the right part the first time. Let us know if anything is missing or if you have any questions.


Thank you! Your comment has been submitted successfully. You should be able to view your question/comment here within a few days.
Error submitting comment. Please try again momentarily.