
# 1
Coil SumoSprings Custom Helper Springs for Coil Spring Suspension - Front or Rear Axle
OEM springs not strong enough. After installed feels a lot stiffer and raised the back 2". Material looks really good. Installation done in 40 min using a nut driver, a flat head screw driver and hand soap. I did have to take wheel off it just makes like easier.
2005 Honda Cr-V, they went on pretty easy, it was a tight fit but no trimming required. I jacked the car up on some stands, had both sides installed and zip tied in 45 minutes..
# 2
Coil SumoSprings Custom Helper Springs for Coil Spring Suspension - Front Axle
I ordered these for my RAM Promaster 3500 because I had heard from fellow owners that they are a worthwhile addition, for increased stability on the road. The instructions are good, and they weren’t too hard to install myself. They are kind of expensive for a couple of rings of dense foam/plastic, but I guess they must be petty heavy duty. I look forward to my next trip to see how they perform.
Install went fairly easy once I figured out the best spot to put the jack to lift the van. Really helped to have an oil filter wrench to get the old springs off the back. Took it out for a drive after an much better cornering and much less effect from wind and 18-wheelers. This was on a fairly windy day. No big difference in softness of the ride.
# 3
Coil SumoSprings Custom Helper Springs for Coil Spring Suspension - Front or Rear Axle
Initial reaction is positive - I installed front and rear sumo helper springs yesterday (5-23-19) and did a test drive around the block. The side to side pitching of our Transit Class B+ motorhome was greatly reduced. I still need to test on highway. I did not install the optional spacers that increase the ride height and reaction time of the rear sumo springs. The spacers will be added later if needed.
Just finished installing these on my 2014 Ford Expedition EL Limited. Very easy to install. Never removed the wheel to install. Jacked the vehicle up one side at a time and did the install. Haven't hooked to my 30ft camper yet to see how they work. Will update after my trip in July.
# 4
Timbren Front or Rear Suspension Enhancement System
I had these installed on my 2013 Jeep Wrangler prior to installing a plow. These fill the gap that would allow the front end to dip when the plow is lifted. I also had them in my 2004 Chevy, they stabilize the front end when the heavy load is added.
The package arrived in only a few days, sooner than I had expected. I was impressed with Etrailer, the vendor. Opening the brown shipping box however, I was somewhat set off by seeing the Timbren SES box taped up like it went through WW3. It looked like a box that someone had opened once before and someone made an attempt to reseal it with another yard of tape. Opening the SES box confirmed my suspicions that someone had indeed attempted to install these once before and returned them as the 1 paragraph's directions were covered with greasy fingerprints . The parts looked OK so rather than wait for a second pair I just installed them. I have to say that the Timbren supplied written directions left a lot to be desired. I consider myself an above average home mechanic and I had difficulty understanding how to dissassemble the Jeeps front suspension. At the price I paid for these devices, Timbren should at least have made a better effort to create clearer directions. There was no directions on how to get the old bumpers off their perches (they are pressed in . They will only come out using some heat and a lever) , nor how to get the old cups off their perchs (there is one bolts holding each one into the perch, but bolts were so rusty I had to torch them off. I doubt the average Joe would have the knwledge, tools and determination to ge the old ones off). Don't try to do this job without using spring compressors to get the springs out. You'll never do it ! I had to google Timbren installation instructions on the internet to get peoples installation tricks off of a Jeep site. The customer who had this box before me likely gave up due to the complexity of the removal of the old units and likely sent these back to Etrailer (not Etrailer's fault).
# 5
Coil SumoSprings Custom Helper Springs for Coil Spring Suspension - Front or Rear Axle
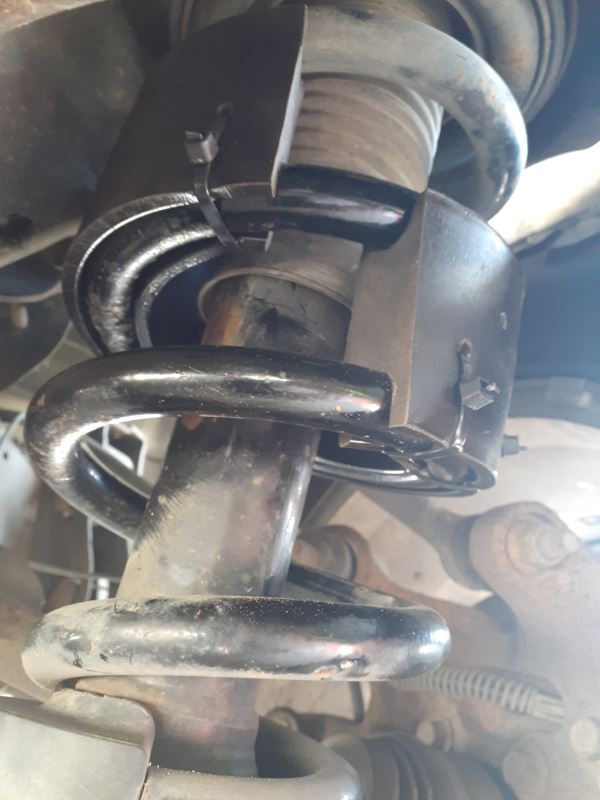
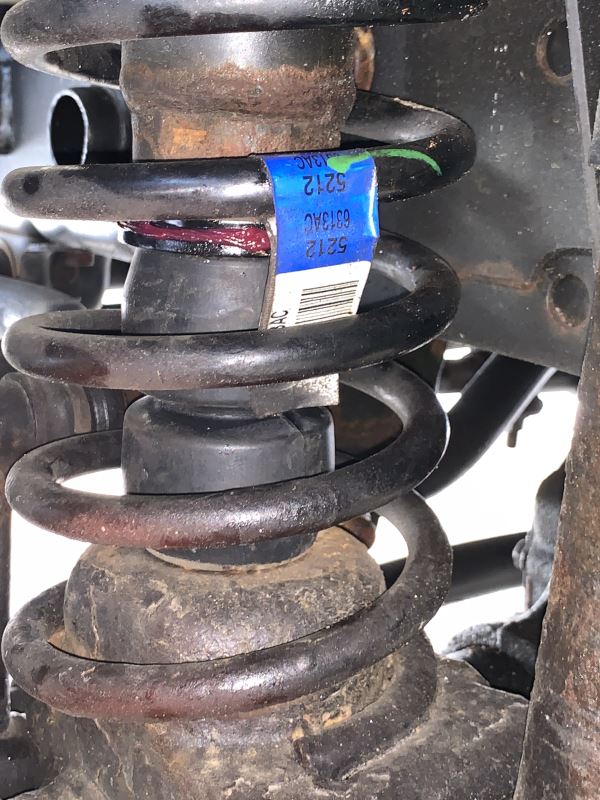
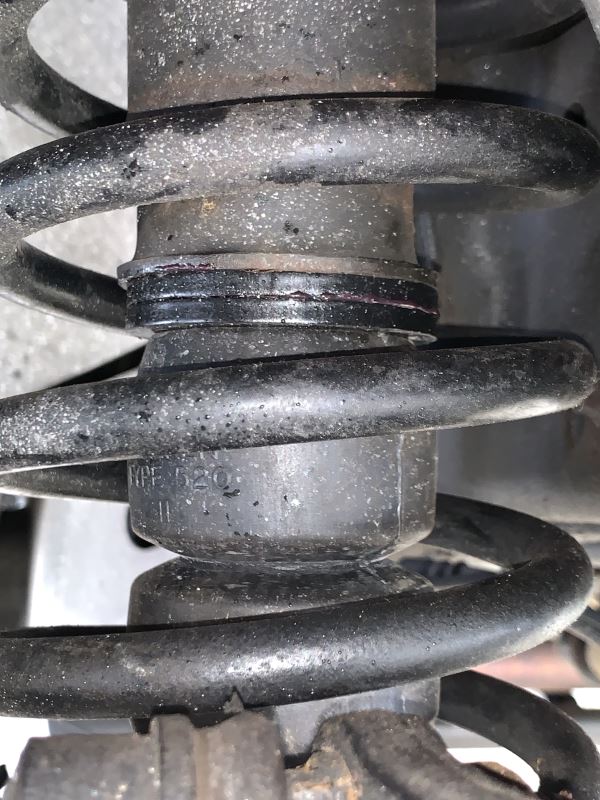
Ok installed outside january 27th. Temp 10 degree windchill -5. I used canola oil since it stays slippery when cold. I recommend taking off the tires. Also wirebrush the coil spring to get rust and debris off. Coat coil spring in canola oil. Also 1997 crv rear will require about 3/4"-1" off of the helper spring before hand. The driver side took 15-20 mins the passenger less than 5. My car rear was sagging it sits level or slightly above level now in the rear. Mileage of vehicle is 73k shocks struts and springs are original. Curt class 3 hitch is also installed on vehicle. I am curious to see how it does while pulling a 5x8 trailer. Overall seems good only time will tell. Wondering how installing two on a side would do?
Working well to help us deal with a heavy trailer.


What our customers are saying:
"Very helpful/friendly Customer Service. Competitive Pricing. Shipping was Fast."