


To see if this custom-fit item will work for you please tell us what vehicle you'll use it with.


Thank you! Your comment has been submitted successfully. You should be able to view your question/comment here within a few days.
Error submitting comment. Please try again momentarily.


With a maximum gross trailer weight of 3,500 lbs and a tongue weight limit of 350 lbs, this hitch gives you the strength to handle everyday towing and hauling. It’s a solid choice for small trailers, cargo carriers, or bike racks. The 2" x 2" receiver opening works with most standard accessories, so you can hook up your favorite gear without extra adapters or fuss.
You don’t need a lift or special tools to get this hitch on your vehicle. It’s built for a bolt-on installation that uses the included hardware and mounts directly to the frame—no welding required. The precision, robotic welding ensures everything lines up right, which cuts down on frustration and saves time when you’re working in the driveway or garage.
The sturdy square-tube steel construction gives this hitch the backbone to hold up to regular towing and hauling. A gloss black powder coat finish layered over a protective base coat helps guard against rust and corrosion. It’s designed to stay strong and keep looking good through years of road grime, rain, and salt exposure.
With its visible cross tube and straightforward square design, this hitch keeps things simple while maintaining easy access for attaching ball mounts, bike racks, or cargo trays. It’s a practical setup that adds capability without overcomplicating your daily haul routine.

Videos are provided as a guide only. Refer to manufacturer installation instructions and specs for complete information.
Today on this 2007 Buick Rendezvous, we're going to show you Curt Trailer Hitch Receiver class III, with a 2-inch opening, part number 13469. All right. This is what the hitch looks like when it's installed on our Rendezvous. As you could see, it actually sits almost all the way underneath the bumper due to the vehicle's construction. even though it does sit pretty far back, it is a bit visible. Okay. Now, it does have a reinforced collar around the front edge of the receiver, makes it look nice.
This will use a 5/8-inch hitch pin or your favorite locking pin. This section here is for your safety chains and they'll loop in through here, plenty of room for that. This all goes into a square steel body that go out to both sides of the vehicle. Now, you notice on the passenger side here it has a nice generous opening, give you plenty of room for exhaust, so you don't have to worry about rattling. Now, this does go up into the frame and use existing holes; however, there are 2 small holes you do have to drill out. You do have to modify 2 of the larger holes to get the hardware in place.
Nothing major but a little bit time consuming. All right. Now, a couple of other details is that this hitch is rated for 3500 pounds pulling weight and 350 pounds tongue weight, which is the weight pulling down on the vehicle. Okay. Now, always double the manufacturer of your vehicle to make sure that your vehicle can carry these kinds of weights. Next, we'll go ahead and give you some measurement that'll help you out in selecting some accessories, such as a ball mount, a bicycle rack, or a cargo carrier.
From the center of the hitch pin pole to the outside edge of the bumper will be about 5 inches. From the top of the receiver opening down to the ground will be about 12-1/4 inches. Next, we'll go ahead and show you how the hitch is installed. All right. First up on our install is go ahead and get the exhaust loosened up to give us a little more working room. Our hitch will actually sit over the exhaust when it's done.
I'm going to spray down the rubber hanger located right here with some spray lubricant and we'll pry it off. It gives it a little more flexibility. Now, we need to enlarge one of these oval holds here to install our hardware. This block will eventually sit like this here and here. We're just barely missing it, so we'll go ahead and drill out a hole at the very end of this oval hole right here to enlarge it just big enough to get our block in. Now, I'm using a 3/8 drill bit for this, and that's all we need. We'll install our hardware first on this oval hole. We're going to take the provided bolt leader and just run through one and out the other. Thread on the block, push it through, thread on our bolt, push it through and back around. We'll assemble everything on the outside first and then install it. Once in the frame, pull it right back through. We're done with our driver side here. Let's go ahead and repeat the same process over on the passenger side. All right. It's a good idea to get an extra set of hands to help hold up the hitch and make sure you don't push the bolts back into the frame. Then, we'll install locking flange nuts. All right. We'll install 1 nut on each side to stabilize it and then we'll install the rest of the hardware. You'll notice we'll go ahead and slide it over top of our exhaust and then back up to the frame. Now, when we put it up, we want to make sure that this flange right here is on this side of the sheet metal. We'll go ahead and install the rest of our flange nuts here and we'll do this on both sides of the vehicle as well. All right. Now once we have all the hardware loosely installed, let's take a moment to go ahead and tighten up the flange nuts just a bit to help snug it up. Then, we'll use the hitch as a template to drill out our holes. All right. Now, let's go ahead and drill out our hole using a 7/16 drill bit using the tab on the hitch as a template. Now, the hardware we'll install here will be the 3/8 bolt and washer. We'll go from outside to the inside and going towards the hitch, we'll get the 3/8 locking flange nut. That's it for this side. We'll go ahead and repeat the same process back over on the passenger side. Now, at this point, we'll can go ahead and tighten down our bolts for good and torque them down as specified in these directions. All right. Let's go ahead and tighten down this fastener for good using a 9/16 socket and wrench. all right. Let's go ahead and put our exhaust back up. We'll go ahead and apply some more spray lubricant to the hanger and we'll reinstall it. That'll finish up our class III 2-inch receiver hitch, part number 13469, on our 2007 Buick Rendezvous. .
Ratings & Reviews


Bryan M.

8/15/2018
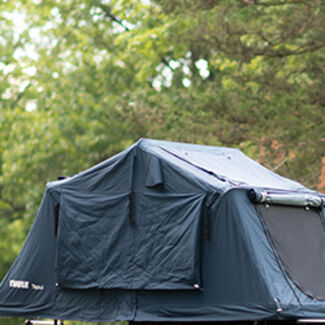
Still looks and works great.
Tom
9/22/2021
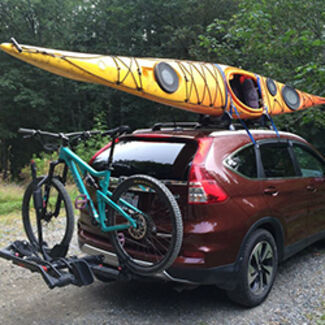
Great product perfect fit.
Randal A.
8/5/2017
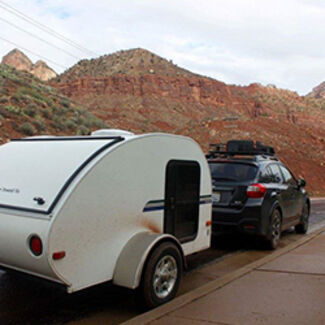
Good hitch - unfortunately it was sold with the car.
Do you have a question about this Trailer Hitch?
Info for this part was:
At etrailer we provide the best information available about the products we sell. We take the quality of our information seriously so that you can get the right part the first time. Let us know if anything is missing or if you have any questions.





















Clint
11/8/2017
Its a hitch receiver, whats to comment on - the finish. Still looks good after a year on a vehicle that is not garaged and is driven on salted winter roads