


Thank you! Your comment has been submitted successfully. You should be able to view your question/comment here within a few days.
Error submitting comment. Please try again momentarily.
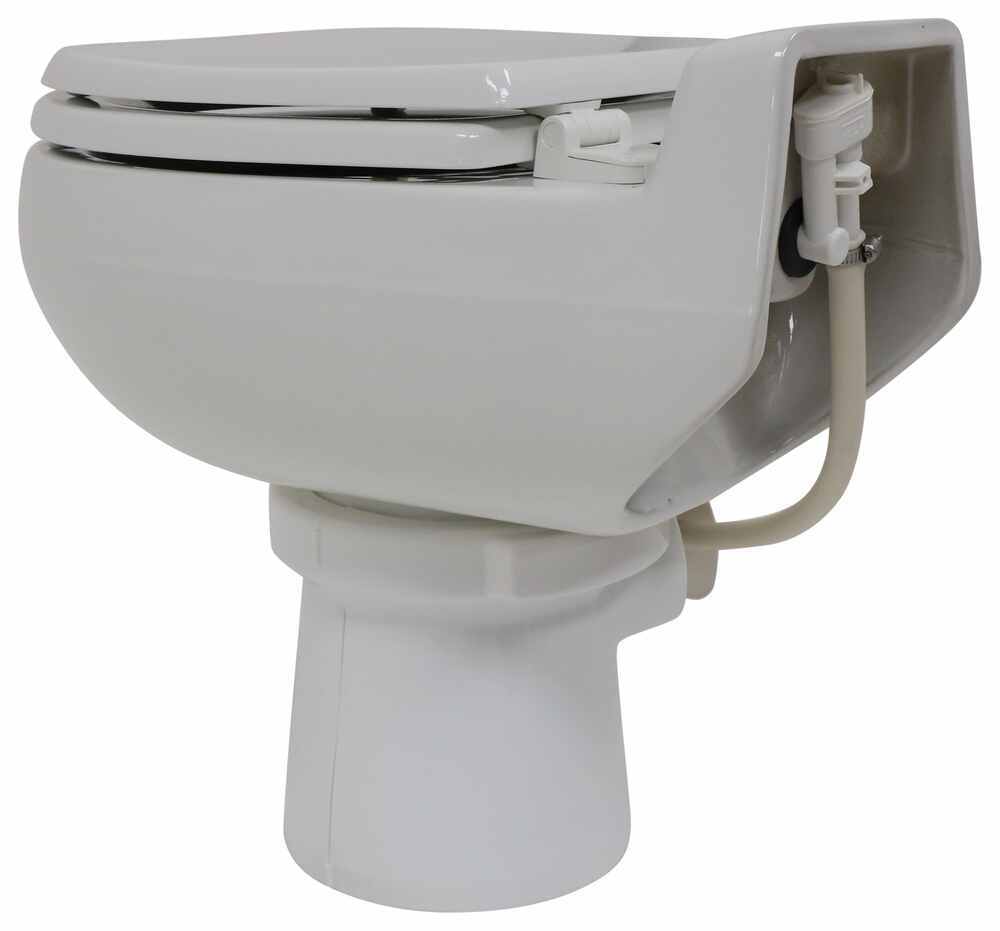
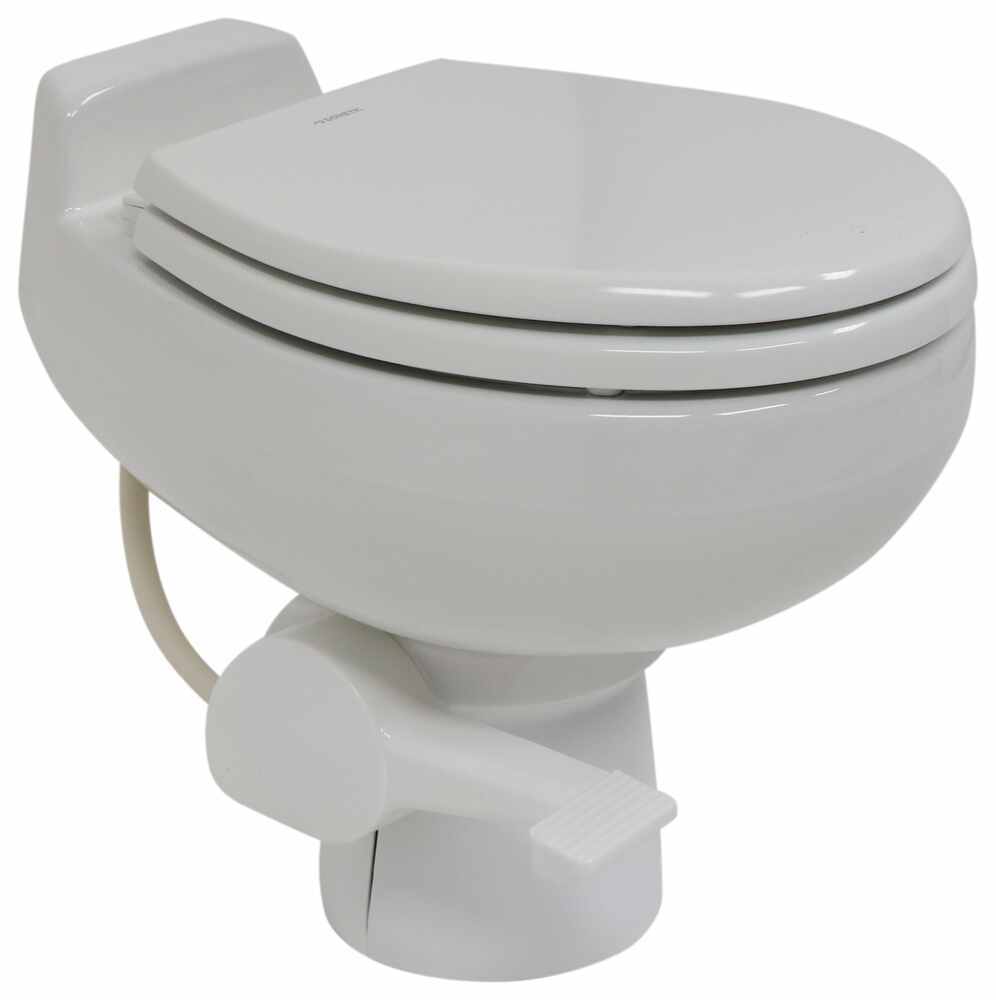
Perfect for full-time RV or boat living, this durable, standard-height toilet uses less than 1 pint of water per flush. Elongated wooden seat provides comfort while you're on the road or the water. Ceramic bowl is easy to clean.
Features:
Specs:
Living in your RV or boat can be a real adventure, and you'll want your facilities to live up to that lifestyle. This toilet easily handles everyday use, making it great for when you're living in your RV or boat full-time. It's just as tall as a standard residential toilet, so it's easy to sit down on and get up from. The durable wooden seat holds heat for those chilly nights. And the sturdy ceramic bowl is easy to clean. If you call your camper or houseboat your home, this is the toilet you'll need when nature calls.
Videos are provided as a guide only. Refer to manufacturer installation instructions and specs for complete information.
Hi there, RVers. Today we're gonna be taking a look at Dometic's line of Full-Timer RV Toilets. These are available in either white or tan, either low profile or standard height. We're gonna be showing off the standard. and then with or without a cleaning sprayer. And we're also gonna be showing off the sprayer.
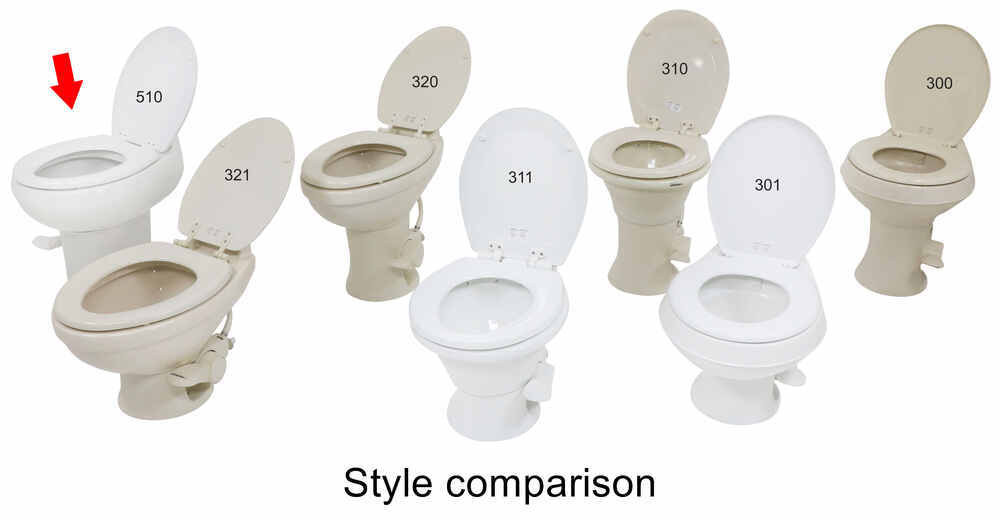
Dometic calls this the Full-Timer because it's designed to be just like your toilet at home. When you're sitting on it, you almost can't even tell the difference. It's elongated design is very comfortable to sit on, just like your one at home, and if you have the standard height, it's gonna be the same height as one you would have at home. If you do opt for the low-profile toilet it's gonna have a height of 16 inches. Your standard's 19-1/4".
The other real difference is that you're not gonna have a tank on the back of this, 'cause that takes up a lot of real estate and we don't need it in the RV. And this is gonna be significantly easier to install than a home toilet would be. And to give you that feel like you're sitting on a toilet at home, they've got similar dimensions. It is 12 inches on the inside, from front to back, and eight inches from side to side on the inside cut out. From the seat to the bottom of the bowl, it's 8-3/4".
Since there's no tank, it features a foot lever flush. You can push it down halfway to add more water to the bowl. If you desire, and if we go all the way down, it'll open it up to empty out whatever's inside. When you finish flushing, it's gonna fill up with about a pint of water to help you conserve for the next time. If you've opted for the model with the sprayer, you can take it off of its mount and it'll help you clean up any extra messes.
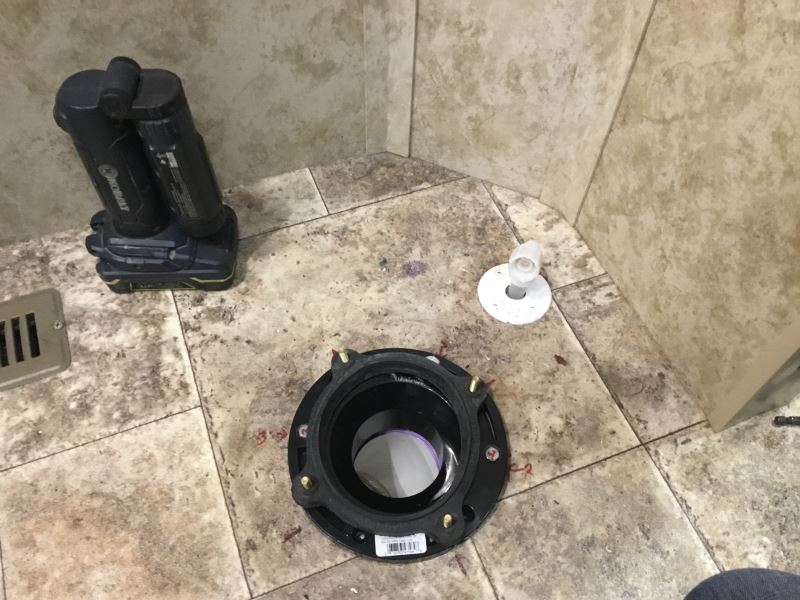
Now the sprayer doesn't work when you're not pressing on the flush mechanism, so you don't have to worry about any accidents. But when you are ready to use it, you can go ahead and press that on the flush lever and take care of whatever you need to. Once you're all done we can just store it right back into its mounting position. And since this is a gravity-flush design, unlike the toilets home, it doesn't need all that extra water to get everything down. See it opens up, and everything's just gonna drop right down into the tank. It's designed to be a direct replacement for your existing toilet, but it's going to be much nicer than your existing one 'cause most of the ones that come with your RVs and your campers are going to be a cheaper, smaller model. It's not gonna be quite as comfortable to sit on. A lot of times they're made out of mostly plastic material. With our Dometic here, it does have a plastic base down here at the bottom, but it has a nice porcelain bowl, which is gonna look nicer. It's gonna be easier to clean up. And our seat here is made of wood. So on those cold winter mornings we don't have to worry about any surprises. And since it has a porcelain bowl, it's also going to be resistant against stains. And if you opt for the model with a sprayer you can keep it shiny just like this all year round. So if you call your RV home, this is the toilet you'll need when nature calls. We'll begin our installation by removing our old toilet. The removal procedure may be slightly different, if you have a different toilet, but they're all fairly similar. Before we start disconnecting anything, you do wanna make sure that you've got your water supply turned off. The location of your valves is gonna vary, just make sure you've got that all turned off. And then what I'd like to do afterwards is just flush and confirm that we've got nothing coming out. So we're nice and nice and dry right now. There's gonna be a hose on the back that we're gonna disconnect. This is our hose right here that we're gonna be disconnecting, it just unthreads. You could put a rag down if you want, to catch any little bit of dribbles, but as long as you've got it drained, there's not really gonna be any bulk water coming out of here. And that just disconnects right there. Now we can start removing the toilet from its base. There's little caps over the screws. You can just take your screwdriver, pair of pliers, your fingernails, whatever you need to just pop this little cap up. It'll be a little bit easier depending on how much room you've got inside. So I'm gonna remove that and then we can remove the nut. We're gonna do the same thing on the other side. Now that we've got both the nuts off of there, we can just lift the toilet out of here. Now we'll just set this outside. We can go ahead and replace the studs with the ones that it comes with. Sometimes you can just slide 'em right out of there. Sometimes it's a little tight and you may need to loosen up some hardware to slide it out. Slide our new ones in. You can snug it back down. We'll do the same thing over here on the other side. We don't wanna cause any damage to our seal, so we're not gonna take any of these screws or our seal completely off, we're just loosening the hardware up just enough to be able to slide those out. Now before we install our new toilet, we wanna make sure we've got the seal on it. It should come shipped with the seal on it, but you know how shipping can go. The seal might have fallen off. If it did, you wanna make sure you put it back on. It does stay on the seal, which side is which. So you just wanna read that to make sure you've got it on correctly. We can then set the toilet in place onto our studs. And now that we've got it sat on there we can start tightening it down with our hardware. One of the things you're gonna notice is that the toilet's not quite all the way flush with the floor and that's because of that seal. And as we tighten these down we're gonna compress that seal, bringing it flush to the floor. When you're doing this, you wanna make sure you tighten down your hardware evenly, going back and forth to ensure you don't over tighten it on one side and that we've got a nice, good, even seal. So normally what I like to do, I put a washer on first, followed by our nut. Those come included with your kit. And I like to get 'em as tight as I can by hand first, 'cause I'm not gonna be strong enough with just my little fingers here to damage the toilet. So now I'm just gonna tighten these down with my 7/16th's wrench. Again, making sure to go back and forth and tighten them down evenly. I like to use the stud kind of as a gauge. You can count the number of threads to try to make it even on each side. Another way you can check yourself is to just check by the tightness. So we're just gonna gently push on the front of the toilet here and you can see that we've got a rock, and we're not even all the way on the ground where we gotta get. So we're gonna just snug it down just a little bit more to ensure that we're setting the nice and even on the ground. Now that we've got the toilet down nice and even and we give a little push on it, doesn't rock back and forth anymore. So we can install our caps on top that come included with our toilet. Those just push on. We can now reach round back and we're gonna reinstall our water line. Just wanna line that up and then tighten it down. At this point now, depending on the toilet you've got, your installation could be complete. If you've got the models that have the sprayer, follow along with us here, and we're gonna get the a sprayer mounted up on the wall. But if you don't have a model with a sprayer, your installation's complete, you're ready to hook up back to your water and test everything out. Ours does have a sprayer. It sits in the mount just like this. The hole in the top's gonna be larger than the hole in the bottom, for it to sit down in. And it does come with hardware to get the bracket mounted to the wall. We're gonna be putting ours back here behind the toilet where it's out of the way. This spot in the bathroom's a little close to the wall so you don't want it in a spot where you're actually gonna knock it and bump it off the wall. So we first wanna find our position. We're gonna be putting ours right here. We're then gonna go ahead and drill out for the upper hole, 'cause we know where we want it, so we'll just kind get an idea. We'll just get that upper hole going. I'm using a size that's very similar to our hardware that comes with it. I just wanna match that up. This is a 15/64th's. So we can just poke this in place. We want it to be close to flush with the wall, but we don't wanna push it in the wall. If it's a little bit sticking out, that's okay we can adjust that later. Now that I have the one in there, I'm gonna hold this one up to where it's lined up and I wanna get it nice and level. And then I'm just gonna use the screw that it comes with to just push it through the hole, just to dimple the wall. A little spot right there so I know where to drill for the second hole. And once again, we're going to push our piece in there and we're now ready to install the mount. Then we can just put our screws in and tighten them down. And then we'll get the other one snugged down. And we don't wanna over tighten these, just until it snug. Now we've got it mounted up. Our hose will just sit right in there and it's ready when we need it. And we can have it in a spot where we can easily open the lid and it's not gonna contact it. It'll be out of our way whenever we're doing our business in here, whenever we need to clean up a mess, we can easily do so. Now we've got it fully mounted up. All we need to do now is hook up to a water supply and we're gonna test everything out. And that completes our look at Dometic's line of Full-Timer RV toilets..
Customer Satisfaction Score:
91% were satisfied with this product
9% of customers were not satisfied
Ratings & Reviews


Joe

9/26/2025
It worked great no problems

Michael B.
12/8/2023
a year on and the seat haa been replaced and the sprayer nozle has kinda fallen apart, but I reassembled it. I had envisioned a better flush but not unless you are above 60psi does the water make it all the way around the rim, so I spent the extra, what I did find out is any old toilet with a sprayer works the best


Brooke M.
4/21/2025
Thank you for the kind words, but I am sorry to hear that the cover came cracked like that, Robert. Let me look into this for you!

Sierra K.
1/20/2022
Under the warranty, you are responsible for return freight. We will cover the cost of shipping the replacement item to you. You do not need to pay for another item unless you upgrade toilets.

Daniel
5/12/2023
Great
Info for this part was:
At etrailer we provide the best information available about the products we sell. We take the quality of our information seriously so that you can get the right part the first time. Let us know if anything is missing or if you have any questions.






















Jenny N.
7/29/2022
I reached out to the manufacturer and they advised that they felt like the gummy substance is coming from the fresh water tank. They recommend to go ahead and drain the tank then clean it out before hooking it up again.