
Fit Kit for Thule Evo Flush Rail and Edge Flush Rail Roof Rack Feet - 6117


To see if this custom-fit item will work for you please tell us what vehicle you'll use it with.


Thank you! Your comment has been submitted successfully. You should be able to view your question/comment here within a few days.
Error submitting comment. Please try again momentarily.


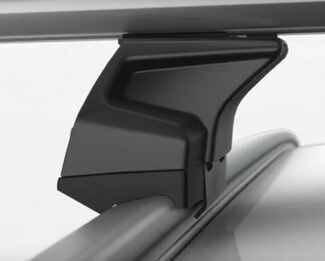
These custom clips and pads let you mount Thule Evo Flush Rail or Edge Flush Rail feet on your vehicle with flush, factory side rails. Clips attach to a mounting bolt in the foot assembly and tighten together. Includes 4 clips and 4 pads.
Features:
Specs:
Secure, Clamp-On Installation
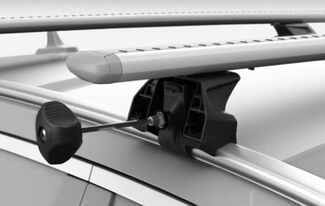
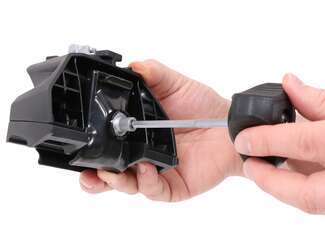
To complete installation, place the fully assembled rack on your flush rails and tighten the rack in place with the torque tool included with the feet. The inner and outer clips in each foot tighten with a single mounting bolt to ensure an even, secure grip on your rails. An audible click from the torque tool indicates the rack is secured properly.
Protection for Your Rails
The rubber-coated steel clips and molded rubber pads protect your side rails from scratches and abrasions. The pads easily slide onto the bottoms of each foot, and they're designed to fit the shape and contour of your vehicle's flush rails.

Videos are provided as a guide only. Refer to manufacturer installation instructions and specs for complete information.
Hey everyone, it's Evangeline right here at etrailer. Today, we have our Thule roof rack with the 53-inch long bars, and we're gonna take a look at how it fits on the 2024 Jeep Wagoneer L. If you're looking for something to carry fun stuff like kayaks or a roof box, this might be an option for you. But there are other kits that I recommend for different situations, so we'll talk about that as well. Right off the bat, you first have to ask, "What are you carrying on your Wagoneer" Because that will help you decide what roof rack is gonna be the best fit or solution for you. I actually personally made my own kit for the Wagoneer with these 60-inch bars.
They'll sit right about here. I recommend that just because the Wagoneer is a larger vehicle, so it's nice to have a roof rack that's slightly easier to reach, plus you then get more overhang. However, some people still like the 53-inch bar kit just because it gives a much sleeker and more streamlined look. So if that's the route you're going, this will still be a great roof rack base. Now with that in mind, this is also available in two colors, so we have black, but you can also get this in aluminum.
This is a kit, which means three different parts that work together to create that roof base. That's why it's important to use our fit guide here at etrailer, 'cause then we have all the kits fitted together that work and are confirmed to work for your Wagoneer. So up top, you have your aero bar. This means aerodynamic. This also has a channel on the inside for T-Track mounted items.
You have your really strong base here, and then you have your custom fit kit for your flush rail of your Wagoneer. So this is actually bolted into the rail, everything working together to create a really strong and stable system for even the heavier items, like your big canoes or your roof tents. This will also give pretty good clearance on top of your Wagoneer. So there's two measurements there. The first is how much space is underneath the crossbar for your clamps, your U-bolts, things like that.
Now your Wagoneer does have ridges, so at the highest point, I measure around 3 3/4, almost four inches of space underneath. So even your more budget roof boxes that tend to have U-bolts, this is gonna fit. The next is gonna be the height added to the top, and that's where your cargo sits. So again, top of the ridge this time to the top of the bar, that's around five inches, maybe 5 1/4 inches. And that's gonna be if you have, let's say skis with extra tall bindings or snowboards, you wanna make sure there's enough clearance there, so it's not scratching up your roof. In this case, that's a lot of clearance, but if you find it's still not enough, we do have accessories like ski carriers that give you that extra height for that clearance right here at etrailer. Now this kit, since it is custom fit for the Wagoneer, it does utilize the bolts on your flush rails. So it's fixed mounting points, so you can't adjust your crossbar back and forth. So, if you measure for crossbar spread, that's gonna be one crossbar to the center of the other crossbar. Ours measures at 29 inches, and that's gonna be pretty standard and usable for most accessories. Roof boxes, roof baskets, some ski and snowboard carriers are particular with your crossbar spread, so it doesn't hurt to double check the measurements those require. Chances are you'll be totally fine though. Pretty straightforward. I'm about to show you the install if this is something that you're interested in, super easy, by the way. The most important thing is making sure you get the right roof rack for your adventures. I personally use a Thule roof rack with some longer crossbars, 'cause I like to carry around kayaks, and I need a load-assist carrier, and those require a specific length of overhang. A longer bar helps a lot with that, and I think that would help you too with your Wagoneer. Whether you have the Wagoneer or the Wagoneer L, this kit will work for you, but they're also really tall vehicles. So ,looking at Lotus' options, maybe an option. Check out the moss rack. That's gonna be something I can use with other accessories or you have plenty of options available here on our site. But if you're looking for just a roof rack that gives you a strong base, is secure, and is pretty popular since Thule has been making roof racks for many, many, many years, this is gonna be an awesome way to get a rack on your roof. So, if you're curious about it, and you wanna check out the installation, stay tuned. Installation starts on the roof. So if you go look at the roof of your Wagoneer, you're going to see some plugs, and you're gonna have to remove these plastic plugs. They're gonna be the first and the middle spots on your roof. So these plastic plugs can be removed with a flathead screwdriver or a trim panel tool. Once the plastic plugs are removed, I recommend putting them in a little bag so you don't lose them, and then we're going to install the brackets. So these brackets are included. They're gonna have these holes and go line those holes up with the holes on your roof. Your bolts are gonna be included in your fit kit. These are gonna be security bolts, meaning you'll need to use the special security key included with your roof rack, and tighten them down by hand and fully secure them with your included tool. This is a little tricky to do, so work at it carefully so you don't scratch up your roof. Once you set up your roof, let's talk about the crossbars. I've actually already installed the rear crossbar system, so we're gonna install the front ones together. The first thing I would recommend is grabbing a flathead screwdriver as well as some tape measure just to get you headed in the right direction. Next is your crossbars usually do not arrive with the wind strips already attached, so go ahead and install those real quick. Some of the wind strips arrive in one piece, so you may need to split them apart and then arrange the strip so that the arrow faces the tall part of the crossbar, and then the wind strip that has no design is on the tapered end. And if there is excess wind strip, you can go ahead and cut it with some scissors. That is usually the easiest way for me to get it all lined up. Now turn your crossbar over, and we're going to get our tower set up. So for the tower, you're gonna have this piece as well as the clamp from your fit kit and then the rubber pad from your fit kit. Notice how the clamp has these tabs. Well these fit into the tower over the bolt like that and then it gets held into place by that rubber piece. So the rubber piece kind of clips into the tower. So do that for all four of them. And then, you're going to slide that tower into the bottom of your crossbar. Now we don't need to line up the dimensions just yet, which is gonna be this strip over here. We are gonna put the end cap on the end of the bar. This just fits in and (end cap clanging) clips into place. There's gonna be a left and right end cap, so just don't get those messed up. Now bring your whole system up and onto the roof. Since I have the end caps in place, I'm not worried about the towers falling off. This is very easily done with just one person. Once you have this in place, double check that you have it oriented the right way. You want the taller part of the bar facing front and the tapered end facing back. Now go ahead and grab your tape measure, because you're gonna want an equal length of space on each side of your vehicle so you know that it is centered. Now, there's not gonna be much overhang with the 53-inch bars, so once you get to about an inch or an inch and a half, depending on if it's a front or the rear bar, you're then going to clamp everything in. This clamp piece has a C stamped on it, so this fits in over that ledge on the A clamp, and then you're gonna secure it with these nuts. So, the nuts are gonna secure to that bolt in the back. It's sometimes a little tricky to get that lined up, but once you're on there, just go ahead and tighten that down by hand. Also included with your kit is gonna be the torque tool. So this is gonna be the Thule tool that prevents over tightening. So once you get to the proper tension, this is going to click, (torque tool clicks) it's pretty tight there, just like that. I like to click it again (torque tool clicks) just to double check, like a gas cap. And then, you're going to tighten down all four towers, making sure they are to spec. Then you attach the end caps. Now, these caps come with plastic lock cores, which work perfectly fine for securing your tower, but if you have the Thule one-key system lock cores, which is a multi-pack of cores, so that everything can be key alike, this is a time when you would attach it. Here, I'm just gonna keep those plastic cores and then that end cap is going to fit into the tower. It clicks into place, but go ahead and grab your flathead screwdriver, turn that lock core over to lock, double check that that's in place, and that's gonna be how you secure your entire system. After that, I give everything the good old shake to make sure it is on there, and now you're ready to load up your items on your roof rack and hit the road, 'cause you've just installed your Thule roof rack. What you saw today was our Thule kit with the 53-inch long wingbar Evo crossbars, the Evo flush feet and the custom fit kit for the 2024 Jeep Wagoneer L. But hopefully this video helped you out. My name is Evangeline, and I hope you enjoyed the journey.
Ratings & Reviews




Lazer S.
4/21/2026
Glad we could help, Jake! Looks good on there as well! ^___^ What kind of kayaks are you going to be carrying?
Greg
8/26/2025
Still love it. No issues at all.
Info for this part was:
At etrailer we provide the best information available about the products we sell. We take the quality of our information seriously so that you can get the right part the first time. Let us know if anything is missing or if you have any questions.








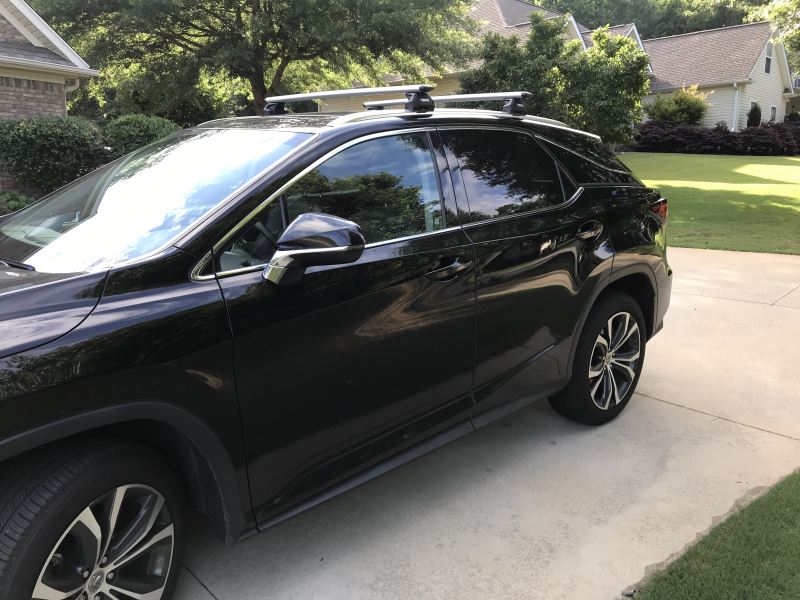


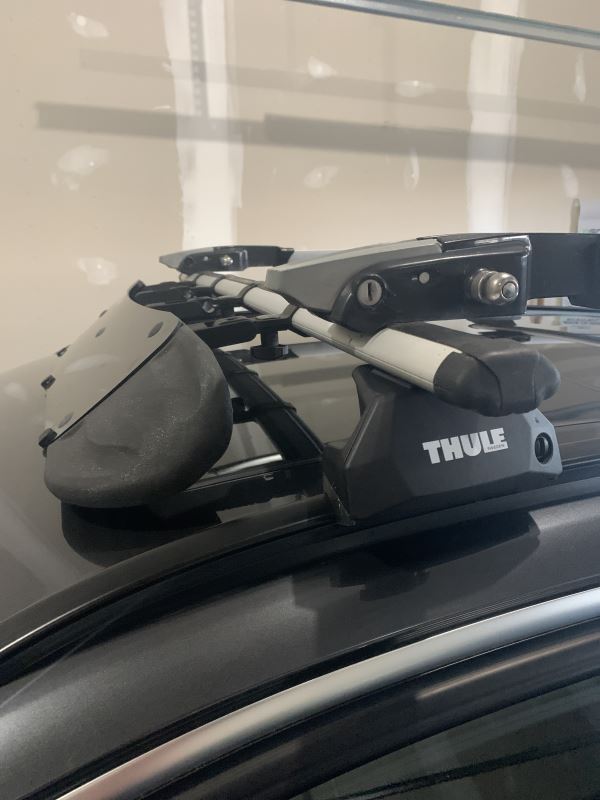
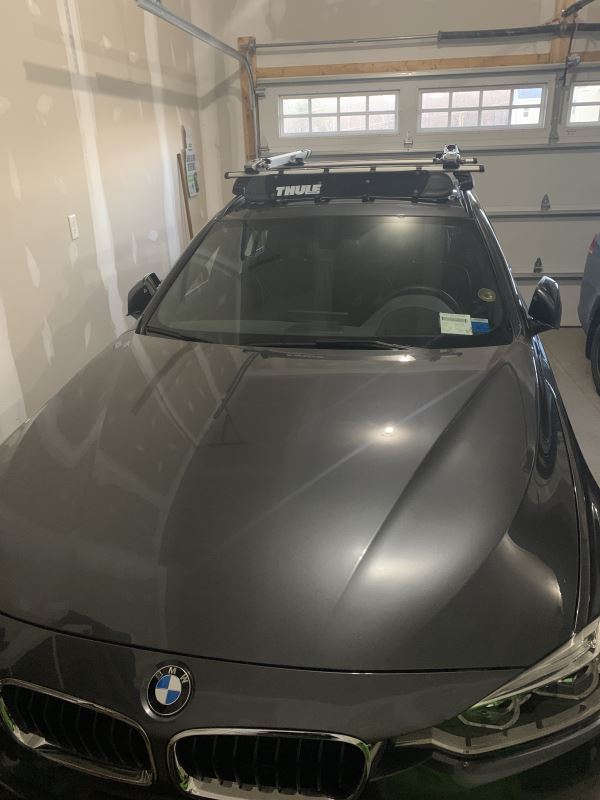






Claire H.
6/2/2026
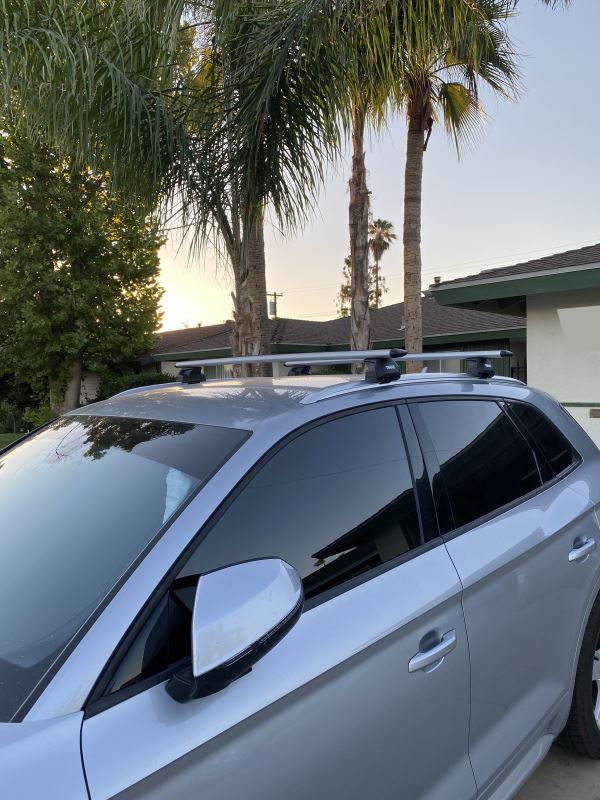
Wow! It sounds like this install has been a long time coming! I'm thrilled it went well for you and your install looks perfect! Thank you for sharing with us!