


Thank you! Your comment has been submitted successfully. You should be able to view your question/comment here within a few days.
Error submitting comment. Please try again momentarily.
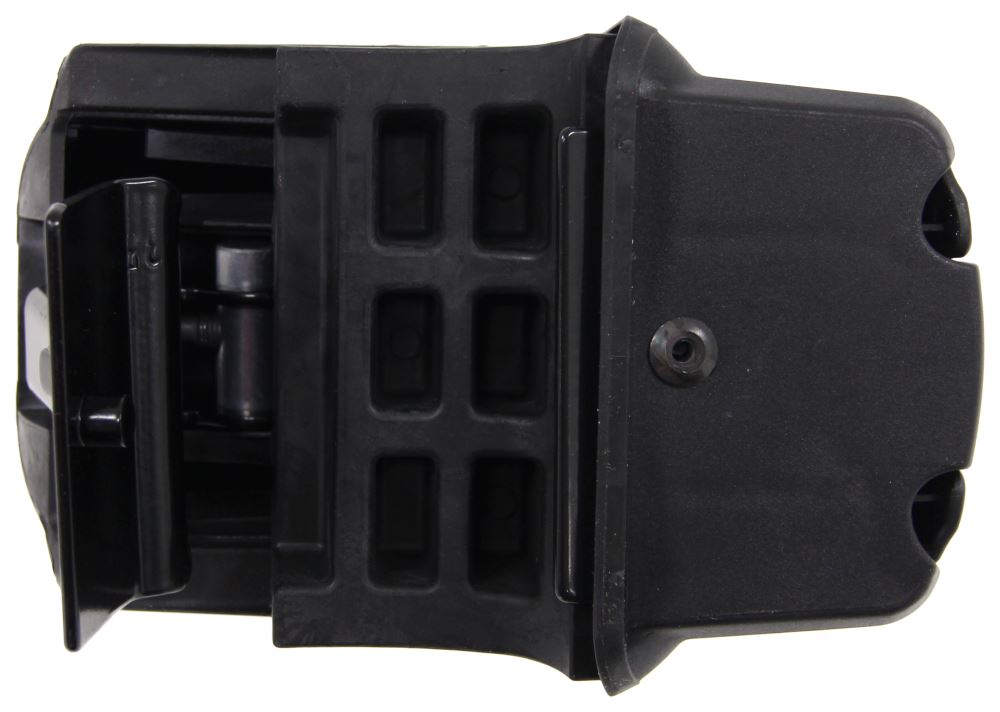
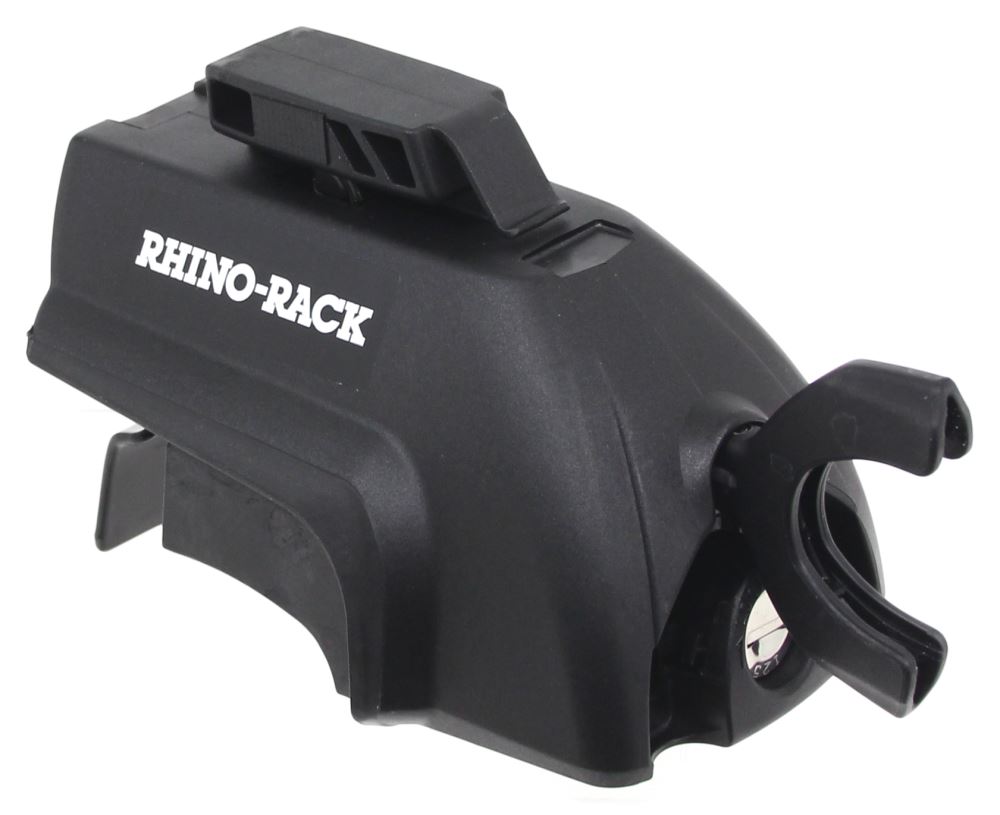
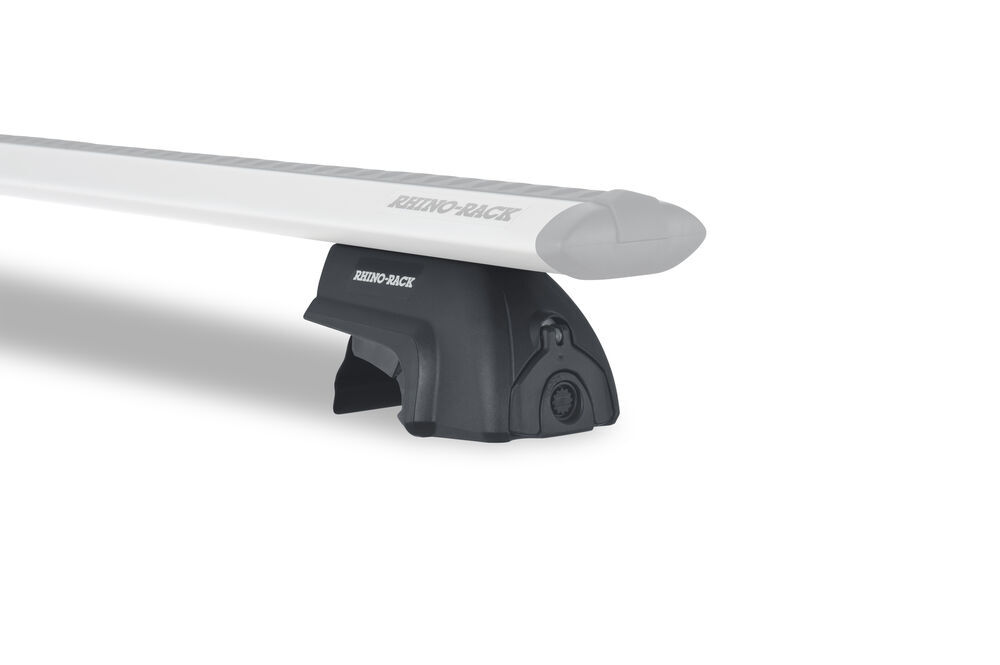
Durable nylon legs with built-in locks let you mount Sportz crossbars to your vehicle's factory flush side rails. Integrated handles tighten legs to rails for easy installation. Pair with 2 crossbars to create a complete roof rack.
Features:
Specs:

Videos are provided as a guide only. Refer to manufacturer installation instructions and specs for complete information.
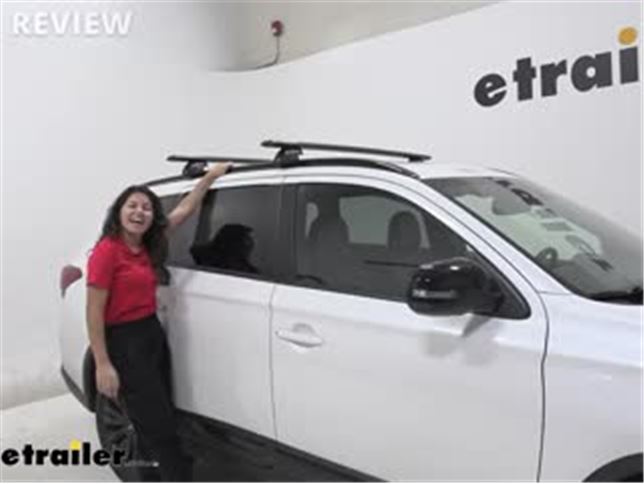
Hi everyone. It's Evangeline here at etrailer. And today we'll be taking a look at our Rhino-Rack roof rack system with the 54 inch long vortex Aero crossbars. The Rhino-Rack SRB legs right here on our 2020 Mitsubishi Outlander. So let's say you're taking your Mitsubishi Outlander out on a trip or an adventure, but you wanna carry extra cargo that may not fit inside your vehicle, or you want something to carry a cargo that you don't want inside your vehicle. So it may be muddy items, sandy items, or if you wanna carry accessories like your bike racks, your roof baskets, or your roof boxes, all of those things would need an aftermarket roof rack kind of like this.
So this is custom fit for your Mitsubishi Outlander and allows you to carry more items on top of your roof so you can have more fun when you're out there. So we have a couple options for Mitsubishi Outlander for roof racks. Now your options are slightly limited just because you do have these flush side rails. So you do need a custom fit power to Mount the roof rack to your vehicle. So we'll take a look at this specific Rhino-Rack system.
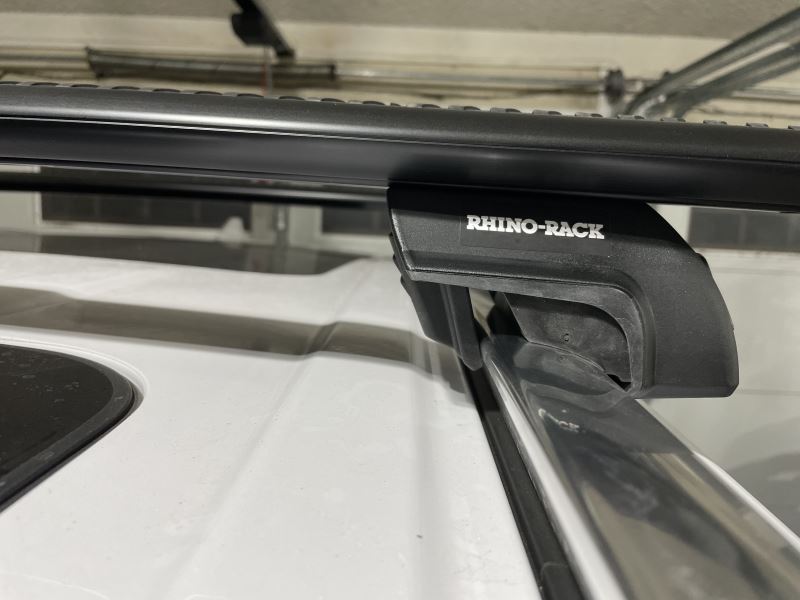
We have these slightly longer crossbars here, which will give you a little bit more space and a little bit more overhang just to see if this system is right fit for you, your vehicle and whatever you're carrying on top of it. So here we have the SRB towers from Rhino-Rack. Notice how well they clamp to the grooves of your flush side rails. They also have a little clamp in the back which fits perfectly into the mounting points behind those rails. You also have an integrated lock core, which allows you to secure your tower and help prevent theft.
Just make sure to lock that right down. And you also get two keys, which accesses all four towers. So same key for all your towers. Now, before we get into the specs and measurements first, I just wanna say that this is a really sleek looking tower on our Mitsubishi Outlander, especially with the black trim for the rails. Notice how low profile it is and how well it sits on those rails.
This creates an almost factory-look in my opinion, although you do get the overhang, which the factory bars would not give you. So let's take a look at overhang measurement. So I'm gonna measure right here where that lever is to the end cap. So the inside of the end cap, and it sits at about two and a half inches. Some accessories require some overhang past the tower. I personally prefer a little bit more overhang on my SUV's just because I get more bar space and I can carry more cargo. And it's kind of easier to load things onto the roof because then I'm not reaching as far into the roof as I would, if this was further in. So it says these are mounted to specific points on your flush rails. You are kind of limited when it comes to crossbar spread, that's going to be measured from the center of one crossbar to the center of the other end. We have it at about 27 and a half inches apart. These are on the inside holes though. You can move these out a little bit and you will get five extra inches of crossbar spread if you need it. So whatever accessory you have, you'll have to double check the minimum crossbar spread required for those accessories and see if this matches. Now let's get a look at some height measurements or roof clearances. So first it's going to be the clearance from the lower cross bar to the roof. So if you have, let's say clamps, that go around your cross bar, or if you have, let's say skis and snowboards, especially skis with large findings, you'll want to know how much space you have between the crossbar and the roof. So measuring at the lowest point, it sits at about two and a quarter inches of height. Now the height added to the top of our roof because our crossbar is right over here, is going to be about three and five/eighth inches. So these are the Vortex Aero Crossbars that have Vortex strips. So these are the weather strips that are protecting the inside of our crossbar, which is a T channels. And they are especially designed to help reduce wind drag and wind noise. The one downside to these strips though, is that they do have to be cut according to the length of your T-track accessory. So no matter what brand it is, I always prefer the aero style when it comes to the crossbar I wanna use with their towers. Here, we have our Rhino-Rack Aero vortex bar. So the aero in that name is because they are shaped to help reduce wind drag and wind noise. You have the Vortex strip on top, also helping you do that. You also get the modern T-track system that you will see with your more modern crossbars. I highly recommend using accessories that utilize that T-track system, because then you can maximize your crossbar length and use the full 54 inches of your crossbar. And you won't be limited by where your towers are. Now, this does have a weight capacity of 165 pounds. Then when we do talk about weight capacity though, please don't forget to count the roof weight capacity in your considerations. So add up your roof rack weight, add the weight of your accessory, If it's like a, say a roof basket and add the weight of your cargo as well. And if that total does not exceed your actual roof weight capacity, then you should be good to go. What I really like about where they place the fixed mounting points for your rails is that no matter where you have your cross bars, they're not gonna be over the window of your vehicle. Which is really good, because if you do have clamps or cargo, you wanna make sure they don't accidentally make contact with that window. So make sure to remember the roof measurement. I gave four below your crossbar, two your roof. So my personal thoughts about this roof rack system is I really like the 54 inch long cross bars on your Mitsubishi Outlander. I think that the shorter crossbars look good, they look low profile, but this gives you more overhang which is especially useful if you have to reach up, over and into your roof. Something that will also help with that, by the way, is the Moki doorstep, which will give you a little extra height and traction as you load and unload your cargo on your roof. But other than that, the fact that it has integrated locks, both on your towers and kind of a locking system for your crossbars, we have that full aero design. It looks really good on our Outlander. I think that this is a great system. My only downside to it is that we have those Vortex Aero strips, I do recommend picking up a couple of those because as you do cut them to length, you may lose those pieces or need to replace them. So get those along with this roof rack system. We don't really have a better option when it comes to the flush side rails for your Mitsubishi Outlander, so I still think this is the best of the options we do have. The install process is very simple since the SRB legs are custom fit for your vehicle. So all you need are the crossbars, the SRB legs. And then your cross bar should have the end caps on them as well as he Rhino-rack alarm. And don't forget the keys for your legs. So I already installed the back crossbar so we can install the front crossbar together. So first get your legs lined up. If they came locked, you're gonna have to unlock them in order to pop this lever out. And then you're gonna have to look closely just to make sure the mechanism is on the bottom and not inside the tower. Let's take a closer look at that. Notice how as I move the latch, you can see there's movement on the inside. So you wanna get it right where it sits inside your bottom piece. That way you can feed it into the crossbar. And once that's in there, you can then slide it in through that crossword piece. You may have to hold that lever down just to get that through. Since our Mitsubishi Outlander has kind of thicker flush rails, I'm gonna loosen out our clamp to that way, it's where it'll sit right onto our roof. Now that you have both of your towers on your crossbars, very carefully, get up onto your roof and then try to get them in line with your flush side rails. Notice how we have one, two holes in the front, as well as the back. You're gonna want to get your clamp lined up with one of those holes. Once you do have it lined up with the hole on the side rail, you're also gonna try to make sure that your bar itself is evenly distributed on the towers. Measure on each side and try to get it to the same measurement before you tighten down. Once you have everything lined up, you then start tightening them down. My recommendation here is to tighten them down evenly. So I go like, say, 75% tighten down on this side. Then I finish it on that side, go back to here. That way you don't skew it one way to another. And it helps with keeping them all even too. Once you have it tightened down, don't forget to put this back in and then to lock your tower. And also don't forget to lock your end caps too. So those just pop right in and use that Rhino-rack blue key. Do this on all four towers and that's it for the install. And that was a look right here at our Rhino-rack roof rack system, with the 54 inch long vortex Aero crossbars, the Rhino-Rack SRB legs for your flush side rails, right here on our 2020 Mitsubishi Outlander. My name is Evangeline and I hope you enjoyed the journey..
Ratings & Reviews


Tony M.
3/16/2016
John, great review. I need the rack to carry my 9-6 longboard. Since my Hyundai as flush side rails. Im a little worried about uplift caused by wind getting under my board. I dont really want o see my long board sailing down the highway. Do you think the mounting brackets are sufficiently strong enough to transport my board?
Richard
11/13/2023
I really like how the racks are holding up. I kept them on the Jeep, but it is garage kept. I like them much better than my Thule racks. I havent put a kayak up there yet.


Francis
7/23/2023
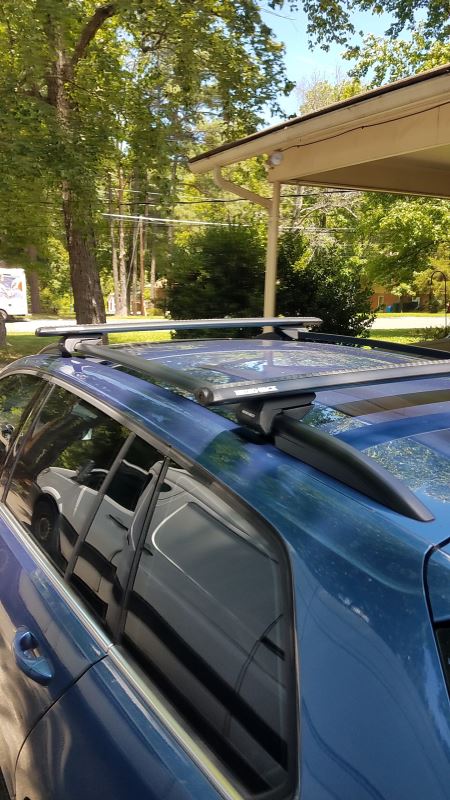
No issues. Pretty simple to install and has stayed in place without requiring any adjustment. We took a trip to Florida last summer and trapped a cargo carrier to the top. It was pretty heavy but the Rhino held up great. Even through the auto car wash no issues. Would definitely recommend.


Brooke M.
9/21/2021
Thank you for the review! This part is designed to fit multiple vehicles with flush side rails. So far, we have not heard of any plans of Rhino Rack designing these particular feet to fit just the Telluride.

Greg
6/28/2021
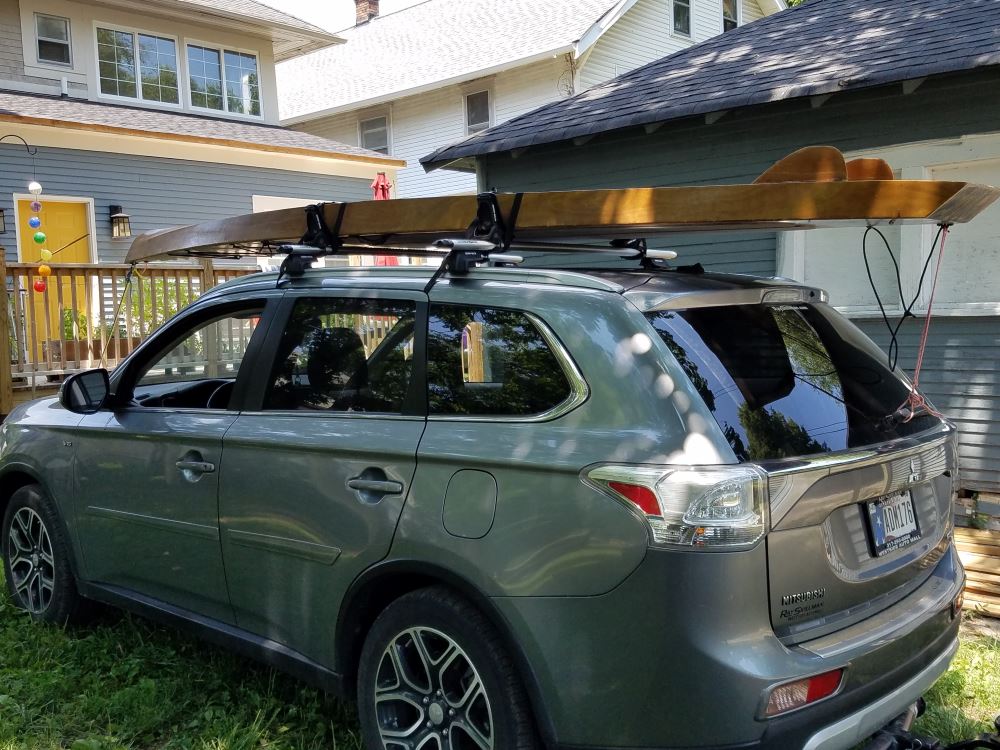
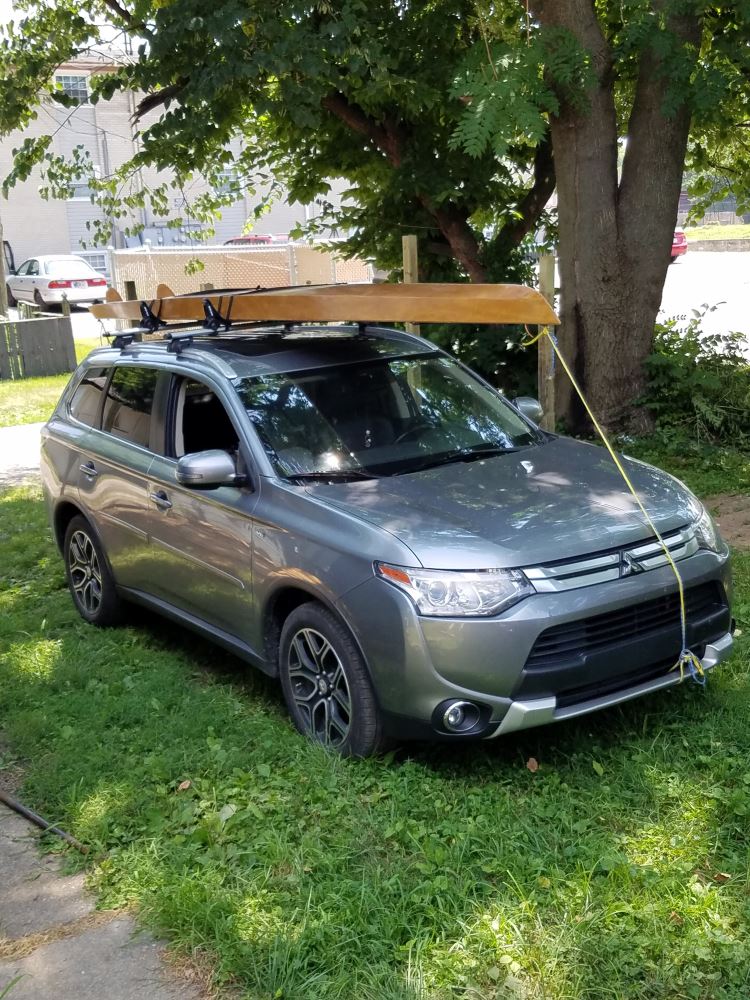
Great! I put the canoe on these racks and travel with confidence. The stock racks these replaced were nowhere near this strong and useful. We just returned from northern Wisconsin carrying two kayaks with Malone j-racks, which I install on the Rhino rack in a few minutes, and those boats were solid and safe the whole trip. Great addition to my vehicle!

Do you have a question about this Accessories and Part?
Info for this part was:
At etrailer we provide the best information available about the products we sell. We take the quality of our information seriously so that you can get the right part the first time. Let us know if anything is missing or if you have any questions.
















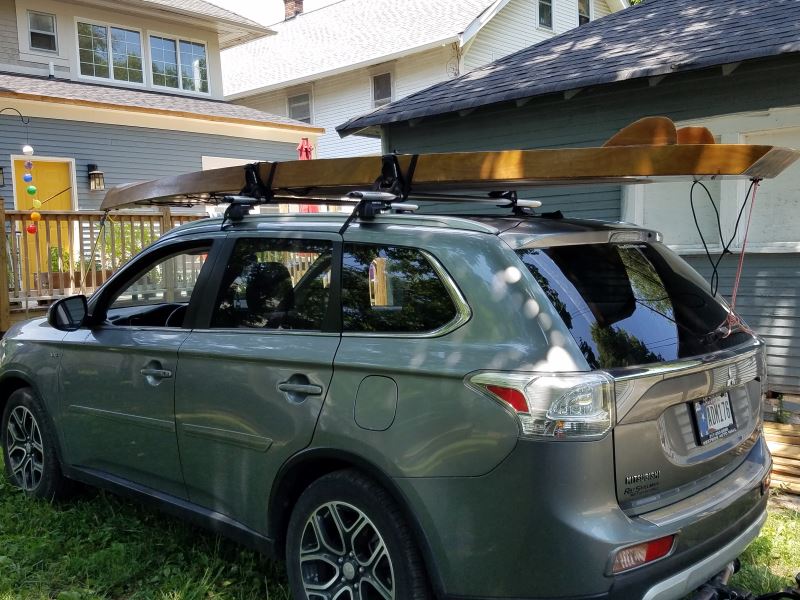

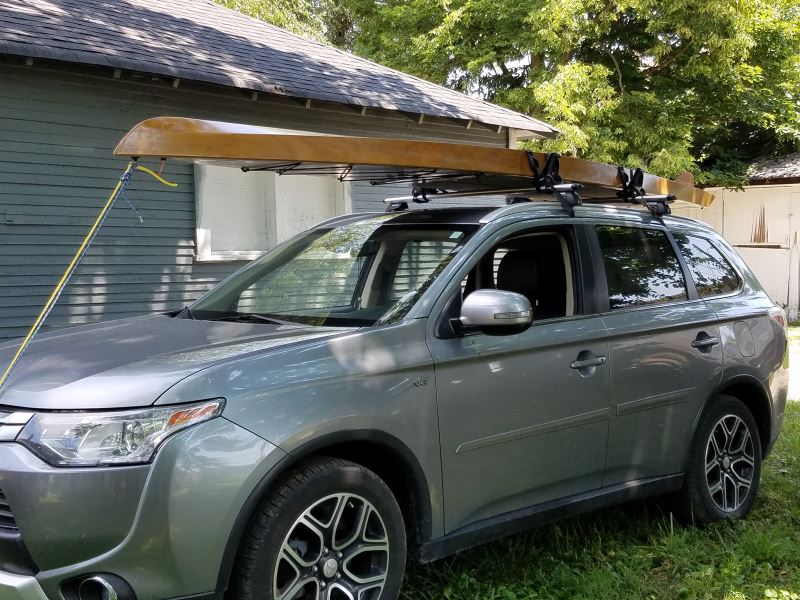


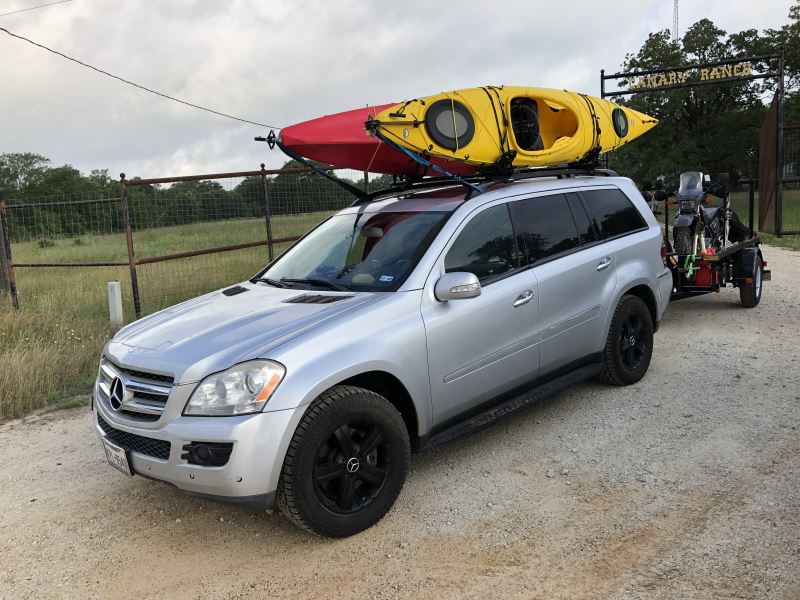



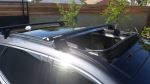

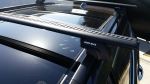

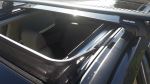


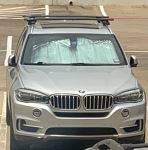






















Glynn D.
4/20/2021
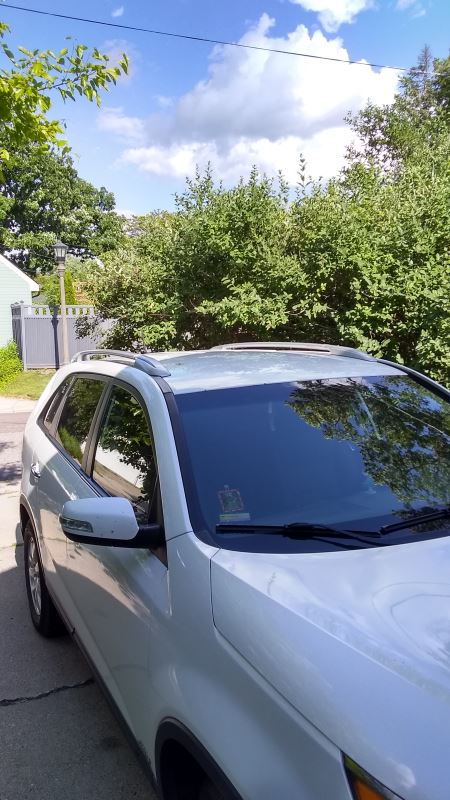
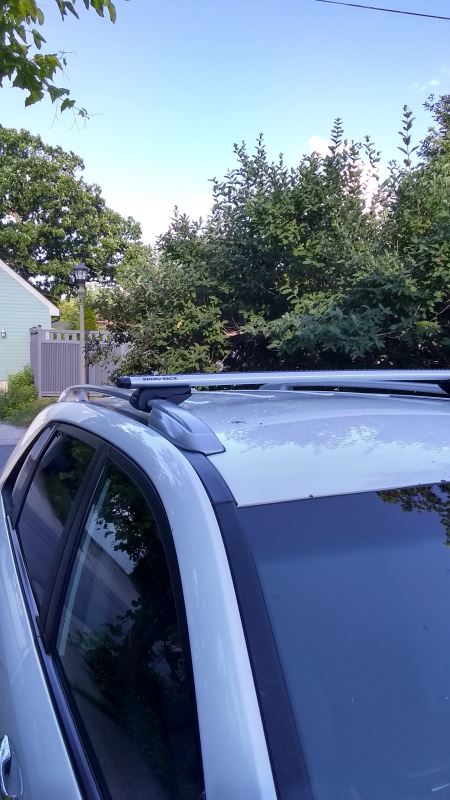
Rhino products are just great products They work today like the day I bought them and they show very little agewear. You really cant go wrong with Rhino products.