Suggested Q&A
Saturn Vue

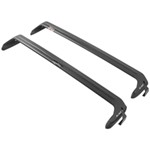
Trunk Mounted Bike Rack Recommendation for 2010 Saturn VUE with Spoiler
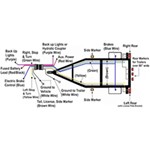
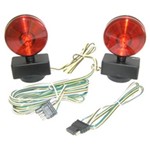
Tow Bar Lighting Kit Recommendation for 2006 Saturn Vue
Supplemental Braking System Recommendation for 2006 Saturn Vue being Flat Towed
Suspension Enhancement Recommendations for a 2004 Saturn Vue Red Line
Browse All 221 Q&A >>