
Custom Fit Kit for Inno XS200, XS250, and INSU-K5 Roof Rack Feet


To see if this custom-fit item will work for you please tell us what vehicle you'll use it with.


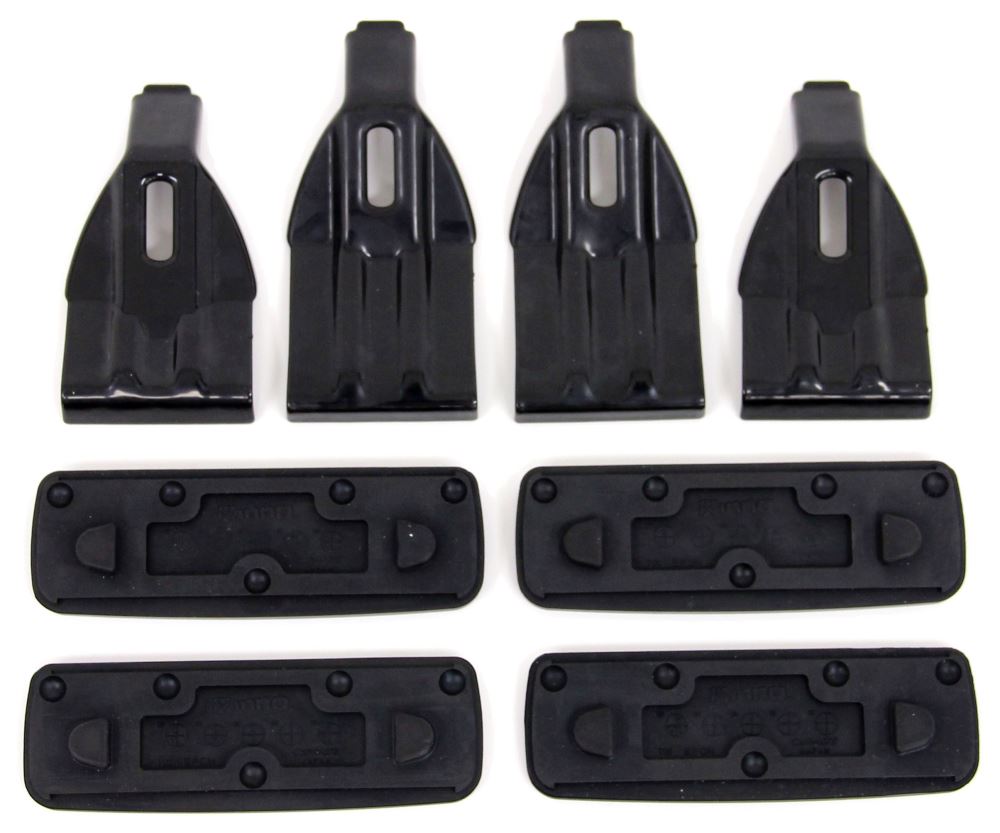
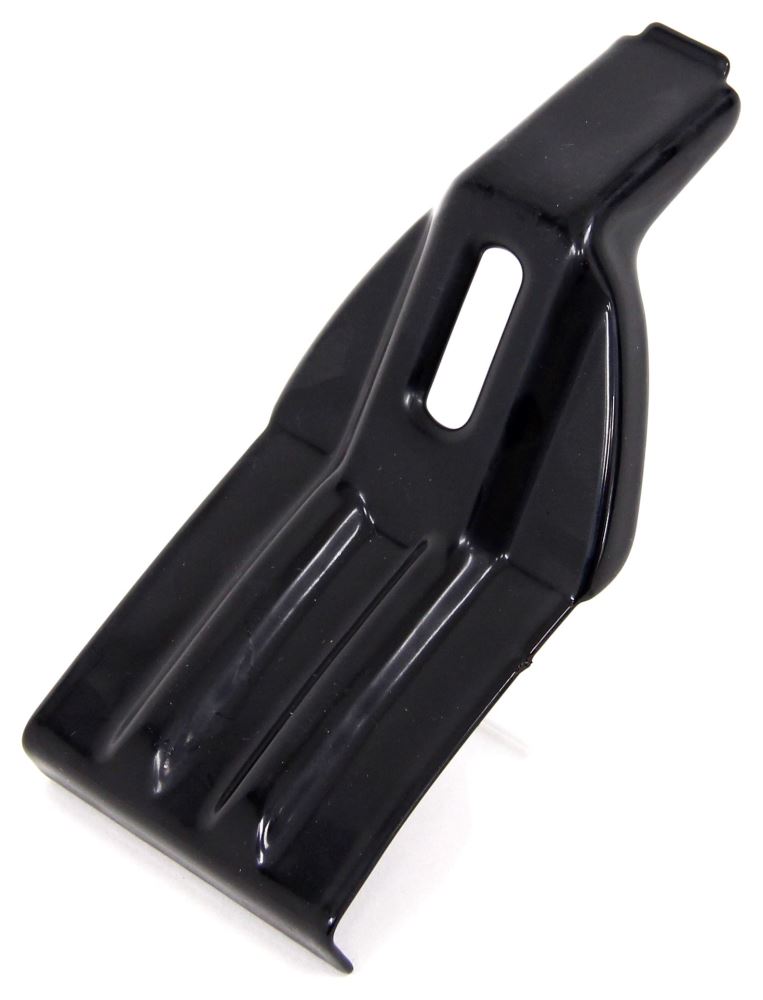
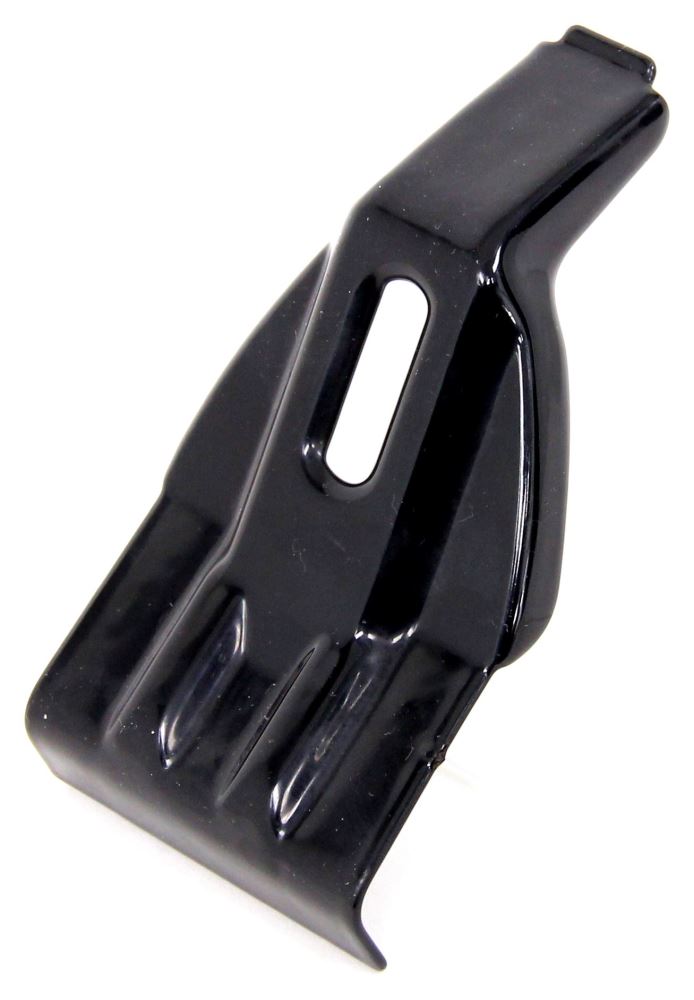
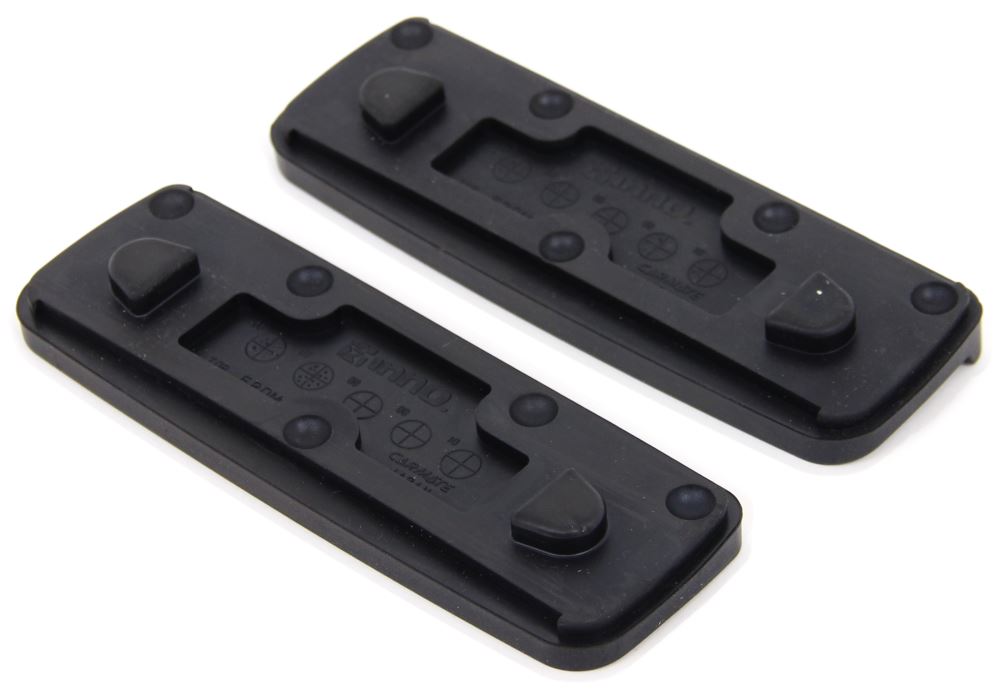
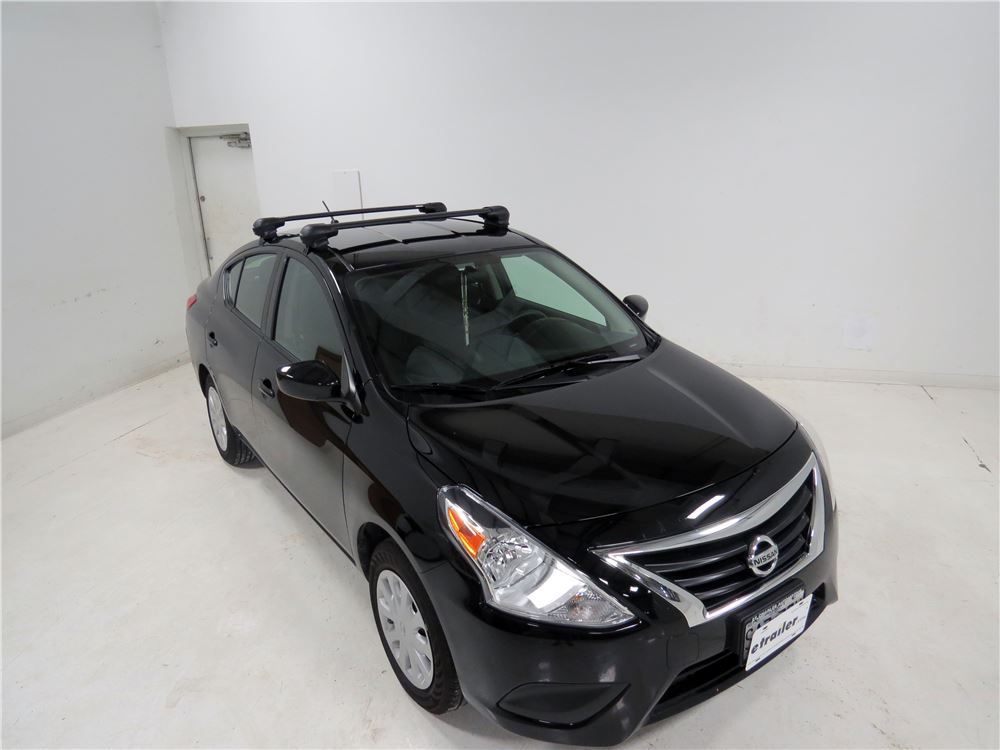

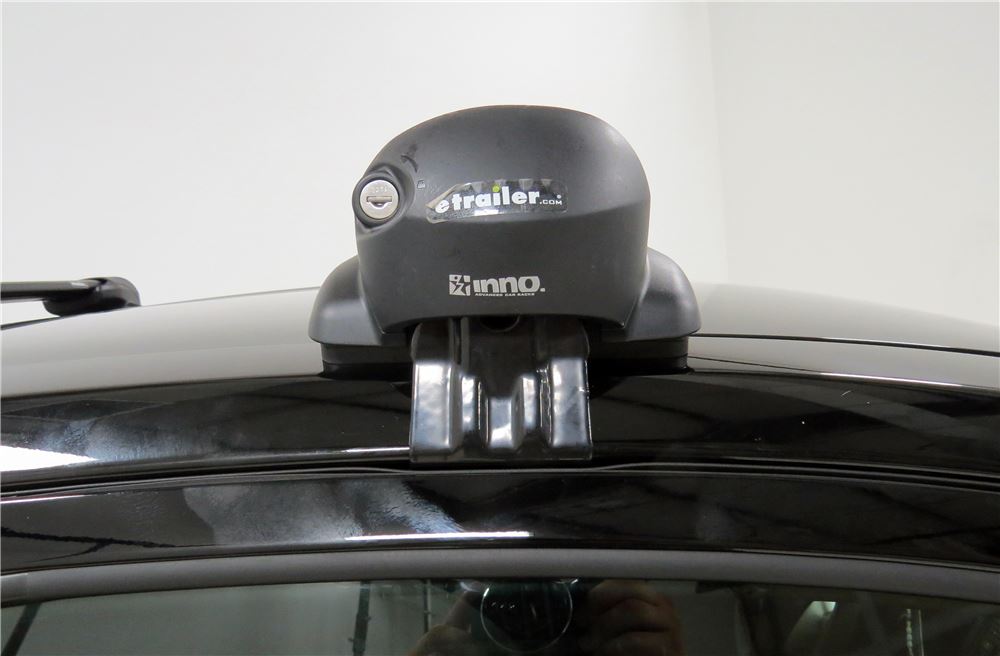
These custom-fit clamps and pads let you mount 4 Inno XS200, XS250, or INSU-K5 feet to your vehicle's naked roof to help create an aftermarket roof rack system. Clamps mount to feet with bolts. Kit includes 4 clamps and 4 pads.
Features:
Specs:

Videos are provided as a guide only. Refer to manufacturer installation instructions and specs for complete information.
Today on our 2016 Nissan Versa, we'll be doing a test fit on the Inno Aero Roof Rack System and using part numbers INXB93-100 for our crossbars, part number INXS200 for the flush feet, and part number INK608 for the custom fit kit. As you saw, we've already got the front one installed. Let's go ahead and do the rear one together. Let's start by grabbing our flush foot here. Then we're going to grab our pad. We need to make sure that this goes on the proper way.
We'll turn our foot upside down. We've actually got a little lip right here on our pad. That needs to go towards the center of our vehicle, so it's going to go on in this position here. Pretty easy to do. Just push it on in place.
Then we can turn that back up and go ahead and remove the bolt here. Grab our hook. We need to make sure we have the correct hook. The front and rear are different. We'll set that in place, and put our bolt back on. We don't want to fully tighten that down.
We want it to be loose like so. Now we can move over to our crossbar. Go ahead and flip that upside down. We'll take the included plate that comes with our crossbar. We're going to guide this little portion out here.
Then we're going to set this in place like so. It's got a little lip on the inside there, so it can't come all the way through. Once we got it in place, we'll guide it back through all the way to the open position here. Then we'll grab our foot. You need to make sure . There's a little picture here to guide you as to how it lines up with what side of the crossbar, so you need to make sure you have the correct one. We're going to set this little T into this slot here and this portion here into there, and then pull it back. It should just be set in place. It might take you a few tries. There we go. You can see how it's setting in place like so. Then what we want to do is take our included tool, and there's a bolt down through here. We want to get that started. You don't want to fully tighten it down all the way just yet, because we've got to take a measurement between our two flush feet here, so it properly sits on our Versa. It does include a little paper tape measure. I'm going to go ahead and grab the one I've got with me. Refer to our fit guide on that measurement. It needs to be just a little bit further out. All right. That looks pretty good. Then we can tighten that down. Make sure both sides are tight. Now we can actually head over to our vehicle, want to open up those rear doors. We're going to set it in place in the general area right about here. Then we'll check our fit guide. We need to figure out how far of a distance we've got between the two. Take our tape and go from the center to center, and then line it up. We'll also want to be sure and check from our center position here and back. That actually looks pretty good. A little bit further back here. Then we can take our included tool and start tightening that down. What we want to do is we want the hook to make contact with the inside of our door here, and we'll ensure that on both sides. We wouldn't want to tighten down one side all the way just yet, because it will pull the whole crossbar to one side. All right, since we know the other side is tight or is making contact, we can actually start tightening on this side. Then we'll want to be sure and alternate. Make sure it stays straight. There we go. Then when it's tight, it's going to make that clicking noise. There we go. Then we can just take our end caps. Now on each of the end caps, it does have an R to match the R for the right side. We'll be sure and match that up. Then we can lock them. Now the front one is installed about the same. We come from our fixed point here. Measure to the front, and then according to our instructions, we can measure from center or we can come from the center here and back, and that gives us our measurement. That's going to complete our test fit on the Inno Aero Roof Rack System on our 2016 Nissan Versa.
Ratings & Reviews

Excellent!
Fits perfectly on by 2015 Kia Rio, and is solid as a rock.
Product arrived on time and packed very professionally. Was very satisfied with the overall quality of the product. Everything went right together and fit perfectly. I dealt with a gentlemen named George J. He was very professional and extremely helpful throughout the whole process with updates letting me know how my order was going. Very happy with the product.
Do you have a question about this Accessories and Part?
Info for this part was:
At etrailer we provide the best information available about the products we sell. We take the quality of our information seriously so that you can get the right part the first time. Let us know if anything is missing or if you have any questions.













Thank you! Your comment has been submitted successfully. You should be able to view your question/comment here within a few days.
Error submitting comment. Please try again momentarily.