


To see if this custom-fit item will work for you please tell us what vehicle you'll use it with.


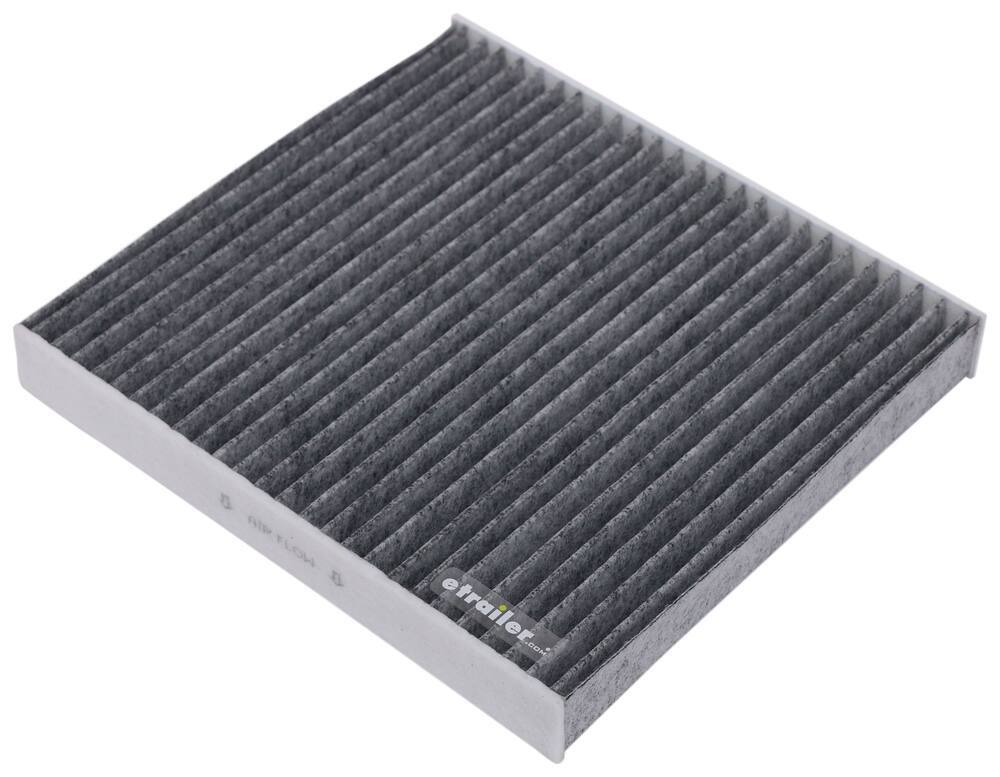
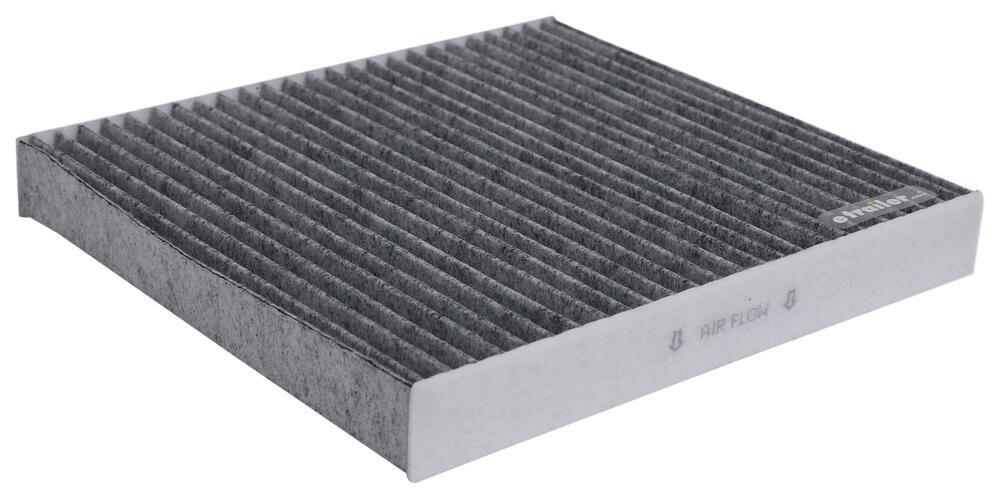
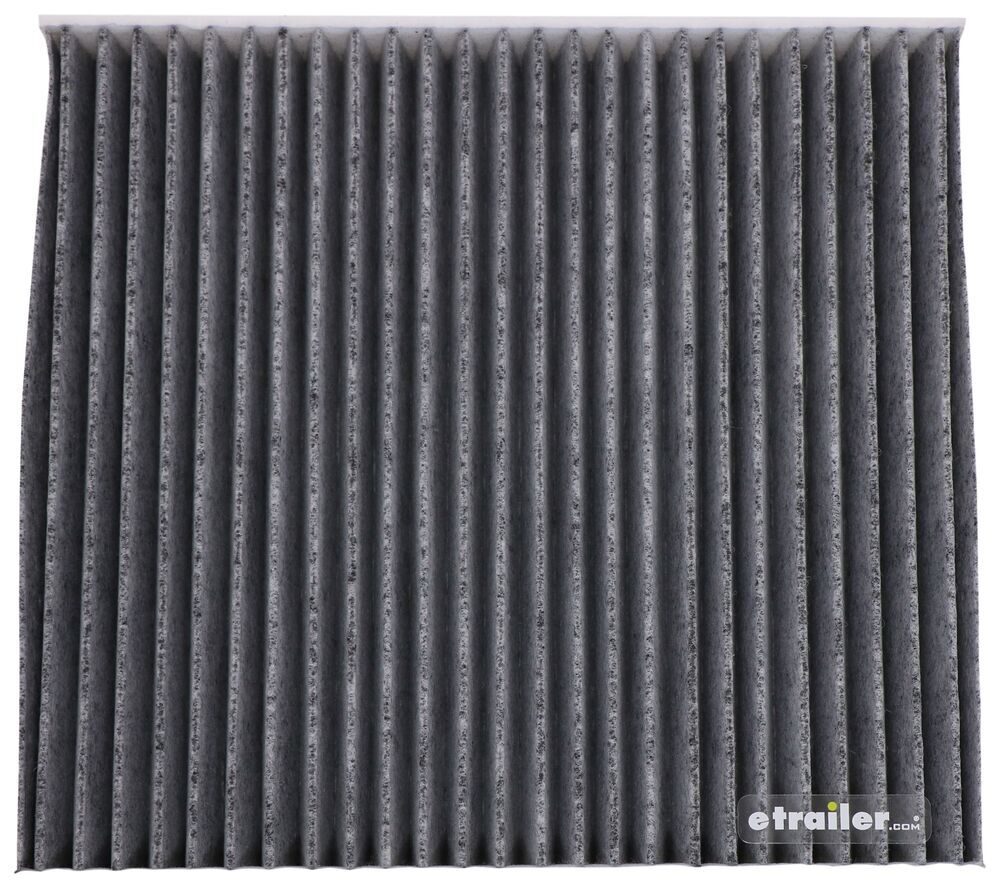
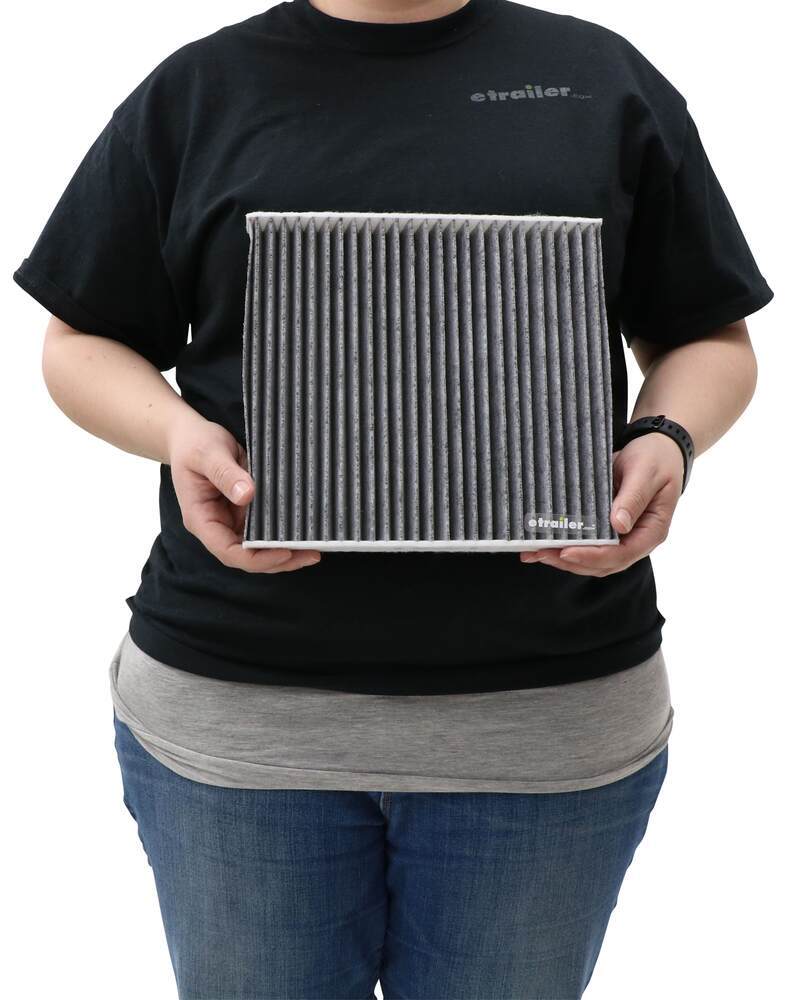
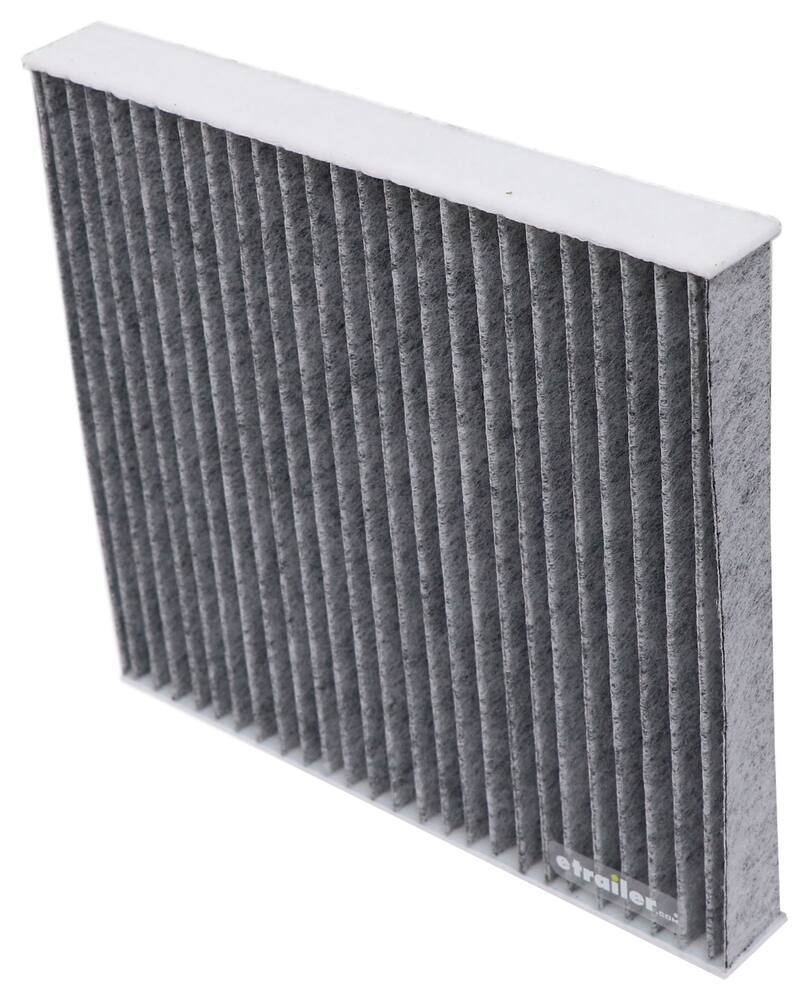
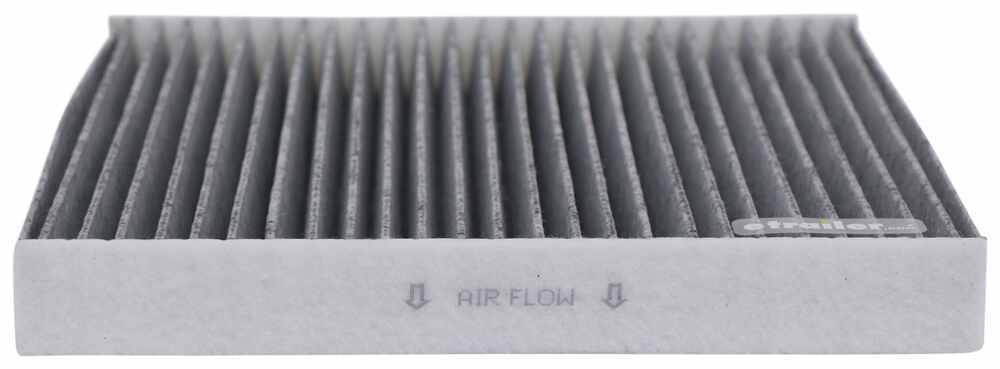
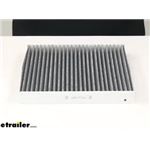
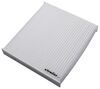
Improve the air quality inside your vehicle with this custom fit cabin air filter. Replaces your existing filter to better protect against dust, bacteria, and other contaminants. Treated with charcoal to trap offensive odors and harmful gases.
Features:
Specs:
Note: Manufacturer recommends changing filter every 12,000 to 18,000 miles, or once a year. To determine how often your filter should be changed, consult your vehicle owner's manual.
Videos are provided as a guide only. Refer to manufacturer installation instructions and specs for complete information.
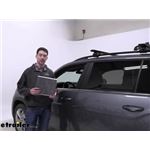
Hey, it's Ethan here at etrailer. Today we're gonna be taking a look at and showing you how to install the PTC custom fit charcoal air filter for the cabin of our 2021 Volkswagen Atlas. The manufacturer recommends replacing these every 12 to 18,000 miles. Just gonna replace your existing air filter. It's gonna be super easy to install and get figured out, so let's check it out. The charcoal particulate filters out 90% of harmful pollutants that might be coming into your filter whether that's gases or odors.
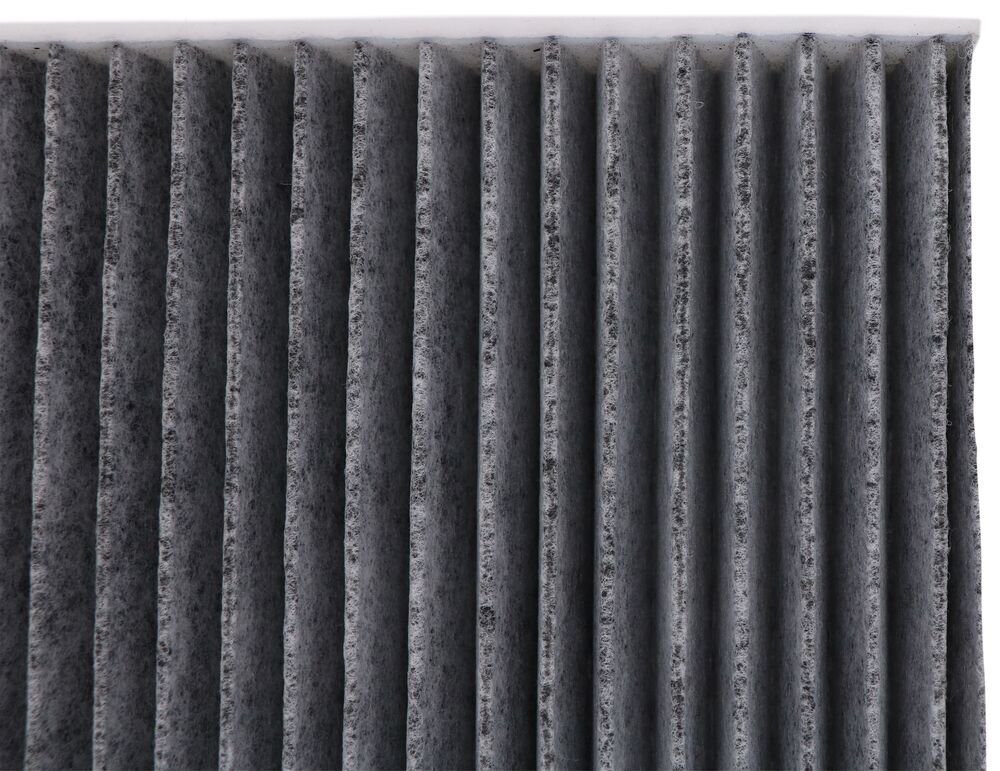
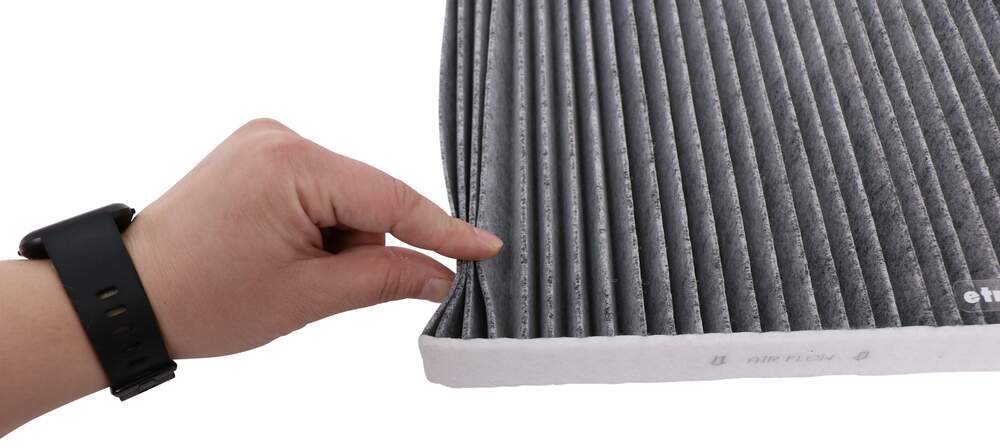
Anything that you don't want to be experiencing inside your cabin, this is gonna help filter it out. Taking a closer look at the ridges inside the filter, that's what's going to actually be capturing those dust particles or harmful odors. Anything that you don't want getting into your HVAC systems, it's gonna help keep those from getting their pressure built up or taking on corrosion over time. Like I mentioned, the insulation process for this is super straightforward. So let's pop over to the passenger side, get the old filter out and get the new one in.
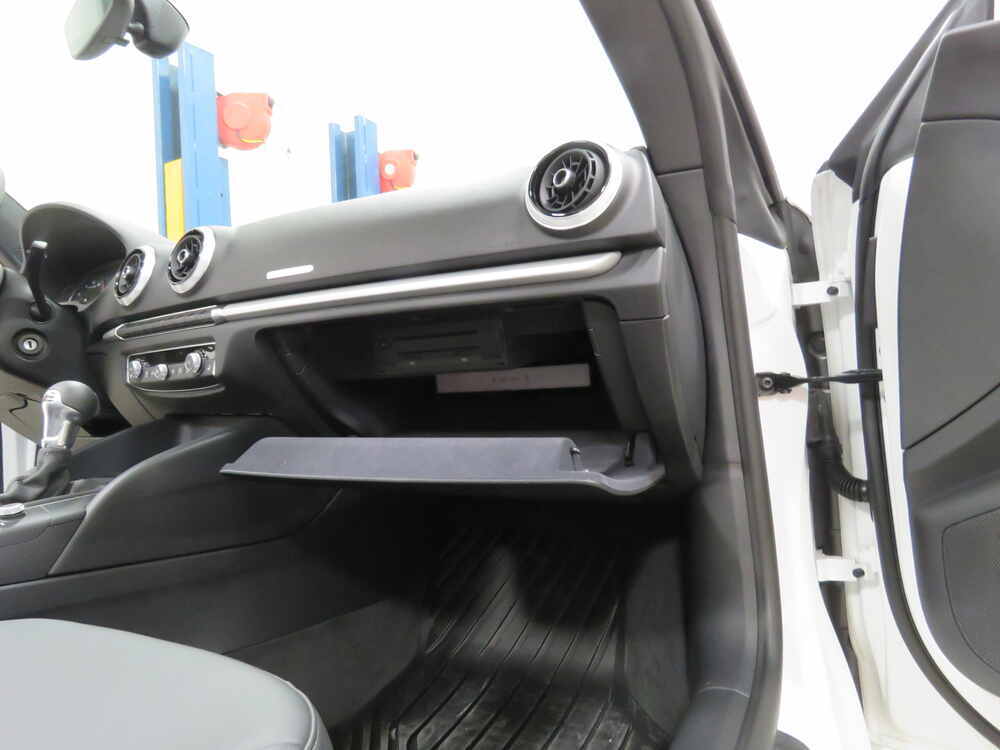
First thing we need to do is locate where the air filter is so it's going to be behind our glove box. We just pop this open. We see down here there is this dampening latch which is gonna be the first thing that we're gonna have to interact with. So what we're gonna need to do is push it down away from us and then it'll be able to lift off. Once we get that dampening latch undone and it's free, there are two tabs inside the glove box one on the left, one on the right.
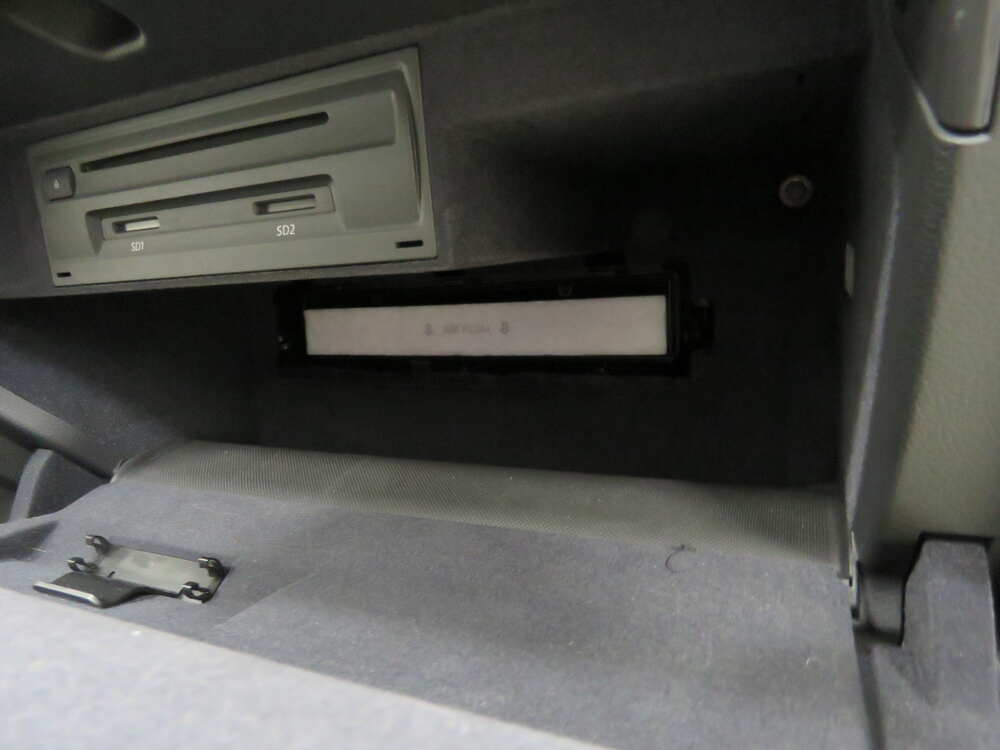
It's easy if you just kind of tilt the glove box back a little bit. You can push the tabs up, get them outta the way and we can get the glove box removed. With those tabs outta the way, we can lower our glove box and you can see where the filter is located right underneath there. Next we're going to have to lower the door for our filter which is going to involve using these three tabs right here. So I've already loosened up the two on the side so I just have to do this one on the left.
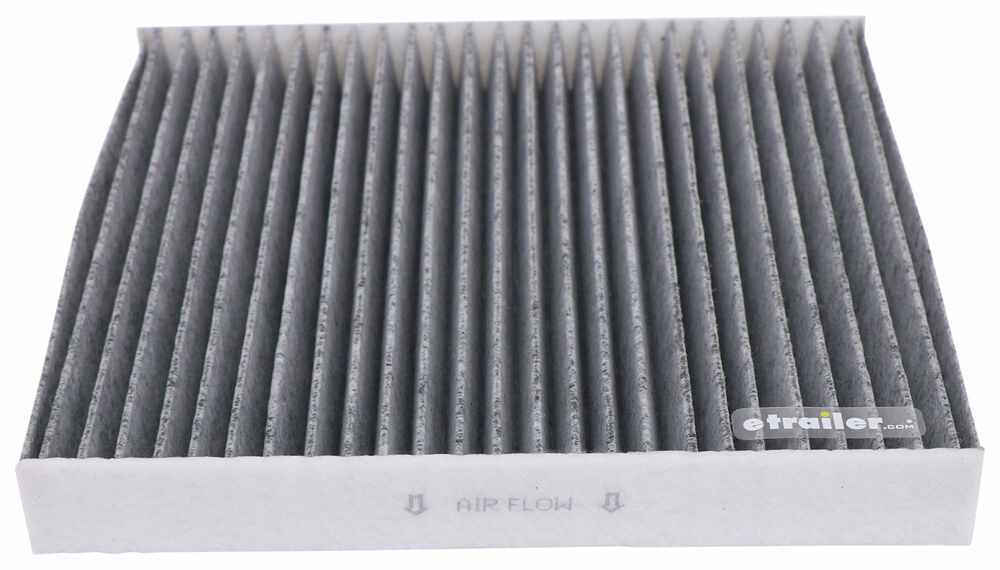
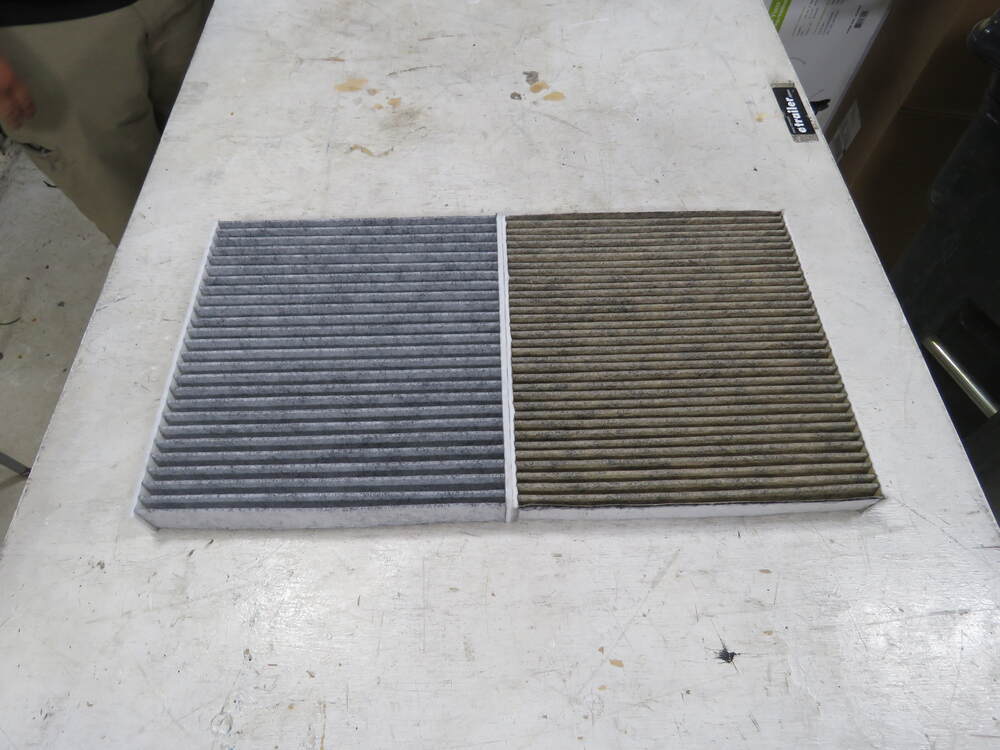
Lower that and it'll pop out of the holds on the bottom. And we can see our filter. Taking a closer look at our filter, now is the time when you want to check and make sure you know which way the airflow is gonna go. So in our case, you might barely be able to see that arrow but it's pointing down. So we'll make sure when we're installing the new filter that we keep the airflow the same direction. We can just pull out our old filter and you can definitely see why we need to replace these. Ours right here has tons of debris in it. Straw, leave particles, dust, and comparing it to our new one, you can see that we definitely have come a long way on the old one, and it's probably time for this to get replaced. So replacing it is super straightforward. Again, just make sure the air flow was pointing the same direction as we had it before and you can just slide it right back into place. Once your new filter's in place, make sure you put the cover for the filter back in place as well and fold the glove box up. It just snaps back into place and we'll get that dampening latch re-secured, put it in place, and then we'll just push past those latches, close it up, and we're all installed. Overall, like I mentioned, super straightforward. Not a whole lot to talk about. Just a cabin air filter that we wanna make sure to replace every 12 to 18,000 miles. You saw how grungy the old one was and how nice and new the air quality will be because of the new filter that we installed. So like I mentioned, the process was super quick and easy for that PTC cabin air filter with that charcoal lining. So that was just a quick look at how to install it on our 2021 Volkswagen Atlas.
Ratings & Reviews

Easy install and definitely cost effective and noticeably cleaner air.
Received in timely matter not later but earlier than estimated on in invoice. Great value on filters.
I like it has carbon filter to better screen out outside impurities. It was more stiff than the original cabin filter making it harder to insert.
it fit perfect
Even though the dealer said I had one, there was not one in my Chrysler mini van a 2004 T&C. Off to the circular file for the trash man.
I purchased my 2014 Passat in late 2017 and figured that it hadn't been serviced since it was new and boy was I right.. it needed attention and these filters were priced reasonable.
Fits my 2018 LTV UNITY with MB Sprinter cab
All perfect and fastest shipping ever s een
Fits 2018 Leisure Travel Van Unity W/MB Sprinter 3500 Cab, same product as provide by MB
I haven't installed the product but it looks identical to the factory installed one. Its a compartment filter for 2019 Sienna. Delivery was on time as promised.
This was my first time changing the filter and the video was excellent - installed in no time with no problems.
Super fast shipping all the way to Hawa ii!
Fast shipping and great product. I would buy again here before I buy anywhere else.
All products came together in one package. Shipping time was fair. As always, etrailer was great for getting exactly what I needed.
Shipping cost is poo; added the items I needed for my car to negate that mess.
Very fast delivery! Excellent products and all installed into the camper! The blocks are very compact and easy to carry. I like that I can use them for my rear duals without making two stacks. Quality filter and the new faucet was an easy install. Works like a dream! Now all my faucets are single handle! Great pricing. Buy here.
While the Filter seems acceptable, the [online] video etrailer has on-line showing how to DIY install/replace and access the filter is incomplete and a bad source of how to do it. In it, the information on a simple procedure like removing the glove box to get at the filter housing completely neglects to tell an Acadia owner it is necessary to easily disconnect the left-side of the glove box from the swivel restraint which takes two seconds. That earned the one star review and caused me to finally source other, complete and accurate [online] videos on how to do it.
As far as i can tell works great, thank you for the reminder
It appears to be fine
Very nice product, it’s working as inte nded
Fits perfectly in the gen4 Toyota Highlander. It seems to be a little more study than the OEM filter it replaced. Hopefully the air flow is the same. The air flow for this vehicle is from top to bottom. The PTC filter has arrows to indicate the air flow direction. So when you insert it in the holder the arrows should point down. The reason I mention this is that the OEM filter has an orientation arrow pointing up. This is not the air flow direction and meant to match up with the arrow on the plastic holder.
Basic air filter. It fits my RAV4 perfectly. I’m happy enough.
Far superior to OEM, and well worth the price.
Info for this part was:
At etrailer we provide the best information available about the products we sell. We take the quality of our information seriously so that you can get the right part the first time. Let us know if anything is missing or if you have any questions.





























Thank you! Your comment has been submitted successfully. You should be able to view your question/comment here within a few days.
Error submitting comment. Please try again momentarily.