


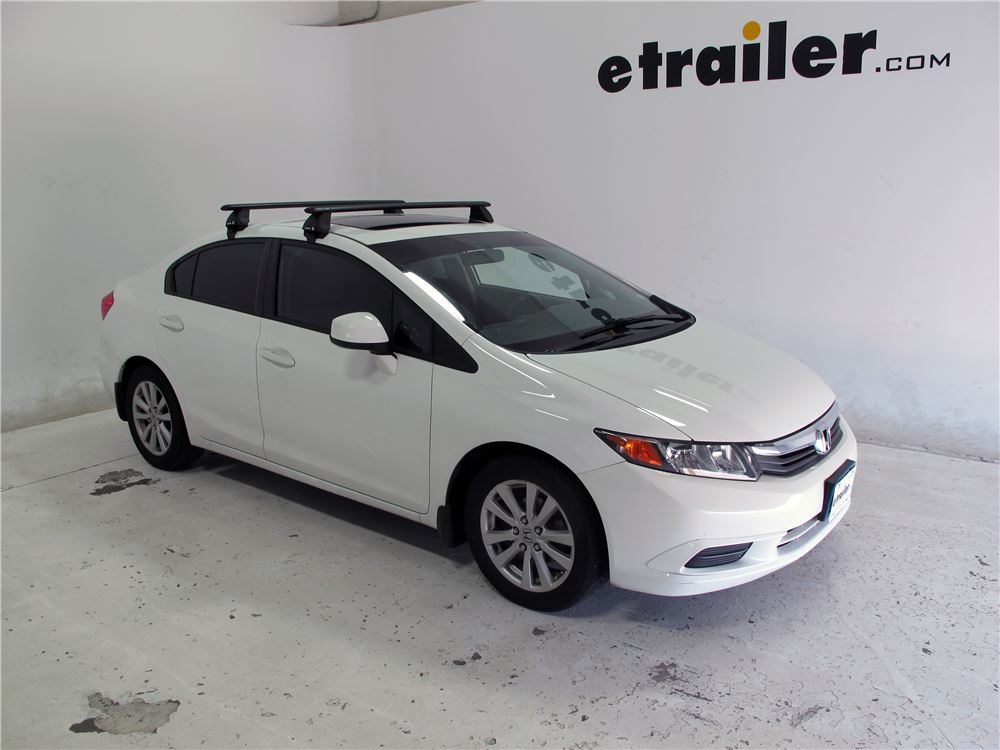
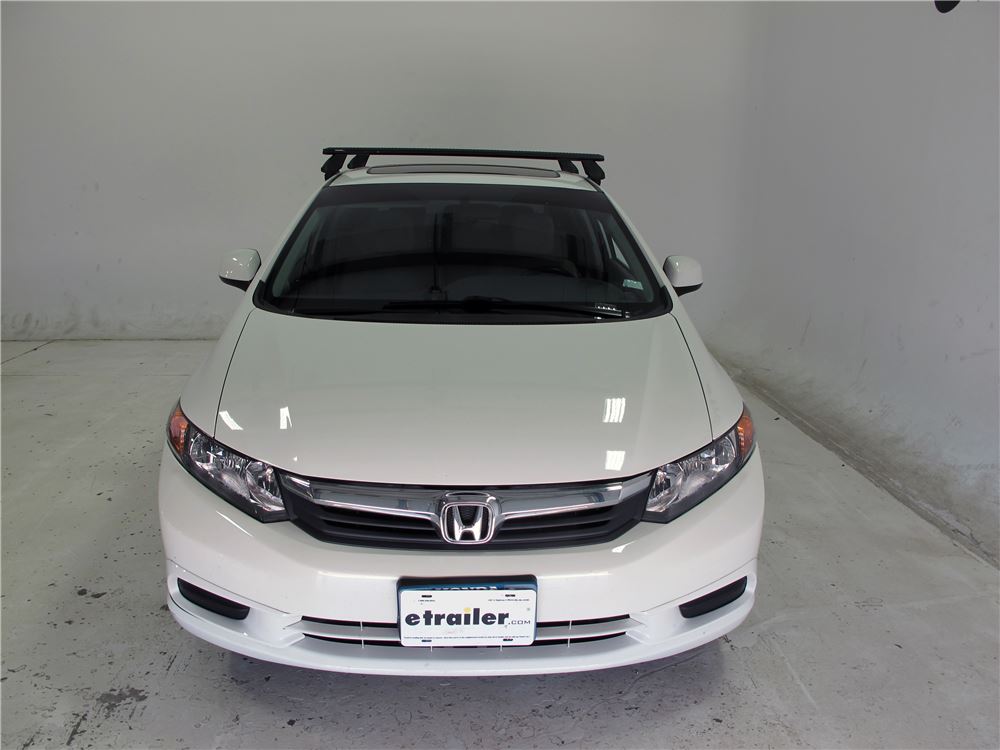

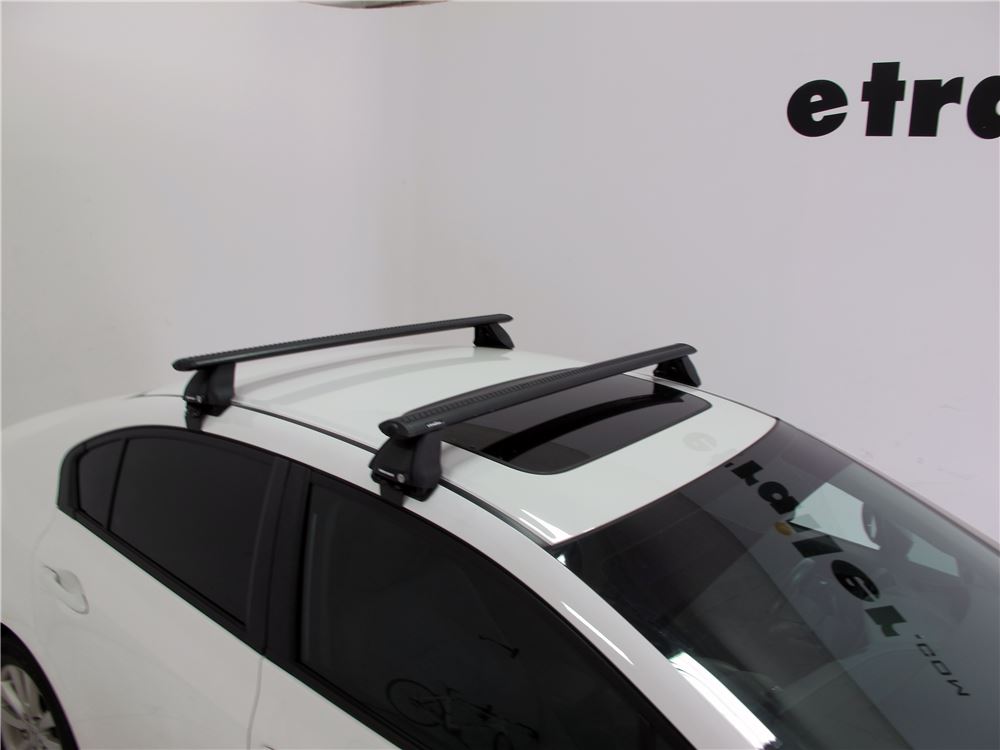
This custom fit kit lets you mount 4 Rhino-Rack 2500 legs to your vehicle with a naked roof. Clamps mount to legs with bolts. Includes 4 clamps and 4 pads.
Features:
Specs:
Videos are provided as a guide only. Refer to manufacturer installation instructions and specs for complete information.
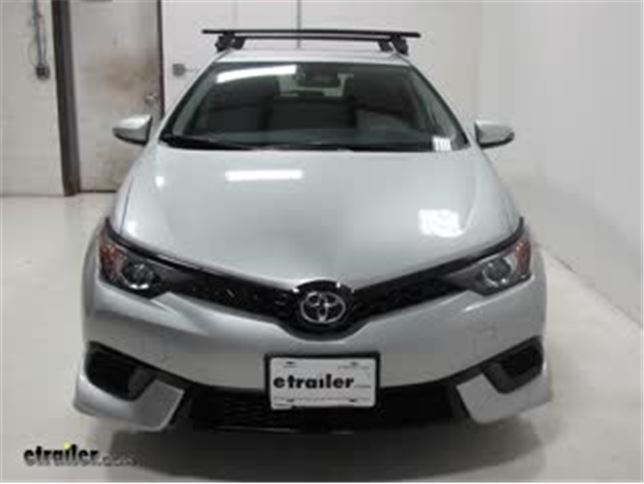
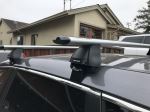
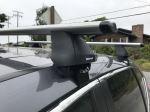
Speaker 1: Today on our 2017 Toyota Corolla iM, we're going to be test fitting the Rhino-Rack Vortex Aero Roof Rack system, consisting of part numbers RRVA126B-2. These are the vortex aero crossbars, black in color and are 49" long. You can also get these in silver, as part number RRVA126S-2. We'll also be using part number RRRLKVA.These are the 2500 Series Legs for the Vortex Aero crossbars, and finally, part number DK347. And this is the Fit Kit for the Toyota Corolla.The Rhino Rack Vortex Aero Roof Rack System is great for carrying a wide variety of accessories on your Toyota Corolla, while freeing up space inside your vehicle. This can carry anything from bike racks to cargo baskets to cargo boxes as well.The bars have an aerodynamic shape to them, and that coupled with the vortex aero strip on the top, as well as the strip that goes underneath, that's going to cut down all the wind noise and drag while you drive, eliminating the need for fairings that you would have to use for square or round bars.You can use T-Track accessories with this roof rack system.
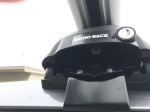
You simply remove the vortex aero strip, insert your T-Track accessory, cut the strip to length, and reinstall that as well. These end pieces here can be replaced with lock cores if you wanted it to, and you can find those on etrailer.com.The end caps are lockable, so this is secure to your roof rack once it's installed, and it's very easy to install it. Just simply clamps around your existing rail here at the top and tightens down with this screw in the center, and it does come with a tool to tighten this down as well.From the center of the roof to the top of our bar, that's going to be about 4-3/4" inches high. From the center of the roof to the bottom of our bar, that's going to be about 3-3/4" inches high, so that's plenty of space in between for all accessories that you may be using, because if it's closer you might have issues of clearance between the clamps that you are putting on here and the actual roof of your vehicle. Also, both bars have a carrying capacity of 165lbs, but you always want to double-check with your vehicle's manual to make sure your roof can take those weights.Now that we've gone over some of the features of the roof rack system, let's go ahead and show you how it installs.
We already have our front bar installed on our roof. Here's our rear bar, partially assembled on our table here, and in front here's all the stuff that's going to come with this roof rack system. We have our leg, the Ft Kit, the end cap for our bar, our included tightening tool, our end cap locking tool, and the caps for our foot once we're done installing everything, and of course the strip to get our foot to the proper measurement, which we'll get into that a little bit later.Our first step is, we're going to flip our bar upside down and install our first leg. How this works is, the top metal bracket here is going to slide into this bottom channel. So just line up the slots and push it on, like so.
At this point, that's where the strip comes into play. You go to your instructions and find the proper measurement. You cut the strip to length, put it in place, and that's where you tighten up your leg. However, for demonstration purposes, we're just going to go ahead and measure it out today.Then we'll take our tool and tighten up the bolts in the center here, so it's nice and tight, and we know it's not going to move. Now we can place our end cap on the end of our bar here, as well, and secure that into place.Our final step is installing the Fit Kit here.
Everything does have numbers on it, so double-check with your instructions to make sure it's going to its proper place, and that the arrows in the bottom of our foot pads here are facing the proper direction. These just push into place very easy, and then with our clamps we come to the outer portion here, and we'll remove the screw and install those. We're only going to loosely tighten this up right now.Before we place our rear bar onto our roof, I would like to explain how we got our front part to where it is now. Essentially, we assembled it the exact same way that you just saw, however, when we put it into place, how we got it to this point is we measured from the center of the door jamb to the center of the bar. Now we had to put this on first, because this is going to determine, from the center of the bar back, how far our rear bar is going to be setting. At the moment, we're not setting it down in any particular place, just the general place before we actually make our measurements.Now we'll take our included tool and start tightening it down. We'll get it snug first on both sides and then go back and forth and tighten it down evenly. I would like to point out about this, so you see that it's curved right now. Once you get it tightened down to its specifications, it will straighten out, and this is to prevent you from over-tightening it. We'll do about five turns each side until it's done.Our final step is to install our end caps, and you take these two tabs on the end here, slide them in, then take the keys, lock those into place, and then we can load up our gear and hit the road, and then we can load up our gear, then hit the road.There you have it for the Rhino-Rack Vortex Aero Roof Rack System on our 2017 Toyota Corolla iM.
Ratings & Reviews

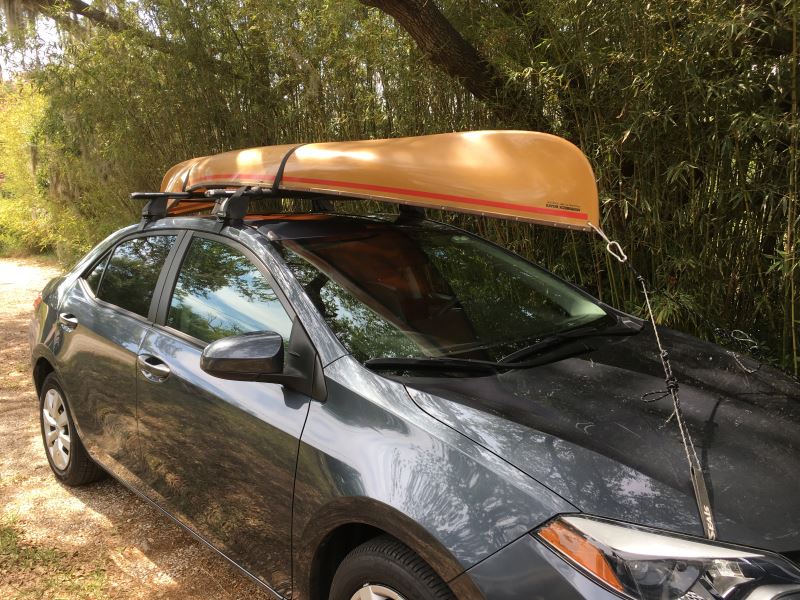
Very happy with etrailer.com and the amount of information I found before I made my selection. I went with the Rhino Rack for my 2016 Corolla. I watched the videos, read the instructions and within just a couple hours, my rack was attached, my canoe was loaded and I was out taking a test drive. 2 issues with the instructions. I didn't realize that there were two different size hooks...I did not see it mentioned in either the video or the written instructions. I got it right, but it was purely by chance. The other issue was the rubber pads which were, again, not mentioned. I installed them wrong the first time, but it didn't take me long to see my mistake. Happy with the stability and looks of the rack, and the help I received from Robert during the ordering process.
This was a great purchase. I originally ordered roof crossbars from somewhere else and immediately returned them. They were a universal fit and were not secure at all when they were tightened down. They were from a third seller on Amazon. I found these on etrailer and I am glad that I made the purchase. I did not want to spend the money at first that these cost, but am glad that I did. The install was easy and the crossbars are very secure and hold up well with the cargo basket installed. They were well worth the money. Can't wait to try them out when we go camping. Thank you etrailer.
Rhino-Rack Vortex 2500 with legs, pads and accessories. Arrived quickly. A 70 year old man assembled and installed in about an hour and a half on a humid 90 degree day. These products appear to be of excellent quality and seem to be more than adequate for carrying a 15 foot fiberglass canoe on our 2011 Buick Lacrosse. Rack offers good flexibility for adding accessories. The wife says the aero shape is way cool!
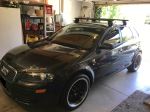
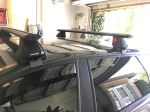
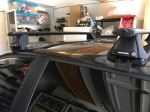
Fits perfectly on my 2007 Audi A3.
People at etrailer.com were very helpful, nice and professional.
Thank you carol and george for getting me back on the trail again.
Will definitely be my to go place for all my roof rack, bike rack and other accessories.
Thank you again
etrailer.com's videos and additional customer support made the purchase of a Rhino Rack system from them for our 2010 Malibu a no brainer. The rack fit the car perfectly, and with the videos and clear instructions that came with the kit, I got it installed on the car with only one misstep. The instructions came the the measurements in centimeters and inches. I didn't have a metric tape measure, and ended up messing up converting fractions to decimal.
My Daughter is going to college 500 miles away and is moving into an unfurnished apartment and needed to pick up some small furniture that wouldn't fit in her Malibu. She purchased several items from Facebook Marketplace and was able to transport a twin bed and mattress, a medium sized desk and some dining room chairs (in several trips) with no problems.
The only thing I can think of to improve the installation would be to have the Inches measurements in decimal or to include an inexpensive metric tape.
The Rhino Rack products are top notch and more reasonably priced that "T" or "Y" brands. (I think some accessories may be interchangeable.) I've had both "T" and "Y" racks but I'm now totally sold on the Rhino brand.
Photo attached of four Rhino,Aero bars, towers and ARB awning mounted on my '18 Colorado and Alu-Cab canopy.
My ARB awning fits fine. And the crossbars come in real handy for our canoes and some pairs panel fencing we transported last summer.
As for the staff at etrailer? Well, I'd say they take fantastic care of their customers. Knowledgeable, helpful and they followup, as well.
Etrailer also has amazing HELP videos as well. I bent the crank handle on my trailer tongue jack, which messed up the "internals". I thought Ikd be shelling out for a new Jack, for sure.
Nope. etrailer had a repair kit available (apparently, I'm not the only destroyer of tongue jacks) at a very affordable price and they have an online video to instruct one in the replacement of the innards.
I don't bother with the other accessory or parts sources anymore. I just call these guys and ask what they have. Never have been disappointed, and they enjoy helping.
Rhino rack 2500 with euro bars. Aero crossbars not needed because rack is easily removable when not in use.
13 ft 85 lb fishing kayak 2010 Toyota Matrix. Car has slanting roof and variable thickness roofline. See photo. OEM rack position would make front of kayak point up in the air causing dangerous lift.
Rhino rack provides different length clamps for the slanting/tapering thickness roofline - rack is positioned for level load.
Etrailer excellent website with detailed photos allows easy comparison. Prices and selections better than manufacturer's and other websites.
Customer service is also excellent, they promptly responded to calls/emails even on weekends and made extra effort to get out-of-stock items delivered much faster than expected.
We had the challenge of how to carry 2 kayaks this summer in addition to hauling a 30 foot gooseneck horse trailer. We have F450 crew cab with custom truck bed. We hoped to use the "head ache" bar on the truck bed to support the rear sets of Swagman Rincon supports and purchased a single Rhino Vortex bar for the forward sets on top of the cab. We have 10.5 and 12 foot kayaks and this looks to be an excellent solution. The kayaks are clear of the gooseneck trailer even in a "jackknife" position. Please note the truck bed is extra long therefore there is plenty of room forward the nose of the trailer. We have not hauled yet but will convey any issues if there are any. eTrailer tech support was excellent. Product shipped as projected. Installation took approximatly 3 hours.
I bought the roof rack to carry kayaks back and forth from Pennsylvania to Florida. The rack is solid and performs that task very well. My plan was to take the rack off and on but I decided to just leave it on. I do notice some wind noise since I've added the rack but it does not distract me and I would say that it is not excessive but it is noticeable.
I did have problems during the installation. I mounted the racks on a Ford 250 super duty. And the instructions were very clear as to where the feet that's support the rack where to be installed. Plastic strips are cut and the feet that support the rack on the roof push up to the cut plastic strips and that is what determines placement. I read the instructions several times and had seen an installation on another truck owned by a friend of mine. When I pushed the feet to the proper position I could not attached the clamps from the rack feet to the rain gutter on the truck which holds the whole assembly on the roof. They were too short. I spoke to Etrailer and a consensus was that I had cut the strips correctly. Etrailer's input of course was over the phone and they could not actually see or measure anything that I did. Nevertheless, in order to install the rack I had to move the feet on each side a bit closer to the rain gutter on the truck. I did not think that this would make any difference and based on the performance I have not noticed any problems. I would have given this product and excellent rating if I did not have to deal with the little problem that I had with the fit. As I said I have not taken it off the roof and I reach up and check it now and then and it's as solid as the day I put it on.
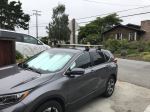
This review covers the Rhino Rack 2500 Vortex Aero crossbars and associated parts (DK284, RRRLKVA, RRVA137S-2) for a naked roof installation on a 2018 Honda CR-V.
Very solid racks. We just took our first trip using them and the didn't budge. As recommended, a few days after installing, I tightened the bolts a bit. I'm not sure they needed it--just a little insurance.
The installation process was clear, but fairly detailed. It would be easy to miss a step, so take your time. Also, I tried a couple shortcuts in the order when installing on the car, but had to back track. So, go in the order they give you.
The racks easily supported our filled "pod" and a couple surfboards, strapped side-by-side. Sorry, no photos of the rack loaded. One thing to watch out for is that our old Thule pod almost didn't fit because of the thickness of the racks. I had to loosen the bolts almost entirely.
Of note: I feel that although I followed the measurements to the millimeter, the fit on our 2018 Honda CR-V wasn't exact. Where the pads sit on the roof of the car didn't align perfectly. I could have adjusted this by just re-trimming the rubber pads that go in the channels, but it's not a big deal, so I just left it.
Finally, I do have one concern. The angle of final installation doesn't really protect the racks from theft very well. The plastic plate that locks over the screw would allow someone with the proper tool to get up under it and loosen the bolts. That being said, someone so inclined could also just break the little plastic door or drill a hole in it to access the bolt. So, I guess it's just a deterrent anyway.
Overall, I'm very happy with the racks and etrailer.com! Despite shipping delays due to Covid-19, they were able to get the racks to me in time for an upcoming trip. I did choose to expedite shipping, but the cost was very reasonable.
Solid all around and easy to mount. This was a good choice for my needs.
Hi George from etrailer,
The rack is awesome! Strong, firm hold and nice looking. When doing surveys, I put my ladders on the rack.
I highly recommend this etrailer.
I'm very happy that Rhino Rack builds roof racks to accommodate a large variety of vehicles. Trying to fit a rack to my 22-year-old Chevy pickup with a naked roof was a challenge. Fortunately, the people at etrailer are extremely knowledgeable and were able to get a direct fit. The rack fits awesome and will help in an upcoming road trip. Thanks Alex and etrailer team.
Fits well. Using RhinoRack system for ladders. Residential Light Construction. I made my own air deflector.lol
I couldn't find a rack to fit my car anywhere, I have been looking for years and just found Rhino rack on the Internet a few weeks ago.
The Rhino rack for my Toyota Camry is perfect! Easy to assemble, good quality parts, fits really well. Can't wait to get my canoe out on a lake thanks finally to this rack!!
Perfect
These roof rack legs and the other associated parts from etrailer worked perfectly with my 2017 Toyota Corolla IM and it is still installed after a year of use. I've loaded it up with a pretty heavy load and taken it across many states at highway speeds in high winds with no issues. We even use it when we go camping nearby.
Very tough, sturdy, and well built product and easy self install! We installed on a Corolla IM hatchback in no time with the help of "how to" vids on etrailer.com. The vids saved us an additional $100 wanted by a local install company. We teach and our little family travels all summer. This product is a life saver. With additional roof basket, we can now carry all our luggage and camping gear with a compact fuel efficient vehicle rather than a gas hog.
Overall I’m very pleased.
The rack installed fine, instructions plus the etrailer vids were helpful
One small complaint. One of the two aero bars didn’t include enough rubber strips (wind) to go end to end. More like, enough to almost cover half. I’m assuming this was the manufacturer’s slip up, but it might be good to check a few before they ship out. Not a huge issue either way.
Do you have a question about this Accessories and Part?
Info for this part was:
At etrailer we provide the best information available about the products we sell. We take the quality of our information seriously so that you can get the right part the first time. Let us know if anything is missing or if you have any questions.





















Thank you! Your comment has been submitted successfully. You should be able to view your question/comment here within a few days.
Error submitting comment. Please try again momentarily.