

 Arrives before Christmas
 To see if this custom-fit item will work for you please tell us what vehicle you'll use it with.
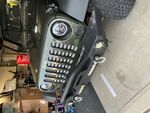
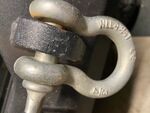
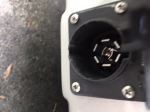
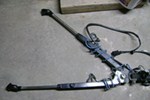
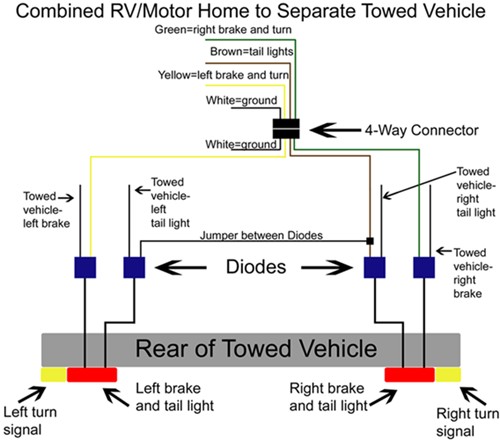
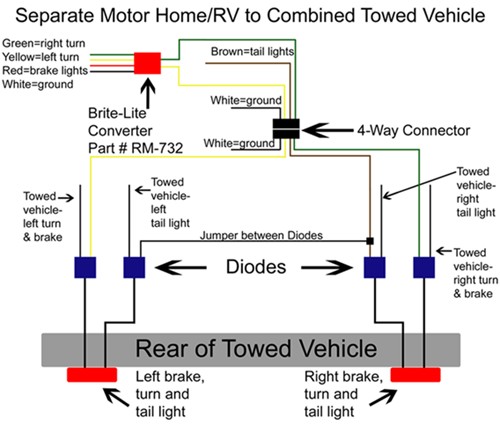
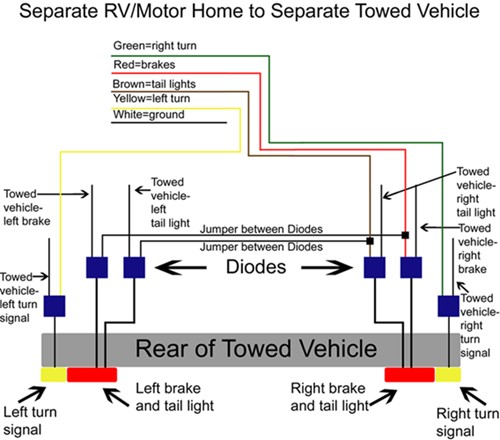
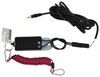
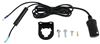
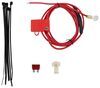
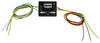
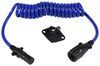
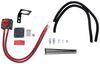
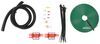
This wiring kit carries your RV's brake and turn signals to your towed car's tail lights. Diodes prevent damage from electrical feedback. Connects RV and towed car with 4-pole flat plugs. Includes installation hardware.
Features:
Specs:
Notes:
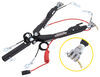
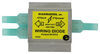
"Don't be intimidated by diodes: if you can strip and crimp wire, this installation will be no problem."
A combined lighting system, or 2-wire system, uses the same light bulb to signal both braking and turning. (In other words, the car signals a turn by flashing the brake light.)
A separate lighting system, or 3-wire system, has the brake signal and the turn signal light up independently of each other. Typically, the turn signal is amber.
To keep the separate lighting system on your car functioning properly while you're flat towing, add a wiring converter (118158 - sold separately) and 2 additional diodes.
If the engine is off and your car's brake lights illuminate when you press the brake pedal, you need to install a brake light relay (RM-88400 - sold separately) with this kit. Without a relay, your car's brake signal will override the turn signal sent by the RV when you are slowing down to make a turn, creating a potentially dangerous situation. Other drivers will see that you're slowing down, but not that you're making a turn. With a brake light relay, you can signal both and travel safely.

California residents: click here


Do you have a question about this Flat Tow Wiring Harnes?
Info for this part was:
At etrailer.com we provide the best information available about the products we sell. We take the quality of our information seriously so that you can get the right part the first time. Let us know if anything is missing or if you have any questions.


Thank you! Your comment has been submitted successfully. You should be able to view your question/comment here within a few days.
Error submitting comment. Please try again momentarily.