Select Year
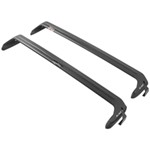
Rhino Rack Roof Rack Review - 2016 Nissan Versa Note
Best 2017 Nissan Versa Note Flat Tow Set Up Options
Hollywood Racks Express Trunk Bike Racks Review - 2012 Nissan Versa
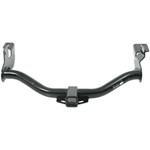
Hitch Recommendation for a 2008 Nissan Verso for Wheelchair Carrier
Recommended Trunk Bike Rack for my 2016 Nissan Versa Note
Trunk Mounted Roof Rack Recommendation for a 2008 Nissan Versa
Which Base Plate Kit Fits 2017 Nissan Versa
Shopping Guide
Nissan Versa
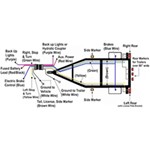
Trailer Wiring Diagrams
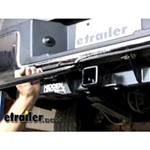
Trailer Hitch Installation Tips
How to Choose a Hitch-Mounted Bike Rack
Trailer Hitch Classes Review
Roof Rack Information
Trailer Brake Controller Information