Select Year
Thule Apex 4 Hitch Bike Rack Review - 2012 Nissan Quest
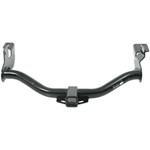
Trailer Hitch Installation - 2012 Nissan Quest - Draw-Tite
Thule Vertex 4 Hitch Bike Rack Review - 2012 Nissan Quest
Will the Curt Trailer Hitch Part C13563 Fit on a 2006 Nissan Quest
Recommend Hitch for a 2017 Nissan Quest
Troubleshooting Trailer Hitch That Does Not Line Up to Bolt Holes on Nissan Quest
Trailer Wiring Harness Recommendation for 2014 Nissan Quest
Shopping Guide
Nissan Quest
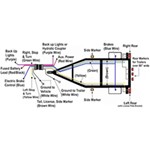
Trailer Wiring Diagrams
Common Weight Distribution and Sway Control Questions
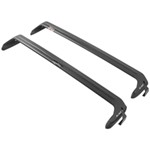
Roof Rack Information
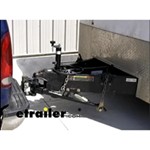
Trailer Brake Controller Information
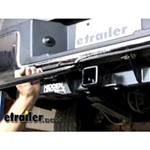
Trailer Hitch Installation Tips
Trailer Hitch Classes Review