Suggested Q&A
Chevrolet Trailblazer

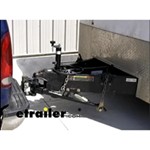
What Is The Purpose Of The Rubber Boots On Certain Tow Bar Arms
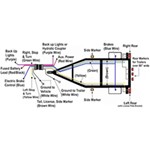
7-Way to 5-Way Trailer Adapter Does Not Operate Right Turn and Brake Lights, 2003 Chevy Trailblazer
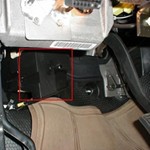
Will the Edge Insight Color Touch Screen Fit a 2004 Chevy TrailBlazer 4.3 Liter
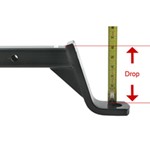
Replacement Tab for Blue Ox Base Plates on 2005 Chevy Trailblazer
Browse All 314 Q&A >>