
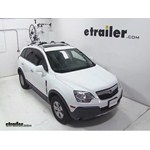
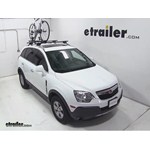
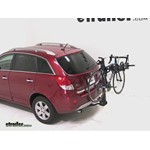
# 1
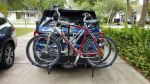
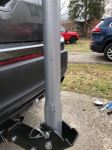
Thule Passage Trunk Bike Rack for 2 Bikes - Hanging Style
Excellent and prompt customer service! When I first ordered my product it wasn’t in stock— staff were quick to let me know and offered me comparable products. I ended up waiting for my original order and shipping quick and they stayed in touch with ideas! Thule: The instructions could be a little more detailed. I ended up watching YouTube videos to help me instal. Overall it was easy, and this was the first rack I’ve ever installed and I did it by myself! I was surprised to learn the bike rack is in no way secured inside your vehicle, so.. I store it in my garage when it’s on.
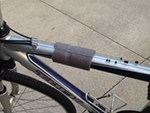
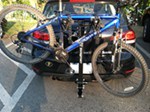
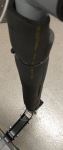
Positive: The product is well thought out and works for a wide range of automotive vehicles. It comes with interesting dampers that i think work. Instructions seem to be translated from another language, but are quite good, accompanying pictures make installation straightforward. A test drive over speed bumps shows that the rack will support the bike for all travel needs. It can be disassembled , collapsed and stored in the trunk. Downside: The rack is made for the classic triangular shaped frame: horizontal cross bar, "male" bike. For bikes without the horizontal bar, mounting is a little less satisfactory. Such a bike can only be mounted on the outside mounts. Cannot use the damper on one side. Picture shows the mounting. as to a design solution, maybe brackets could be replaced with smaller profile, some adjustability? however, as it is, vibration control is good and adjustability with smaller profile would have vibration concerns.
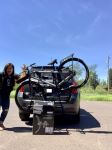
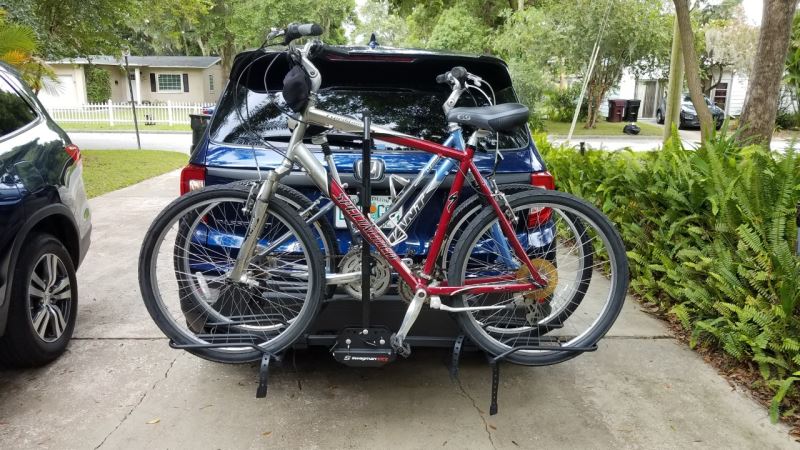
# 2
Swagman XTC2 Bike Rack for 2 Bikes - 1-1/4" and 2" Hitches - Frame Mount
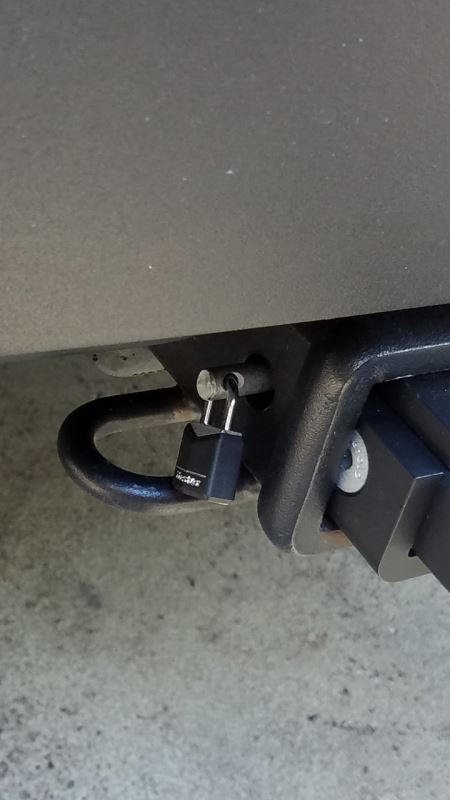
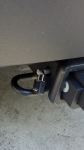
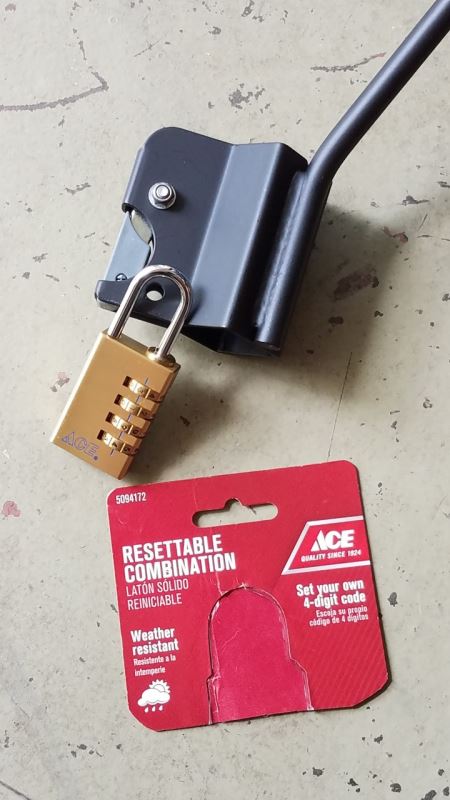
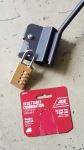
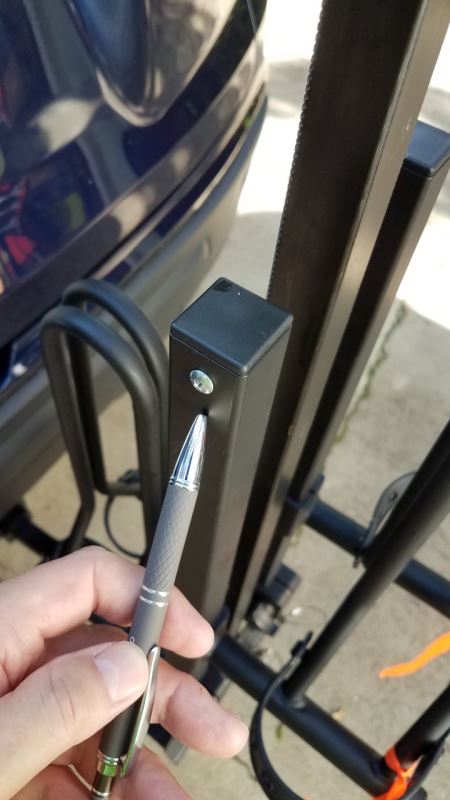
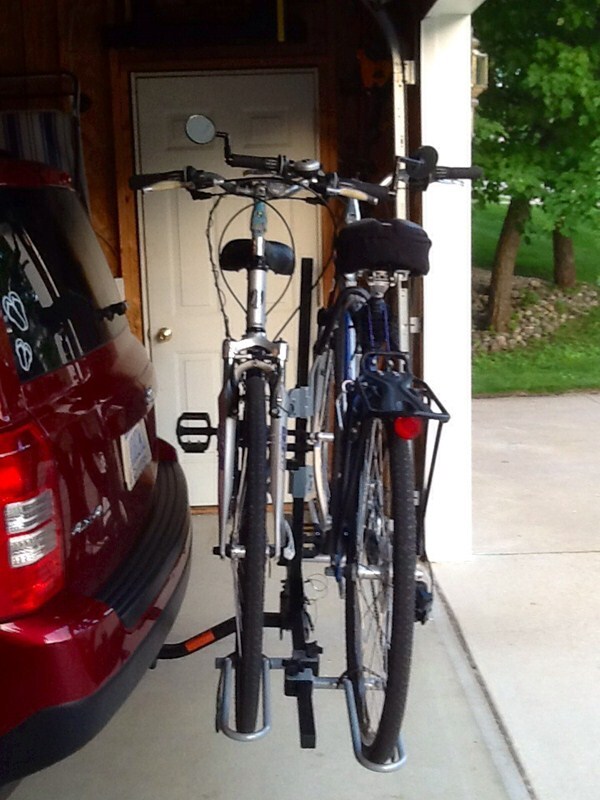
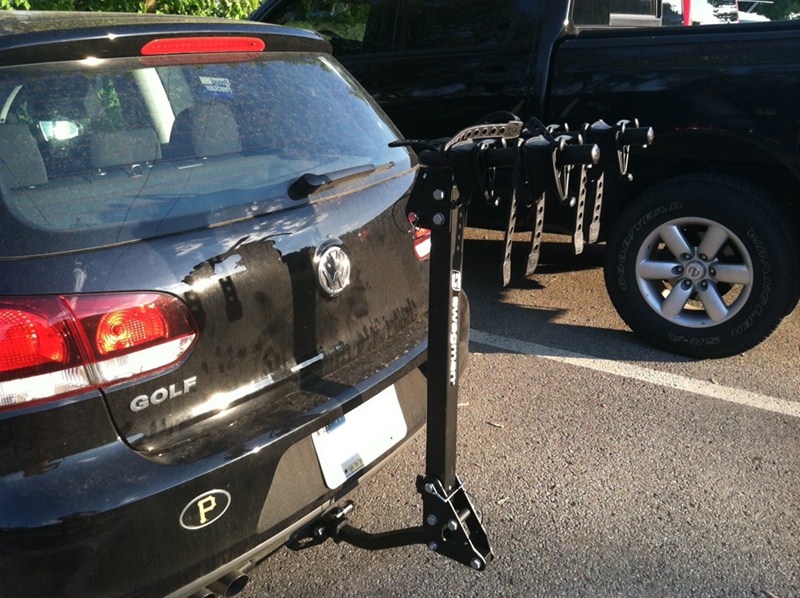
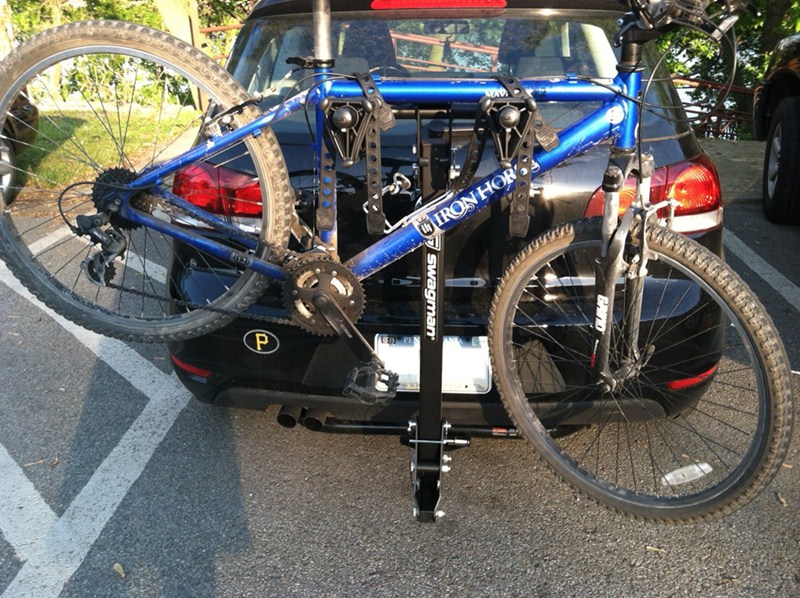
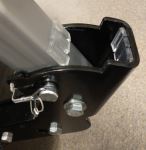
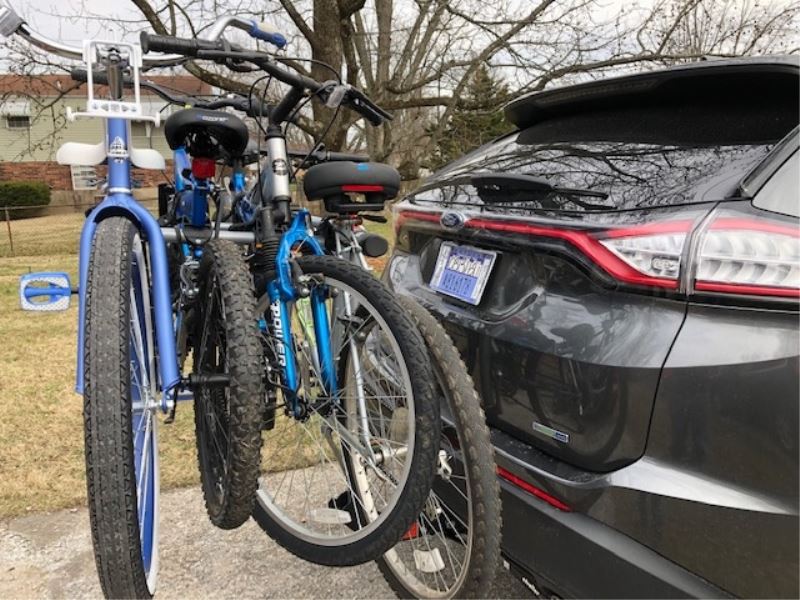
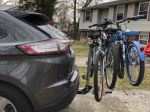
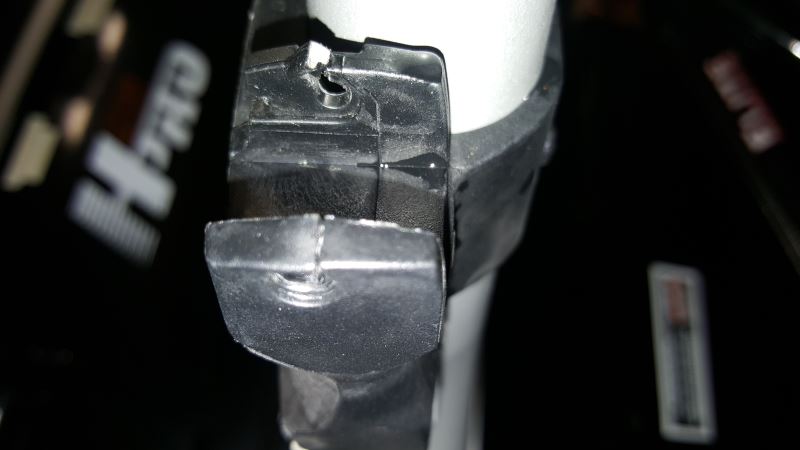
First-time rack buyer / owner / installer. The rack arrived in a timely fashion, maybe a day or 2 ahead of schedule. It was well packaged. I’m LOVING this bike rack. It was easy to put together and to mount on my new Honda Passport. Thus far, no squeaks in my 2” receiver. Hardest part of initial set-up is figuring out the best way to position two bikes. Trial & error and some patience. The directions weren’t clear as to where the 2 left-over screws went. I found the answer in another review and have posted a pic in case others have the same problem (photo with pen pointing at screw). These screws go in the underneath side of both of the folding arms. They appear to keep the wheel wells from sliding off in case in you drive with an empty, un-folded rack, and forgot to tighten down the wheel wells. The folding arm push / pull pins can be difficult at times. I coated the tips with some lube. That and a little jiggling seems to solve that issue. I guess it’s better for the pins to be snug vs popping right out. I added a small Master lock to the hitch pin (in lieu of the provided cotter pin) as a theft deterrent. I read that a 3/16 shackle lock will fit into the bike clamp down arms to also act as a deterrent. I had an old 3/16 lock that did snugly fit and appeared to be locked. HOWEVER, I yanked on the lock and it came open as there isn’t quite enough clearance for the shackle to lock. I discovered that longer 3/16 shackle locks are hard to find. Have attached a photo of the lock that actually fits and works (Ace Hardware). One lock on the upper clamp down arm will secure both arms as the lower arm can’t be removed without removing the upper arm. The clamp down arms appear to be coated to prevent damage to your bike. I’ve tried a simple rag and ultimately settled on pool noodle pieces as a precautionary measure. I CAN NOT open my tailgate (regardless of whether or not the rack is fold up and in the bike carry position). If that’s a concern for you, then spring for the more costly titling version. My back-up camera still functions.
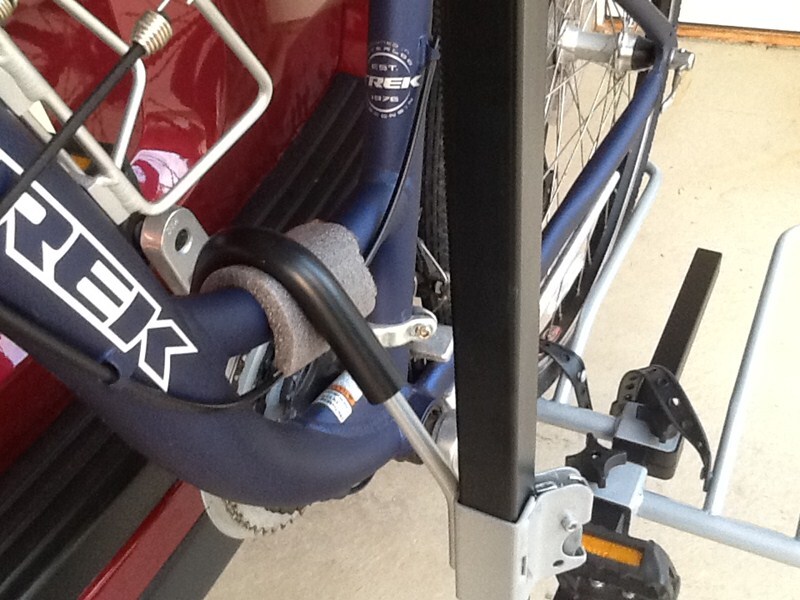
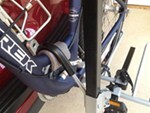
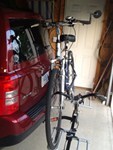
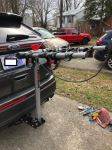
The Swagman XTC-2 platform bike carrier arrived very quickly from etrailer and in good shape, the actual carrier box is inside another shipper box, which I'm sure helped with its condition. Assembly was relatively quick and painless, even though the instructions could be a little more thorough. Installing the carrier on the back of our Jeep Patriot also was quick, it helps to have an extra ratchet & 3/4" socket laying around for just this purpose. Installing the bikes takes a little patience and trial and error the first time you try and put them on the carrier. It's easy enough to adjust the wheel holders to fit the wheelbase of your bikes, but for us at least, the challenge was trying to swing the vertical support bar up into position after putting on the first bike (closest to the Jeep). We couldn't angle the bike enough toward the Jeep to have the bar clear the bike. We learned that the easiest way to secure the first bike was to remove the ratcheting frame hooks altogether, put the bike in the carrier, swing up the vertical support bar, put in the pin, and then slide one of the frame hooks down on the bar. The outside bike is much easier because you can set the bike in the carrier at whatever angle you need, not being limited by the back of the vehicle. One thing we did to protect the bike frames was to use some foam pipe insulation as cushion between the frame hook and the frame (see pictures). Once you get a system for installing the bikes, it is very quick to load/unload them. The rack seems to be well made and doesn't wiggle excessively when traveling. All in all a good product for a good price, would definitely recommend it for anyone looking for a platform bike carrier.
# 3
Swagman Trailhead Bike Rack for 2 Bikes - 1-1/4" and 2" Hitches - Tilting
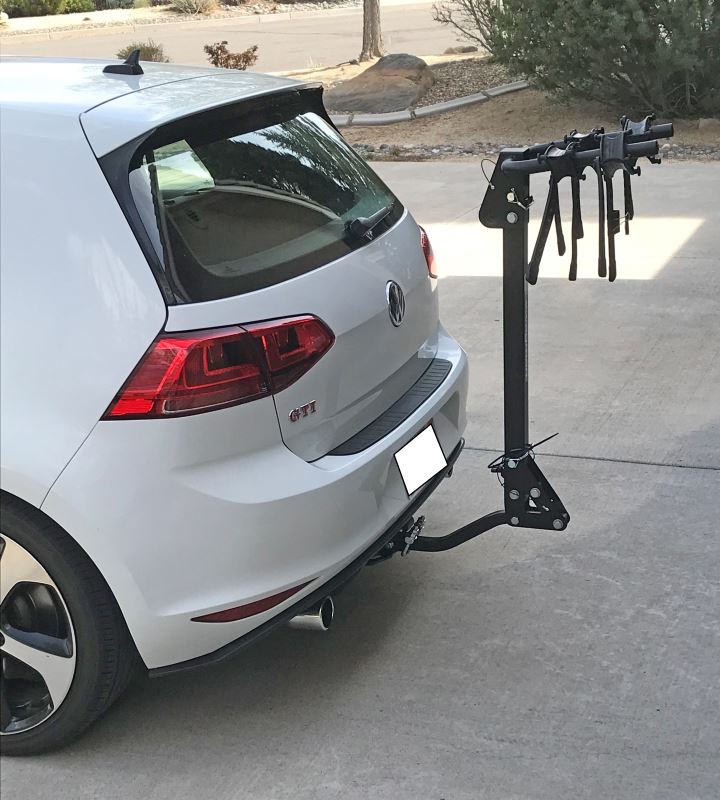
etrailer has the best pre- and post-sales customer service I've ever seen! I started out not knowing anything about hitch-mounted racks. So I wrote to etrailer telling them about my car and type of hitch I was about to have installed. Samuel wrote back with lots of great information tailored specifically to my car. He even included a photo that looked just like my 2017 white VW GTI with a hitch and rack installed. Okay something of a coincidence. But the rest of the assistance I got from the crew at etrailer was just as prophetic. I went into this a novice and came out knowing lots more about hitches and racks and finding the rack best suited to my situation. I have a small car, a class 1 hitch and a heavy mountain bike. I got exactly what I needed. As to the Swagman rack itself, it works fine. If I had a different situation I would probably buy a platform rack as they are easier to load. There's no reason to buy a bike rack anywhere else.
First off, thanks to Jason T. or "Troop". The exemplary customer service he provided is rare these days. Troop made several calls to the various manufacturers to ascertain which bike rack would afford me the most ground clearance as my new VW Golf sits low to the ground and my old bike rack frequently scraped the ground when I went up even a slight up hill grade. His efforts paid off as he found me the best bike rack for my car, the Swagman Trailhead 2 Bike Carrier. It sits up off the ground just high enough that it doesn't scrape on my driveway. It is also sturdy and holds my bikes securely. And, the delivery was amazingly fast. I had my rack in about 2 days! Note to Troop, see my Pittsburgh Pirates Logo on my bumper in the attached pictures? Pirate Fans persevere! The Bucco's will be coming after your Cardinals this year! Thanks again Troop!
# 4
Saris Bones 2 Bike Rack - Trunk Mount - Adjustable Arms
Seemingly well-constructed and supported bike rack. It fits my 2018 Toyota Camry SE just fine and I haven't had any issues with sway or even feeling my bike while driving. I've only carried one bike on it and have used it a limited number of times, so I cannot speak on durability and longevity. Although you shouldn't open your trunk while the rack is attached, I have been able to do so with no issue (without the bike attached).
While getting a bike rack for a sports car isn't ideal, I really wanted to transfer my bike with my own car instead of borrowing my friend's pickup truck. After hours of trying to find a bike rack that would be good for my 07 Mustang, I decided to give this one a try and I gotta say, it has been pretty good so far. It fits very well over the factory spoiler. One of my biggest concerns I was worried about when ordering a rack for my Mustang was ruining the paint, but the feet on the legs haven't left one scratch. I have used this to transfer my bike at freeway speeds (up to 80 mph) on car rides that typically last an hour and my bike was perfectly secure throughout each ride. For extra security, I wrapped both bike wheels with a ratchet strap so the wheels and pedals wouldn't shift in transit. So far, I am very pleased with this bike rack for the price and quality. I would highly recommend this if you want a rack that is affordable and durable.
# 5
Hollywood Racks Express 3 Bike Carrier - Fixed Arms - Trunk Mount
Installation was straightforward. The rack sits high up on my 2016 Subaru Forester so lifting bikes onto the rack requires effort. Getting 3 mountain bikes on the rack was a bit tricky. When loaded rack was secure and stable.
Seems like a sturdy, reliable product so far. Components are solid and well put together. Fits great and carries well on my 2014 Corolla. Excellent value considering the price tag on other racks out there. And the prompt delivery was great!
# 6
Yakima RidgeBack Bike Rack for 4 Bikes - 1-1/4" and 2" Hitches - Tilting
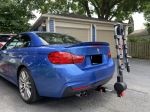
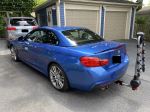
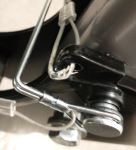
Check out my other review on the hidden hitch for a 2015 BMW 4 Series for the majority of the review, but this thing is great. Easy setup and install, does all the things it's supposed to do. Mounting and removing bikes is a snap with the included clips (big difference from some of the cheaper variants with nylon ratchet straps). Fits very snugly in my 2" receiver, and pretty solid on the highway and over bumpy roads.

The rack itself is fantastic. Not too heavy, easy to attach to hitch, and very easy setup. The only real downside is if your bicycles don't have a standard frame, you'll need to buy the Yakima Tube Top Bike Adapter Bars (~$50 each) in order to be able to mount them on the rack. I will say that smaller bikes (for my 9 year old) can be a challenge to mount with larger bikes as you'll need to finagle the handle bars and such to get them to line up but once you do it a few times you figure it out.
# 7
Thule Hitching Post Pro Bike Rack for 4 Bikes - 1-1/4" and 2" Hitches
The good: I like the way the bikes are held in and the ability to add the upright adapters to the bike frame holders. The straps are quality too. For a jeep with a spare tire, this is the perfect length to clear it. This rack is 5 stars from the bike holders to the base of it. The bad: the 2"receiver adapter and bolt are insufficient. I wish they made this in a solid 2" hitch. The entire setup is held into the receiver by a very short bolt. It only goes about half way into the receiver tube. So your hitch is only "secured" on one side. A hitch pin or bolt should go through the receiver tube completely imo so it can be secured on the other end with a retaining clip or nut. Because this only goes in the one side, the entire weight of the rack plus bikes are held tight to one side of the receiver by the undersized bolt and washer. A few bumps down the road and that bolt loosens. Now instead of distibuting the weight of the rack and bikes on the receiver and post, it's completely up to the bolt to keep you from losing the rack. The bolt threads get damaged too. I took this down a dirt road and nearly lost everything. I had to buy my own bolt with hd fender washers and lock washers to correct this. Thule should've provided this from the start. The current short bolt design where only one side of the receiver secures the rack is unacceptable. This rack is 1 star at best for the connection to the receiver.
Hitch pin broke before I got it. Looks like a poor design for the locking pin, they might want to consider a different design. I got a 3/8 shear pin from Home Depot to replace and it works great. Bike rack is great!
# 8
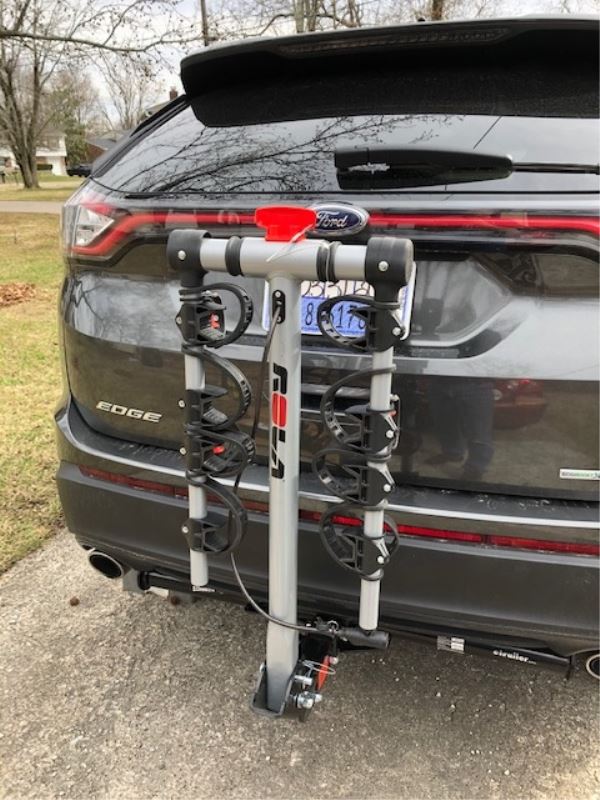
Rola TX-104 4-Bike Rack for 2" Hitches - Tilting
Decent 4-bike rack for the price. Stable side-to-side with the screw-in hitch pin (2 inch receiver version). Gets some fore-aft rocking over bumps at speed (inherent to the tilting design). Bikes need bungee cords to keep them from swinging (typical for this style of rack). I used this with two bikes, and really struggle to see how four full-size bikes could be added. Maybe if seats were removed? I added bumpers and some padding for the vertical post, and will probably relocate the retainer pin lanyard so the rack can be completely collapsed for storage. A few design improvements for 5 star rating would be: 1 - Add some bumpers for the fully lowered position, 2 -Add some padding on the vertical post for bike contact or accidental vehicle hatch lifting when in the raised position, 3 - Mount the retainer pin lanyard to one of the through-bolts or move the lanyard hole - collapsing this rack chews up the retaining lanyard. etrailer.com service was great - well packaged, and quickly shipped!
Excellent service and fast shipping by etrailer. Bike rack itself was easy to put together and install. It came in with a few scratches. It works well with large bikes. Slight problems started with the smaller bikes. The rack's arms are wide enough to accommodate the bikes, but the slides are not designed for smaller frames. If you have smaller bikes you might have to purchase the bike frame adapter bar for each bike. It's not a huge problem for us since the kids are growing up fast and soon they will have to graduate to the large frame bikes. In the mean time I will have to use extra straps to hold them together.
# 9
Yakima RidgeBack Bike Rack for 2 Bikes - 1-1/4" and 2" Hitches - Tilting
This two bike rack has been great for the occasional bike ride outside of our home area. I like the sturdy construction, but beware that it is a little heavier than it looks (I’m retired and a bit older so maybe not as strong). Easy to fit into the factory trailer hitch on our 5 passenger SUV and no problem securing the bikes for transport. My only complaint is, the stick on Yakima Graphic started coming apart the day we got it. Sorry, no free advertising for Yakima.
I used this product twice to go back and forth on a 700 mile trip (1400 miles total). My initial impression was that it was sturdy because it was larger than most 2 bike carriers I've seen. The strapping system is convenient and the locking system worked great. The only flaw so far is that one of the locking mechanisms actually broke off. After closer inspection, I realized that the parts are plastic. I'm not sure what actually caused it to break other than the force of hitting a pothole causing the bike to bounce on the rack. Those types of forces should be expected with normal driving however and I expected the locking mechanism to hold up. I was fairly disappointed that it happened given the asking price and the reviews I read prior to my purchase. Other than the locking mechanism on the actual bike rack, I wouldn't put to much faith in the red handled locking pin that inserts into the trailer hitch and insertion bar portion of the bike rack. It is understood that the pin does not go all the way through the insertion bar as the locking mechanism is inside and prevents further advancement. Yakima could probably improve this aspect of the product. I will be contacting Yakima to see if they will replace the broken part. One thing I did notice was that the broken bracket is screwed in and can be removed/replaced fairly easily. I have included pics of the broken bracket and working bracket for comparison. Hope this helps in your decision!
Yakima Holdup Hitch Bike Rack Review - 2009 Saturn Vue
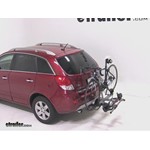
Today, on our 2009 Saturn Vue we're going to be test fitting the Yakima Holdup two-bike carrier for 2-inch hitches, part number Y02433.With our vehicle equipped with a 2-inch hitch and our bike rack already pre-assembled, we can go ahead and slide our bike rack shank directly into the receiver tube of the hitch, then install and tighten down the anti-rattle bolt and lock.With the anti-rattle bolt tighened down, you can see it really takes out any movement between the bike rack and the hitch.This is what our bike rack will look like in its stored position.Next, we'll go ahead and take a few measurements. From the nearest point of the bike rack to the nearest point of the bumper we have 2 inches of clearance. With our bike rack installed and in the stored position it adds an additional 10 inches to the overall length of the vehicle. From the lowest point of the rack to the ground we have 12 inches of clearance. Now let's go ahead and fold the platform of the bike rack down so we can check to see if we have rear cargo access. As you can see, with the platform down we can still gain full rear cargo access.Now let's go ahead and close the cargo door and we can prepare to load our bike.First, we'll take the wheel loop and extend it out.Then, we can take the locking arm hook and move it to the top of the arm.Then, we'll move to the rear wheel cradle and undo the rear cradle strap.Now we can set our bike directly into position, bringing the arm up and securing the hook onto the front tire in front of the front brake caliper.Now with our bike secured to the front wheel hoop we can move to the rear cradle and run our strap through the wheel and secure it with the ratcheting strap.There you have it.
Thule Vertex 4 Hitch Bike Rack Review - 2009 Saturn Vue
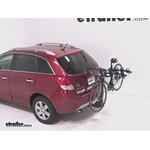
Today, on our 2009 Saturn Vue we'll be test fitting the Thule Vertex four-bike carrier for 1-1/4 and 2-inch hitches, part number TH9029.With our vehicle equipped with a 2-inch hitch and our bike rack already pre-assembled, we can go ahead and slide the bike rack shank directly into the receiver tube of the hitch and tighten down the anti-rattle bolt.As you can see, with our anti-rattle bolt installed and tightened down it really takes out any movement between the bike rack and the hitch.Next, we'll go ahead and take a couple measurements.From the nearest point of the bumper to the nearest point of the bike rack we have 1-1/2 inches. With our bike rack installed and in the stored position we add an additional 12 inches to the overall vehicle length, and from the bottom of the bike rack we have 12 inches of overall ground clearance. Now let's go ahead and use the hitch switch at the base of the rack and tilt the mast away from the vehicle and check for rear cargo access. As you can see, with the bike rack tilted away from the vehicle it still allows us full rear cargo access.Next, let's go ahead and put the bike rack back into the upright locked position.Then, we'll use the hitch switch at the top of the rack to extend the carrying arm. With the arms up and in the locked position we can go ahead and undo the hold-down straps and prepare to load our bike.With our hold-down straps out of the way this will allow us to put our bike directly into position and then secure it with the hold-down straps.There you have it. In just a few simple steps we've gone ahead and secured the bike carrier to the vehicle and the bike to the bike carrier.Now we're ready to hit the road.That does it for our test fit of the Thule Vertex four-bike carrier, part number TH9029, on our 2009 Saturn Vue..
Thule Parkway 2 Hitch Bike Rack Review - 2009 Saturn Vue
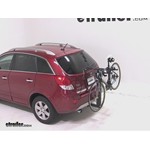
Today, on our 2009 Saturn Vue we're going to be test fitting the Thule Parkway two-bike carrier for 2-inch hitches, part number TH958.With our vehicle already equipped with a 2-inch hitch and our bike rack already pre-assembled, we can go ahead and slide the bike rack shank directly into the receiver tube of the hitch and then install and tighten down the anti-rattle bolt.As you can see, with our anti-rattle bolt tightened down it really takes out any movement between the hitch and the bike rack.Now let's go ahead and take a couple of measurements.From the nearest point of the bumper to the nearest point of the upright of the bike rack is 1/2 inch. With our rack installed we add an additional 23 inches to the overall vehicle length, and from the nearest point of the rack to the ground we have 11-3/4 inches of ground clearance.Next, we'll go ahead and pull the pin at the bottom of the mast and tilt the bike rack away from the vehicle and check for rear cargo access.As you can se, with the mast tilted away from the vehicle we can still gain full rear cargo access.Now let's go ahead and put our bike rack back into the upright locked position. Next, we'll go ahead and undo the hold-down straps so we can set our bike directly into position.Once in it's position, we can go ahead and take the hold down straps and secure them around the bike.There you have it, in just a few simple steps we've gone ahead and secured the bike rack to the vehicle and the bike to the bike rack.Now we're ready to hit the road.That does it for our test fit of the Thule Parkway two-bike carrier, part number TH958 on our 2009 Saturn Vue.
Thule Doubletrack Hitch Bike Rack Review - 2009 Saturn Vue
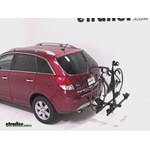
Today, on our 2009 Saturn Vue were going to be test fitting the Thule Doubletrack platform style bike carrier for inch-and-a-quarter and 2-inch hitches, part number TH990XT. With our vehicle equipped with a 2-inch hitch and our bike rack pre-assembled, we can go ahead and slide the bike rack shank directly into the receiver tube of the hitch and line up the hitch pinhole. Then, we can install and tighten down the anti-rattle bolt and install the lock on the other side. With our anti-rattle bolt tightened down you can see it takes out any movement between the bike rack and the hitch. This is what our bike rack will look like in its stored position. Next, well go ahead and take a few measurements.
SportRack EZ Hitch Bike Rack Review - 2009 Saturn Vue

Today, on our 2009 Saturn Vue were going to be test fitting the SportRack Hitch Mounted two-bike carrier for inch-and-a-quarter and 2-inch hitches, part number A30901. With our vehicle equipped with a 2-inch hitch and our bike rack already pre-assembled, we can go ahead and slide the bike rack shank directly into the receiver tube of the hitch lining up the hitch pinhole. Then, well install and tighten down the anti-rattle bolt and safety clip. This is what our bike rack will look like in its stored position.Next, well take a few measurements. From the nearest point of the bumper to the nearest point of the platform on the bike rack is 5-1/2 inches. With our bike rack installed we add an additional 22-1/2 inches to the overall vehicle length, and from the end of the bike rack to the ground we have 14-3/4 inches of ground clearance.
RockyMounts TieRod Stretch Roof Bike Rack Review - 2008 Saturn Vue
Today on our 2008 Saturn Vue, we'll be test fitting the RockyMounts Tierod stretch roof-mounted bike carrier, part number RKY1011. With the Thule AeroBlade Edge roof rack system already assembled to our vehicle, we'll begin our test fit by placing the Tierod directly onto our load bars. Here at the front, we'll remove the black plastic cover and bring our rubber-coated steel straps around our front load bar. Once we have those in place, we can use an Allen tool to tighten the Allen bolt, which will tighten our straps around our bar. With our straps tight, we can reinstall our black plastic cover. We'll move to the rear and bring our rear clamp around our rear bar, drop the bolt through, and tighten with an Allen tool.
Thule Big Mouth Roof Bike Rack Review - 2008 Saturn Vue
Today on our 2008 Saturn Vue well be test fitting the Thule Big Mouth Roof Mounted Bike Rack, part number th599xtr. To begin our test fit well place the Big Mouth directly onto our load bars. Here at the front well bring the clamps around our load bar, drop the bolts through the other side and tighten down the top with the wing nut. Well do this for both clamps at the front of our carrier. Now well move to the rear, remove the wing nuts, fit the bolts around our rear bar, slide the bracket onto the bolts so its sitting on the underside of the load bar, and tighten with two wing nuts. Once our bike rack is secured to our vehicle we can go ahead and undo the wheel straps.


What our customers are saying:
"I purchased a hitch, wiring harness, bike carrier and bike adapter for a newly redesigned 2007 Hyundai Santa Fe. Everything arrived in a matter of days and either fit or worked perfectly. Great prices, quality and service support. Rest assured, I'll be recommending you to anyone who asks. Thanks again."